






In-Home Curtain Measuring: Checking Windows, Ceilings, Recesses and Obstructions
In-home curtain measuring: assessing windows, ceilings, recesses, and obstructions before choosing curtains

In-home curtain measuring involves more than taking the width and height of a window opening. Technicians need to assess wall edges, ceiling height, curtain recesses, window sills, outlet locations, and obstructions before finalizing a plan. This inspection helps determine whether to use an outside or inside mount, a curtain rod or recessed track, while reducing the risk of light gaps, curtains touching the floor, or interference with door handles.
During an on-site assessment, the person taking measurements typically brings a steel tape measure, laser measuring tool, marking pen, level, and material detector. Width is checked at three points—top, middle, and bottom; height is also measured at the left, middle, and right to identify uneven walls or frames. If the measurements differ, curtain cutting will be based on dimensions suited to the actual conditions rather than a single measurement.
For windows with a recess, the recess depth, setback from the ceiling edge to the glass, and space for tracks, rods, or roller housings need to be checked. Drywall, concrete, and wood ceilings have different load-bearing capacities, so screw locations must also be determined beforehand. A recess that is too shallow may not have enough room for the track end; a recess obstructed by a beam or recessed light will require an adjustment to the mounting height.
Frequently overlooked obstructions include outdoor condenser units or indoor air-conditioning units, old curtain pelmets, decorative molding, door handles, hinges, stone sills, built-in cabinets, switches, and outlets. Technicians need to record the distance from each obstruction to the glass edge, how far it projects from the wall, and the swing area of the door or window sash. For hinged doors and windows, curtains must have enough clearance to prevent the sash or door from brushing against the fabric; for sliding doors and windows, handles must remain accessible after installation.
The assessment also helps identify uneven mounting surfaces, out-of-square wall corners, adjacent window openings, or windows that reach nearly to the ceiling. These conditions directly affect the track path, fabric drape, and overlap positions. If the homeowner plans to use fabric curtains, space must be allowed for the fabric layers and fullness; zebra blinds or solar screen roller shades instead require checks of the housing width, mounting surface, and operating clearance for the pull mechanism.
Scheduling in-home curtain measuring gives homeowners a set of specifications tied to their actual property, rather than estimates based on nominal window dimensions. After the assessment, dimensions, obstructions, mounting methods, and issues requiring attention should be recorded as the basis for product recommendations, preparing a quote, and confirmation before production.
Assessing window openings, ceilings, and curtain recesses to determine the installation plan
An on-site assessment determines where the curtain system will be installed, where it will be secured, and how much clearance is needed. When an in-home curtain measuring service is booked, technicians measure not only the window frame but also inspect the ceiling, curtain recess, finished walls, window sill, and nearby equipment. The assessment results help distinguish between outside, inside, and recessed mounting options, while reducing the risk of curtain rods not fitting, curtains rubbing against walls, or roller housings encountering obstructions.
Checking the window opening structure before choosing a mounting location
First, the technician identifies the type of opening: a casement window, sliding window or door, balcony door, fixed glass window, or high-level window close to the ceiling. Each type has different opening directions, handles, and operating clearances. A steel tape measure is used to measure the width of the wall edges, the height from the floor to the top of the frame, the frame thickness, and the glass setback. For openings with multiple panels, mullion lines, hinge and handle locations, and sliding directions must be recorded separately so the curtains do not interfere with operation.
Nominal dimensions on drawings should not be used in place of finished dimensions. Walls may have been skim-coated, clad in stone or wood, or fitted with decorative trim. Therefore, the person measuring checks from the finished surface on the left to the finished surface on the right, then cross-checks at lower and higher levels. If the three points differ, the measurements and installation plan must reflect actual conditions rather than forcing the frame into an average dimension.
One team from drawings to installation
Thanh Vy Curtains surveys, designs and installs based on your actual site. Send us the dimensions and current condition, and we will advise the right solution.
Request a quote Call 0985 615 577 Message on ZaloAssessing the ceiling and screw-mounting substrate
Curtain mounting locations may be on concrete, brick walls, drywall, concrete ceilings, or stepped drywall ceilings. Technicians use a structural detector, level, and visual inspection of ceiling joints to identify the screw-mounting substrate. For drywall ceilings, concealed framing must be located or suitable anchors provided; heavy loads should not be attached arbitrarily to a single thin sheet. For walls clad in stone, engineered wood, or ceramic tile, drilling locations must avoid weak joints, electrical wiring, and water pipes.
The distance from the ceiling edge to the top of the window frame determines the type of track, brackets, and hanging height. If fabric curtains require a long drop, space for track ends, rollers, mounting plates, and stacked fabric must be checked. If the door or window opens inward, the rod needs sufficient setback to keep the door or sash, handle, and fabric from colliding. Measurements are recorded for each surface: ceiling height, top-of-opening height, wall setback, and the depth of the area suitable for screws.
Measuring ceiling curtain recesses and box recesses
A ceiling curtain recess typically has three important dimensions: recess width, recess depth, and the distance from the recess edge to the glass. A laser measuring tool helps quickly check continuous lengths, while a steel tape measure is used to verify corner sections, stepped sections, and areas narrowed by the window frame. Rather than measuring only the recess opening, the assessor also checks whether its base is level, its sides are square, and whether beams, recessed lights, or service access panels obstruct it.
A recess for a single curtain layer needs enough room for the track and fabric drape. A two-layer recess must account for the curtain track, sheer track, separation between the two layers, and clearance to keep the fabrics from brushing against each other. Shallow or off-center recesses, or recesses concealed by decorative molding, may require smaller tracks, a switch to surface mounting, or adjustments to the fascia. The decision is finalized only after measuring clear dimensions at multiple points.
When a curtain recess runs continuously across several window openings, technicians check joints, inside corners, outside corners, and intersections with side walls. A long recess with a sagging base will misalign the track, making curtains difficult to move or causing uneven stacking. In that case, the height of each section must be recorded to determine whether brackets or shims can level it or whether the recess needs correction before installation.
Checking light and operating space
The assessment goes beyond making curtains fit the window opening. Technicians also observe the direction of sunlight, light gaps on both sides, clearance above, and the area the curtains will cover. West-facing windows, windows next to balconies, or windows receiving angled sunlight require additional checks where the curtains meet the wall. If mounted too close to the glass edge, light may leak in at the sides; if the coverage is too wide, the curtains may touch switches, handrails, or an adjacent door.
For doorways, the door’s opening path must be tested after simulating the curtain rod position. For sliding doors and windows, room for operating the handle must be left, and the curtain housing must not sit directly in the sliding path. For windows with deep sills, the distance from the glass surface to the sill edge must be measured to determine whether the fabric will fall in front of or behind the sill. Details such as stone sills, wall ledges, baseboards, crown molding, and door or window trim are all recorded on the assessment sheet to avoid revising measurements later.
What should the site survey form include before finalizing the plan?
A clear site survey form should show the ID of each opening, photos of existing conditions, width and height at the measurement points, the type of mounting substrate, installation height, recess depth, opening direction, and any obstructions found. The technician also records the proposed plan: ceiling or wall mounting, track or rod, one layer or two, and left draw, right draw, or split draw. Any items that cannot yet be determined, such as an unfinished ceiling or a recess still awaiting paint, need to be marked for reconfirmation.
Homeowners should review the form with the technician on-site, especially the finished height, where the curtains end, and how corners will be handled. Once the information has been cross-checked against measurements, photos, and mounting substrate notes, product recommendations and quotes will better reflect the actual site. Scheduling an in-home curtain measuring appointment is therefore suitable for apartments with recessed curtain pockets, multi-panel doors, stepped ceilings, or interiors still being finished.
Request an in-home opening survey
Send the number of openings, the areas requiring installation, and the condition of the ceiling or curtain recess in advance. The survey appointment will focus on finished dimensions, the mounting substrate, and any points that could affect the installation plan.
Get advice on installation options and a quote
Once the site survey form is available, you can request a review of the installation plan, proposed materials, and items that need to be addressed before placing a production order. All important specifications should be confirmed for each opening.
Choose outside-mount or inside-mount measurements and curtain materials based on site conditions
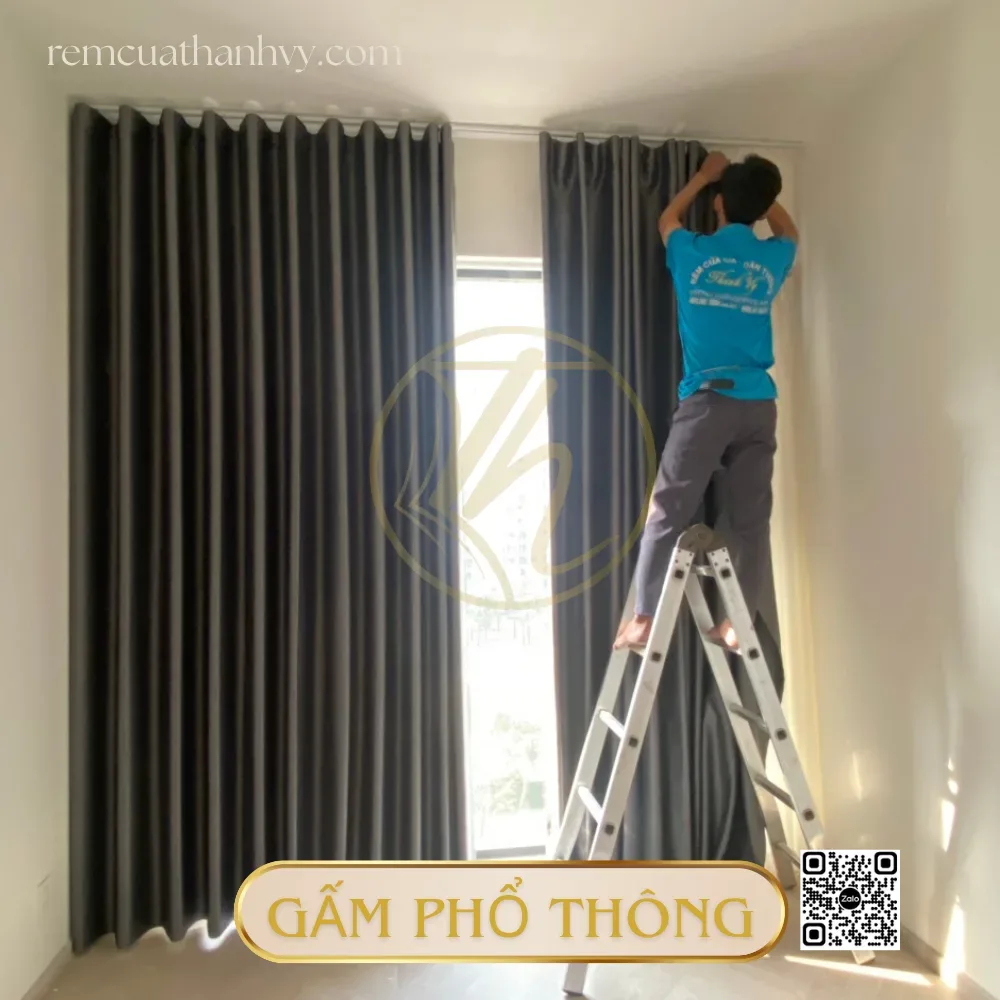
With an in-home curtain measuring service, the first decision is not choosing a color but determining the right measurement method for the opening. A recessed opening, a square frame, clear surrounding walls, or an obstructing handle will call for different measurement approaches. For openings with enough space around the outside, outside-mount measurements help curtains cover light gaps at the edges; for deep, flat, unobstructed frames, inside-mount measurements create a neater appearance. The technician needs to check existing conditions, the opening direction, wall flatness, and curtain materials before finalizing production dimensions.
Distinguishing outside-mount and inside-mount measurements
Measuring for an outside mount means measuring the area the curtain needs to cover from the outer left edge to the outer right edge, while determining the height from the rod or curtain box mounting point to the endpoint. This option is suitable when the wall around the opening is clear, when light entering at the sides needs to be reduced, or when the aim is to make the opening feel wider. The outside-mount width usually includes overlap onto the wall, but the added allowance must be based on the frame width, rod type, and actual clearance.
Measuring for an inside mount means taking dimensions inside the recess or frame so the curtain or blind fits neatly between the two sides. This approach is suitable for recesses with sufficient depth, relatively square edges, and no handles, hinges, insect screens, or opening panels that swing into the curtain or blind. A single measurement should not be used: the width is checked at the top, middle, and bottom; the height is measured at the left, middle, and right. If these points differ, the smallest dimension or an adjustment plan confirmed by the technician must be clearly recorded.
| Existing conditions | Preferred measurement method | Points to check |
|---|---|---|
| Clear wall around the opening, with broad light coverage needed | Outside mount | Overlap on both sides, distance from the rod to the ceiling, projection beyond the frame |
| Deep recess with straight edges and few obstructions | Inside mount | Three width measurements, three height measurements, squareness of the recess |
| Hinged door close to the edge of the recess | Adjusted outside mount | Door swing path, handle, hinges, and front clearance |
| Narrow recess or ceiling with beams | On-site assessment | Mounting depth, bracket type, anchor locations, and accessibility for removal and maintenance |
How to finalize measurements to minimize discrepancies
Before filling out the form, the person taking measurements uses a laser measuring tool for an overall check and a steel tape measure to cross-check short edges, inside corners, or areas where the laser is difficult to aim. Width, height, recess depth, distance from the edge of the opening to the side wall, and distance from the top of the frame to the ceiling should be recorded for each opening, without grouping openings that look alike. For inside mounts, the smallest dimension at the measurement points is usually used to prevent the curtain or blind from getting stuck; for outside mounts, the added allowance must be listed separately from the opening dimensions for easy checking.
The units, opening direction, and rod mounting height must also be recorded. For example, a balcony door with a floor step, baseboards, and an inward-opening panel cannot simply use the measurements of the fixed window beside it. If the floor is uneven, the height on each side may differ; in that case, a decision must be made on whether the curtain should touch the floor, hang slightly above it, or end at the sill. These site conditions directly affect the material, sewing style, and operation, so deductions should not be made out of habit.
Choose materials based on the layout and intended use
Fabric curtains are suitable for living rooms, bedrooms, balcony doors, or large glass areas that require drape and layering options. Polyester fabric is easy to clean, light-blocking fabric increases light reduction, and sheers provide a light-filtering layer. For pleated or wave curtains, fabric width, pattern direction, side seams, heading tape, and the fullness ratio affect both the rod length and the amount of fabric to order. Fabric should not be chosen solely from color samples before the outside-mount width and stack-back position are known.
Know the cost before you decide
Send estimated dimensions and a few photos of the space, and Thanh Vy Curtains will prepare a quote for exactly the items you need.
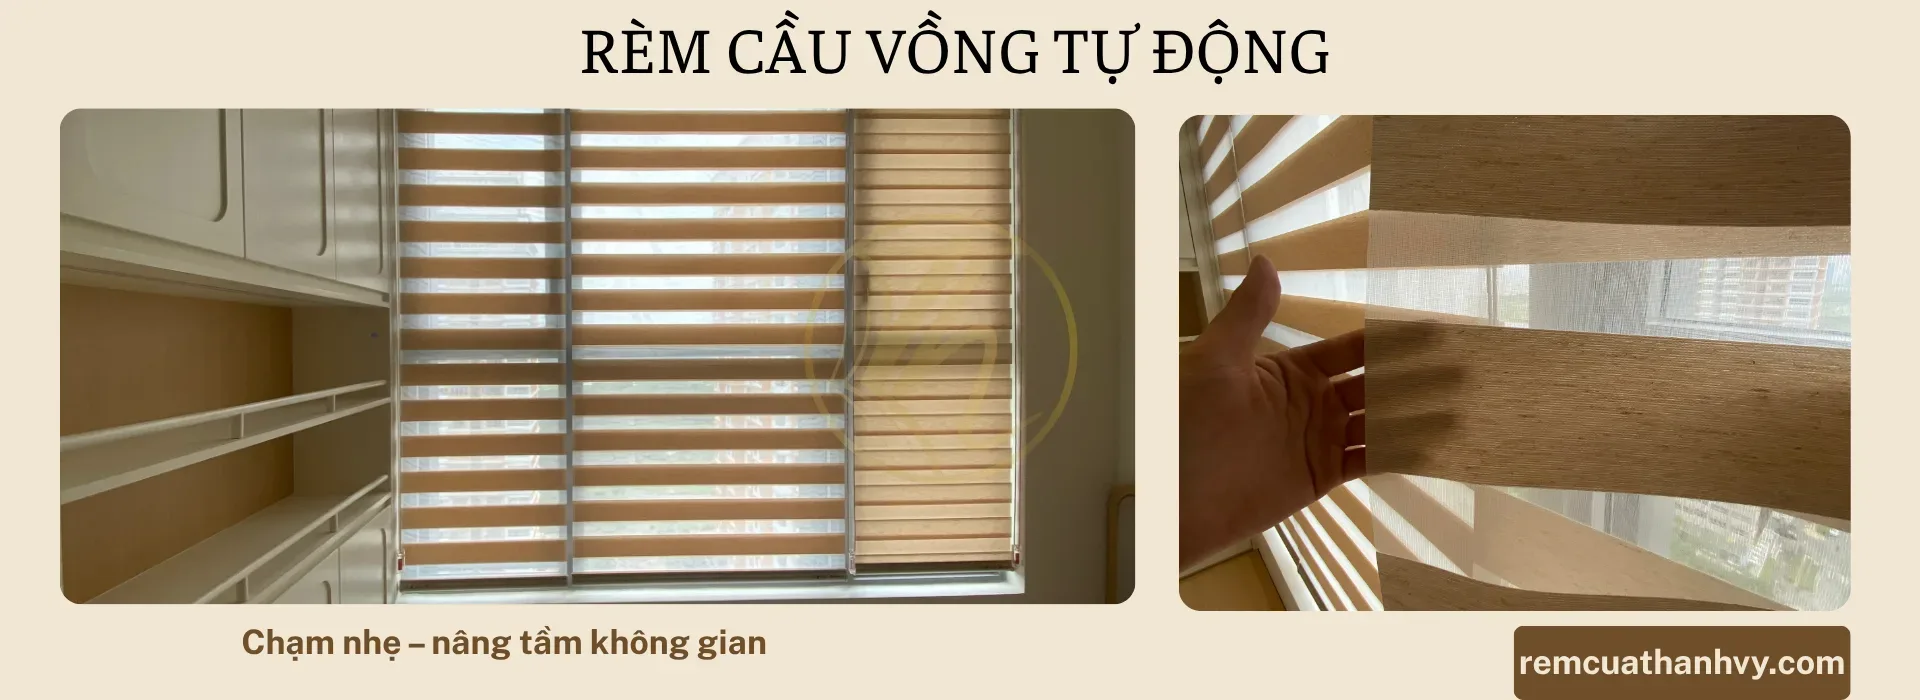
Request a quote Call 0985 615 577 Message on ZaloZebra blinds are suitable for openings that need flexible light adjustment while maintaining a neat, flat profile. When measuring, space must be allowed for the roller cassette, bottom rail, cord, or control mechanism; frame depth and the panel’s opening clearance determine whether an inside or outside mount is appropriate. Check handles, locks, glazing beads, and frame squareness, because the dual fabric bands need to travel straight without rubbing against the edges. For small openings, the cassette and pull-cord positions also affect everyday operation.
Mesh roller shades are suitable for balconies, home offices, and glass openings where daytime views outside are needed. Sun-blocking mesh, light-filtering mesh, and heat-blocking mesh differ in thickness and light transmission, so dimensions are not the only factor. The mounting position inside or outside the frame, the roller tube setback, the bottom rail, and the two side guide rails, if used, need to be determined. Glass divided by mullions, protruding handles, or an additional screen may make an outside mount safer than an inside mount.
Quick on-site decision matrix
If there is ample wall space around the window, the goal is maximum light blocking, and the material is curtain fabric, prioritize an outside mount, then determine the space needed for the curtains to stack on both sides. If the recess has a consistent depth, the frame is square, and zebra blinds or solar roller shades are selected, an inside mount usually creates a neat appearance; however, clearance must be allowed for the cassette and operating mechanism. If the window has multiple mullions, uneven wall edges, or protruding fixtures, the approach must be based on actual obstructions rather than a fixed formula.
| Window treatment type | Suitable existing conditions | Details to finalize along with measurements |
|---|---|---|
| Fabric curtains, sheer curtains | Wide wall areas, large windows, a decorative layer needed | Sewing style, fullness ratio, stacking direction, finished length |
| Zebra blinds | Flat window frames, light control needed | Cassette position, recess depth, handles, sash opening clearance |
| Solar roller shades | Balcony glazing, offices, sunlight filtering needed | Light transmittance, roller tube, bottom rail, guide channels |
To avoid ordering the wrong material or using the wrong measurement method, you can book an in-home window treatment measuring service and send overview photos, close-ups of the window frames, and approximate dimensions in advance. During the on-site survey, request a measurement sheet that separately records each window opening, outside or inside mounting, the proposed material, rod mounting points, and notes on obstructions. Once these details have been cross-checked, you can request a quote based on the finalized plan rather than comparing figures for different configurations.
If you are deciding between fabric curtains, zebra blinds, and solar roller shades, schedule a consultation based on the site’s existing conditions. The information to provide includes room type, number of window openings, photos of the recesses or frames, desired light blocking, and the installation area in Ho Chi Minh City. The survey team will use actual measurements to recommend the appropriate measurement method, materials, and configuration for each window.
Technical specifications for measuring fabric curtains, zebra blinds, and solar roller shades

These three types of window treatments cannot share a single measurement formula. Fabric curtains require calculations for sewing width, fullness ratio, and coverage; zebra blinds require checking cassette width, fabric edges, and operating height; solar roller shades depend on the roller tube, bottom rail, mesh tension, and side gaps. When measuring window treatments at home, technicians separately record finished dimensions, opening dimensions, mounting surfaces, operating direction, and setbacks so the workshop does not confuse order dimensions with actual measurements.
Specifications to record for each window treatment type
| Window treatment type | Key specifications | Items to check | How to finalize dimensions |
|---|---|---|---|
| Fabric curtains | Coverage width, finished height, fullness ratio, fabric width, draw direction | Curtain rod or track, distance to ceiling, drape, windowsill | Separate sewing width from actual coverage width |
| Zebra blinds | Coverage width, coverage height, cassette width, bracket positions, cord or chain length | Frame squareness, handles, sashes, fabric band opening clearance | Finalize based on verified outside-mount or inside-mount dimensions |
| Solar roller shades | Coverage width, coverage height, tube diameter, bottom rail, mesh type | Mounting surface flatness, side light gaps, handles, wind resistance | Record coverage dimensions and usable fabric dimensions separately |
The measurement sheet should include a code for each window opening, floor, room, window orientation, and an overview photo. A set of numbers such as “width 1,8 m, height 2,4 m” is not enough for production, because it does not indicate whether these are outside-mount dimensions, inside-mount dimensions, track dimensions, or fabric width. For projects with many identical windows, each set still needs its own line to prevent positions from being mixed up during packing and installation.
Technical specifications for fabric curtains
Fabric curtains are finalized using two sets of measurements: the dimensions of the area to be covered and the dimensions of the material to be sewn. The coverage width determines the positions of the curtain edges when closed; the fabric width depends on the fullness ratio, side hems, fabric width, and heading style. The finished height must clearly indicate whether it is measured from the floor to the track, from the sill to the track, or from the top of the recess to the floor. Wall measurements should not be used as fabric cutting measurements.
For wave or grommet headings, the fabric width generally needs to be about 2,2–2,5 times the coverage width to create even waves. Pleated headings typically use about 2,0–2,2 times, depending on the fabric, pleat width, and thickness. This ratio must not be applied directly to the window opening width if the track already has its own dimensions. For example, for a 3 m track, the coverage on each side must be determined first, before calculating the amount of fabric and dividing it into panels.
The fabric curtain measurement sheet should include: track width, track height, number of panels, stacking side, heading style, fullness ratio, hem width, floor contact, and distance from the track to the wall. For double-layer curtains, separate the main curtains from the sheers, recording the layer order, track offset, and spacing between the two channels. For floor-level windows, technicians usually also check floor flatness to prevent one side from touching the floor before the other.
For corner windows, adjoining windows, or wide glazed areas, each track section must be measured rather than simply adding up the total width. Inside corners require determining the turning radius, track joint positions, and sliding direction. Outside corners require recording the distance from the glass edge to the adjacent wall. If there is a service enclosure or crossbeam, the sewing height must deduct the exact obstructed portion; otherwise, the curtain heading may hit the ceiling or prevent the panels from opening fully.
Technical specifications for zebra blinds
Zebra blinds consist of a cassette, roller tube, two layers of sheer and light-blocking fabric bands, a pull cord or control unit, mounting brackets, and a bottom rail. Measurements therefore need to distinguish the coverage width of the entire blind from the usable fabric width. The cassette and brackets usually take up some width on both sides; for an inside mount, the frame’s squareness must be checked at multiple heights before cutting dimensions are finalized.
When measuring zebra blinds, record the width at the top, middle, and bottom; record the height at the left, middle, and right. If the three width measurements differ, use the dimension appropriate for the mounting type and disclose any gaps that may result. With small frames, window handles or hinges may come into contact with the blind cassette. Measure how far obstructions protrude, the sash opening direction, and the setback from the glass surface to the cassette edge.
The height of zebra blinds must account for both the cassette position and the bottom rail. For an outside mount, finalize the overlap above the top of the frame, the extension on both sides, and the coverage down below the sill or to the floor. For installation inside a recess, leave enough clearance for the fabric bands to move without rubbing against the wall edges. For casement windows, the blind should be checked with the window both closed and open to ensure the pull cord does not catch on the handle.
The measurement report should record the fabric type, light transmittance, bottom rail color, control side, mounting bracket positions, and recess dimensions. Do not send only front-view photos, as photos do not show recess depth, sill slope, or distance to the sash. When measuring at home for multiple zebra blinds, number them from left to right as viewed from inside the room to ensure they are installed in the correct order.
Technical specifications for mesh roller shades
For mesh roller shades, the mesh type, light transmission level, fabric width, roller tube, bottom bar, and operating mechanism must be specified. The overall dimensions of the shade assembly do not match the visible mesh width, because the cassette or mounting brackets sit at both ends. When light gaps need to be minimized, the technician must clearly note the intended side coverage; for inside mounting, the width limit imposed by the narrowest part of the recess must be accepted.
For further information, please contact Thanh Vy Curtains
We provide free consultation and on-site measuring at your home.
Measuring the width for mesh roller shades at three heights helps detect tapered frames, slanted walls, or uneven glazing beads. Measure the height at both edges and in the middle to check for uneven floors, sills, or crossbars. For large windows, check the roller tube’s load capacity, shaft length, and potential for sagging. Do not combine two assemblies into a single unit without first checking the load, center gap, and bracket positions.
The bottom bar needs clearance to descend freely without being obstructed by a windowsill, handle, or plant pot. If the shade is near a balcony door, check for airflow that causes the mesh to flutter and the ability to secure the bottom bar. For tilt-opening windows, the pull cord or control position must avoid areas where people’s hands frequently pass. These details are recorded on the measurement sheet so the workshop can select the correct hardware.
For mesh roller shades mounted close to the glass, also measure the glazing bead depth, the distance from the glass surface to the frame edge, and the handle projection. If guide rails are used, both sides must be sufficiently flat and parallel; if the mounting surface is unsuitable, the guides may cause the shade to run crooked. Where guide rails cannot be used, the option of wider coverage or a different mounting method must be clearly recorded before ordering.
How to check and finalize measurements before production
After completing the measurements, the technician cross-checks three sets of dimensions: site dimensions, finished dimensions, and production dimensions. Site dimensions are measurements of the wall, frame, recess, or glass. Finished dimensions define the area the customer wants the window treatment to cover. Production dimensions are the fabric cutting measurements, track length, and cassette, tube, and hardware dimensions after installation clearances have been factored in.
Each assembly must be checked again using a cross-reading procedure: read the room name and window code, read the mounting method, read the width first and then the height, and then read the hardware and operating direction. Measurements in millimeters should be recorded consistently, without mixing meters and centimeters on the same sheet. If measurements may change because construction is unfinished, record the measurement date, measurement conditions, and the milestone for reconfirmation.
When customers need in-home measurements for fabric curtains, zebra shades, and mesh roller shades, they should request a summary sheet with three separate specification tables. This makes it easier to compare each assembly without losing product-specific details. Before finalizing, customers can send photos of the frame, recess, sill, handle, and ceiling; the technician will identify which points require additional on-site measurements.
For advice on configurations and measurement scheduling for each type of window treatment, sign up for a site survey and provide the number of window openings, room types, photos of the current conditions, and the installation area. The technical team will use the actual dimensions to prepare a measurement sheet, recommend a suitable fullness ratio or coverage allowance, and then send the information requiring confirmation before proceeding to the quotation stage.
Check obstructions and identify safe screw mounting locations for the window treatment system
Before finalizing dimensions, the technician needs to inspect the entire installation area: air conditioner, copper piping, utility enclosures, switches, outlets, door handles, door panels, decorative molding, recessed lights, shelving, cabinets, and ceiling edges. For in-home window treatment measurement services, the goal is not just to take width and height measurements but also to determine where the window treatment will retract, what surface the track or roller cassette will sit on, where screws can be secured, and which areas must be avoided.
Each window opening should be assigned its own code on the survey sheet. The technician records the dimensions, photos of the current conditions, opening direction, obstruction locations, and corresponding solutions. This avoids confusion between two adjacent openings with the same width but different handles, air conditioner heights, or wall substrates. If the current conditions do not provide enough information for a conclusion, the opening is marked “pending verification” rather than automatically moving into production.
Map obstructions within the window treatment’s operating range
Obstructions are not limited to objects directly in front of the window frame. A handle projecting 5 cm may touch the window treatment when the panel opens; a deep sill may cause the fabric to rub against its top surface; horizontal air conditioner copper piping may occupy the exact area planned for mounting brackets. Therefore, checks must cover the window treatment both open and closed, the door or window panel fully open, and furniture in its actual use position.
| Obstruction | Points to measure or observe | Risks if overlooked |
|---|---|---|
| Wall-mounted air conditioner | Distance from the unit’s edge to the ceiling, window frame, and retraction area | The cassette touches the unit, airflow blows directly onto the fabric |
| Copper piping, drainpipes | Routing, outside diameter, and intersections with mounting brackets | Drilling into a pipe or having to offset the track from the opening’s centerline |
| Switches, outlets | Projection from the wall and hand access area | The window treatment covers the devices or obstructs electrical access |
| Door handles, hinges | Projection and movement arc when the panel opens | Fabric, blind slats, or the bottom bar are struck |
| Decorative molding, wall trim | Thickness, height, and interrupted sections around the opening | Mounting brackets do not sit flush, the track tilts |
| Shelves, cabinets, tables | Furniture depth and clearance for retracting the window treatment | The window treatment cannot be operated, or users must reach over furniture |
For air conditioners, measure both vertical and horizontal clearances rather than just taking a front-facing photo. If the indoor unit is close to the edge of the opening, the window treatment may need to be split into two sections, retract in a different direction, or use an offset curtain rod. Do not move the air conditioner to “make room” without a technical plan and the homeowner’s confirmation.
For switches and outlets, determine whether they fall within the overall coverage area or outside it. Heavy fabric curtains, cassette roller shades, and zebra shades each require different operating clearances. If a switch is right next to the retraction edge, the technician should clearly record the distance from the track edge to the device face, the faceplate projection, and the pull direction. Do not let the window treatment cover an outlet and then cut an opening in the fabric on-site.
Check door panels, handles, and the retraction path
Hinged door panels must be opened to their actual operating angle to check for collisions. For sliding doors, check the door track, panel stop, and hand clearance for pulling. For balcony doors, check the threshold, locking handle, hinges, and the window treatment in its fully retracted position. A window treatment may fit the frame when the door is closed but obstruct the panel when it opens, especially where the handle is level with the bottom bar or fabric folds.
Fabric curtains need stacking space on both sides or one side, depending on whether they have an even or uneven split. The stacking area must avoid handles, built-in cabinets, desks, and walkways. For roller shades and zebra shades, the cassette or roller tube needs enough clearance to avoid rubbing against the door or window panel. The technician should record the arrangement as “stack left,” “stack right,” “split evenly,” or “separate by panel,” rather than recording only one overall dimension.
If a door opens inward, the coverage above it must not reduce the panel’s range of motion. If the door opens outward onto a balcony, check whether the hanging window treatment obstructs the threshold or touches the railing. Where a door and a glass panel share the same wall area, distinguish the fixed section from the moving section before selecting positions for the track, roller cassette, and bottom bar.
Identify the mounting substrate before drilling
Screw locations are selected based on the actual substrate, not an aesthetically pleasing centerline on a drawing. The technician needs to identify concrete, brick walls, drywall partitions, wood paneling, cement board, beams, or cavities behind the surface. Each substrate requires a different choice of anchors, screws, drill bits, and reinforcement method. If the construction cannot be determined, work must stop at the site survey stage and additional inspection must be requested.
| Expected substrate | What must be verified | How to record it on the form |
|---|---|---|
| Concrete or beams | Locations of rebar, electrical wiring, and concealed pipes if data is available | Planned drilling points and boundaries to avoid |
| Brick walls | Mortar joints, finish layers, and substrate solidity | Substrate type and anchor plan finalized by the technician |
| Drywall partitions | Framing locations, board layers, and load-bearing capacity | Whether framing is present, reinforcement is needed, or the location must change |
| Wood paneling or slats | Cladding thickness and the load-bearing substrate behind it | Which layer to fasten into, rather than simply writing “wood wall” |
| Recessed ceiling curtain pockets | Depth, bottom surface, reinforcing frame, and space for the track | Hanging points, pocket edges, and areas where drilling is prohibited |
Drywall ceilings require particular caution. Do not drive load-bearing screws into a single sheet of drywall just because that spot is centered over the window. Framing members, beams, or reinforcing panels must be identified; if no suitable substrate is available, the plan may need to shift to wall mounting, add reinforcement, or use a lighter configuration after confirmation. Do not infer load-bearing capacity from how firm a surface feels when pressed by hand.
After handover, Thanh Vy Curtains stays with you
Talk directly with the Thanh Vy Curtains team to settle the right plan, from design to handover.
Request a quote Call 0985 615 577 Message on ZaloFor recessed ceiling curtain pockets, measure the usable depth from the finished surface to the obstruction inside, while also checking the width of the pocket bottom and the junction between the drywall ceiling and the wall. The track must have working clearance for installation and removal, not merely fit geometrically. If the pocket is misaligned, contains utility pipes, or has rounded edges, the measurement form must clearly state which sections are usable and which must remain clear.
Before drilling, the technician needs to check for electrical wiring, water pipes, air-conditioning pipes, and concealed wall components using the project information. A detector is only a supporting tool, not a substitute for technical documentation or professional judgment. Do not drill multiple test holes to “find the substrate” before protecting the surface and agreeing on the locations.
Establish safe clearances and finalize the solution
After marking obstructions, the technician creates a diagram showing the window centerline, coverage edges, track or roller cassette axis, stacking area, screw locations, and clearances from equipment. All measurements must use the same reference point, such as the finished wall edge or the outer frame edge, to avoid calculation errors. Close-up photos should be accompanied by wide-angle photos and the window opening ID.
If an air conditioner occupies the area above, options may include lowering the track, stacking to one side, dividing the covering into separate units, or changing the mounting style. If a handle touches the hanging portion of the curtain or blind, recheck the projection, coverage, and bottom bar position. If shelving or cabinets block the working area, confirm whether they can be moved. Each option must clearly document its effects on light, appearance, operation, and cost before ordering.
An in-home curtain and blind measurement service should end with a form confirming existing conditions, not just a message listing dimensions. The form needs to include the window ID, measured dimensions, proposed mounting style, obstructions, mounting substrate, points requiring reinforcement, and items the customer must confirm. If any point cannot yet be checked, mark it “not finalized” for resolution in the next technical step; do not turn missing information into an installation commitment.
To arrange a site survey for a property with numerous fixtures or a specialized ceiling, you should send wide-angle photos of the window openings, close-ups of the air conditioner and switches, preliminary dimensions, the wall or ceiling type if known, and the window opening condition in advance. The technician will use this data to prepare measuring tools, check obstructions on-site, and finalize suitable screw locations before proceeding to the quotation stage.
The in-home curtain and blind survey and measurement process in Ho Chi Minh City, from initial intake to finalized specifications

The in-home curtain and blind measurement process begins with accurately recording requirements and checking existing conditions at the property, and ends with a specification form that provides a sufficient basis for quoting, production, and installation. In Ho Chi Minh City, customers only need to send their area location, photos of the window openings, the intended curtain or blind type, and a convenient time. Intake staff will review the information, determine the survey scope, and then schedule a technician to take measurements in person rather than finalize dimensions from photos alone.
1. Gather requirements and prepare the survey schedule
At the first stage, customers should provide the number of window openings, preliminary dimensions if available, and the property type, such as an apartment, townhouse, villa, office, or store. Information about fabric curtains, sheer curtains, zebra shades, screen roller shades, Roman shades, or slatted blinds helps the technician prepare a steel tape measure, laser measuring device, level, marking pen, and suitable inspection accessories.
Staff also ask in advance about the floor, elevator access, permitted work hours for residents, and whether the home is still being finished or is already occupied. If the property has drywall ceilings, recessed curtain pockets, swinging windows or doors, or numerous fixtures mounted near the frames, these details are noted in the appointment schedule. Remote preparation helps the in-home curtain and blind measurement visit focus on technical checks without spending time reestablishing basic requirements.
2. Survey existing conditions at the property
Upon arrival, the technician checks each window opening against the photos and information received. The measurer inspects masonry walls, concrete, drywall partitions, aluminum frames, wood frames, window sills, utility enclosures, flat ceilings, and recessed pockets. At each location, they observe the direction in which the window or door opens, handles, hinges, old curtains or blinds, existing rods, and the space available for installation work.
Wall-mounted air conditioners, air vents, recessed lights, ceiling fans, outlets, switches, wardrobes, beds, and desks are all recorded if they fall within the curtain or blind coverage area. The distance from the edge of the opening to each obstruction is measured separately, not estimated by eye. For balcony doors, the technician also checks the opening clearance, railing, lock handle, and curtain draw direction to prevent interference during use.
3. Measure, cross-check, and record discrepancies
For inside mounting, width and height are measured at three positions: top, middle, and bottom; the smallest measurement is generally the basis for consideration when the frame is out of square. For outside mounting, the measurer determines the left, right, top, and bottom coverage edges based on the area requiring light blocking and the clearance needed for the rod. Each measurement is read back on-site, recorded in millimeters, and checked against the actual layout.
The technician does not record only the finished width and height. The survey form also includes pocket depth, ceiling elevation, molding thickness, rod setback, bracket positions, mounting substrate type, track length, draw direction, and the side for the cord or motor. If the three measurements differ, the discrepancy is clearly recorded to select a solution, such as using the smaller dimension, leveling the rod, or switching to outside mounting.
4. Recommending options for each location
After taking measurements, the technician compares them with the curtain styles and how each room is used. Bedrooms that need light control may prioritize double-layer curtains or light-blocking fabric; areas that need flexible light adjustment may consider zebra blinds; small windows where the sill needs to remain uncluttered may consider solar roller shades. These recommendations are based on actual conditions, rather than defaulting to one type of window treatment for every opening.
For fabric curtains, the width of the rod or track also relates to the fullness ratio and heading style. Wave curtains and grommet curtains typically require a ratio of about 2,2–2,5 times the coverage width; pleated curtains typically require about 2,0–2,2 times, depending on the fabric and the desired fullness of the folds. The technician records the finished width, track width, fabric returns, and overlap if the curtains have two panels.
For zebra blinds and solar roller shades, the measurement sheet must clearly distinguish overall dimensions, inside-opening dimensions, and the positions of the cassette, bottom bar, mounting brackets, and side gaps. When installing inside a narrow recess, space must be left for cassette operation and cleaning. When installing outside the frame, the edges must provide adequate light coverage without touching handles, door or window panels, or nearby equipment.
5. Checking mounting surfaces and installation feasibility
Before finalizing, the technician determines whether the screw mounting points are on concrete, brick walls, wood, steel framing, or drywall. For drywall ceilings, the framing positions, cavities, and suitability of anchors must be checked; screws must not be installed at points that cannot support the load. For recessed ceiling curtain pockets, the depth and track elevation are cross-checked to ensure the curtains do not rub against the ceiling, lights, or door or window panels.
Areas with electrical wiring, water pipes, utility boxes, or crack-prone cladding are marked to avoid drilling. If ceiling mounting is not feasible, the technician may recommend wall mounting, mounting plates, different bracket lengths, or an adjusted track position. Every change is recorded along with its technical reason so the customer understands why the original dimensions or configuration need adjustment.
6. Finalizing the specification sheet and preparing the quote
At the end of the in-home curtain measurement visit, the customer reviews the survey sheet for each room or window opening code. It should include finished dimensions, measurement type, proposed window treatment, color or sample code if already selected, draw direction, number of panels, rod or track type, mounting location, accessories, notes on obstructions, and issues that need to be addressed before installation day.
Staff use this sheet to prepare a quote based on actual quantities and configuration, rather than simply multiplying a unit price by preliminary dimensions. If the customer has not finalized the materials, the quote can be broken down by option for easier comparison. Before placing an order, both parties need to reconfirm the dimensions, style, color, accessory types, installation scope, and any additional items if site conditions change.
Customers can book a survey, request a quote, or contact the provider to confirm an in-home curtain measurement appointment in Ho Chi Minh City. Only after the specifications have been cross-checked and finalized in writing does the file move on to ordering, fabrication, and installation scheduling.
Quotes for in-home curtain measurement and commitments to confirm before ordering

Before ordering custom curtains or installation, customers should request a quote for in-home curtain measurement based on actual site conditions, not just estimated dimensions. A clear quote should itemize the survey, window treatment type, materials, accessories, labor, and potential additional charges. This approach lets customers know which items they are paying for, which specifications have been finalized, and which conditions apply if the site changes.
Which items should the quote include?
The quote should fully specify the product name, fabric or mesh code, color, heading style, finished dimensions, rod or roller tube type, accessory prices, delivery fees, installation fees, and taxes, if applicable. For fabric curtains, it should clearly state the fabric width, grommet, wave, or pleated heading style, fullness ratio, and estimated meters of fabric. For zebra blinds or solar roller shades, it should distinguish overall dimensions, inside-opening dimensions, bottom bars, cassettes, and bracket types.
Customers should also check the unit of measurement: linear meter, square meter, set, piece, or service package. For the same window, a quote based on linear meters and one based on area may use different calculations. If there are multiple openings, the quote should list each location, such as living room windows, balcony doors, bedroom windows, and small openings, rather than combining them into a single figure that is difficult to cross-check.
Survey and in-home curtain measurement costs
Survey costs may be charged separately, waived subject to service-area conditions, or deducted when the customer places an order. No single policy should be assumed unless it is clearly stated on the confirmation sheet. When booking in-home curtain measurement, customers need to ask in advance about service coverage in Ho Chi Minh City, the expected duration, the number of openings to be surveyed, and any fees that apply to cancellations or rescheduling.
An on-site measurement visit typically includes checks involving laser measures, tape measures, frame squareness, ceiling elevation, curtain recess depth, clearance above, and the operating area of door or window panels. If the survey involves multiple floors, a site outside the service area, or a second measurement visit because construction is not yet complete, the fee conditions must be listed separately. This provides a basis for avoiding disputes after ordering.
Do not compare only the total at the bottom of the quote. Cross-check the main fabric, sheer layer, tracks, ceiling brackets, wall brackets, joining brackets, pull cords, motors, controllers, bottom bars, light-blocking strips, and installation labor. A low quote that excludes cassettes, brackets, or ceiling drilling fees may not reflect the final cost.
Specification commitments before proceeding with an order
After the survey, the provider should send the specification sheet to the customer for approval in writing or through a retrievable message. This sheet must include a code for each opening, width, height, measurement type, opening direction, mounting location, material color, pleat style, and notes on obstructions. If there are recessed pockets, drywall ceilings, decorative moldings, or cabinets close to the opening, photos of the existing conditions should be saved with the file.
For fabric curtains, the track or rod dimensions and the fullness ratio used to calculate fabric quantity must be confirmed. Grommet curtains and wave curtains typically require about 2,2–2,5 times the finished width to create drape; pleated curtains typically require about 2,0–2,2 times, according to technical reference materials. The figure applied to each order must be recorded, because changing the fullness ratio directly affects fabric quantity, fold fullness, and price.
For zebra blinds and solar roller shades, the commitment must clearly state whether the dimensions are overall or inside-opening dimensions, the cassette position, drop direction, the side for the pull cord or motor, clearance from handles, and light-gap requirements. If the customer chooses an inside-recess installation, the technician must confirm that the recess is deep enough for the cassette, brackets, and maintenance access. If the recess is unsuitable, the outside-recess installation option must be communicated before production.
Terms for changes, discrepancies, and additional costs
Before placing an order, customers should confirm when the specifications will be finalized. After this point, changes to the fabric code, color, height, sewing style, control side, or installation location may incur additional material and fabrication costs. If painting, cabinet installation, flooring, or ceiling finishing is still underway, the documentation must clearly state whether the measurements are preliminary or final.
The commitment should also distinguish between measurement errors, fabrication errors, and discrepancies caused by site conditions. If the person taking measurements records an incorrect dimension, there must be a procedure for cross-checking the measurement sheet, site photos, and cutting drawings to determine responsibility. If walls or ceilings are sloped, floors are uneven, or recesses change after the site survey, the approach to resolving these issues must be communicated in advance. Do not accept vague commitments that lack verification methods and response deadlines.
Before transferring a deposit, check four points: what the total price includes, which specifications have been finalized, which items may incur additional costs, and who is the contact responsible for confirmation. Customers can send photos of window openings, floor plans, air conditioner locations, switches, and door handles so technicians can prepare the appropriate tools. When you need to finalize a quote for in-home curtain measurement, use the survey booking, quote request, or contact sections to keep an accurate record of your requirements.
One team from drawings to installation
Thanh Vy Curtains surveys, designs and installs based on your actual site. Send us the dimensions and current condition, and we will advise the right solution.
Request a quote Call 0985 615 577 Message on ZaloAcceptance inspection, discrepancy resolution, and curtain system cleaning and maintenance instructions

After installation, acceptance inspection involves more than checking whether the curtains have been hung. Recheck the coverage dimensions, track alignment, opening and closing travel, light gaps, and the security of each connection point. With in-home curtain measurement services, the finalized specifications must be compared against the actual product before the customer signs off. Any discrepancies should be clearly recorded in the acceptance report, along with photos of the areas requiring adjustment.
On-site acceptance checklist
- Compare the finished width and height against the measurement sheet, checking the left edge, right edge, and height of the curtain’s bottom edge.
- Observe fabric curtains when fully closed: folds should be evenly distributed, without unusual fabric bunching at the end of the track or pulling to one side.
- For zebra blinds, check that the light-filtering fabric bands align, the control cord is not twisted, and the roller tube operates smoothly.
- For mesh roller shades, check whether the bottom bar touches the floor, window sill, or handle; the mesh should roll evenly without wrinkled edges.
- Use a level to check the track, curtain housing, and brackets; joints must not create steps that cause the gliders to catch.
- Test opening and closing continuously for several cycles to detect binding noises, a hard-to-pull cord, a motor that stops early, or curtains rubbing against the wall.
- Check end caps, expansion anchors, mounting brackets, and clearance from air conditioners, switches, and door handles before handover.
Resolving discrepancies in different situations
Minor discrepancies in walls or floors should not be compensated for by cutting fabric on-site without approval. Technicians need to classify the cause: recording errors, fabrication errors, out-of-square walls, insufficient curtain recess depth, or obstructions added after the site survey. If the curtains are shorter than designed, determine whether the shortfall comes from the coverage height, rod position, or material shrinkage. If the curtains are too long, check whether the brackets, roller tube travel, or installation height can be adjusted before deciding to alter the product.
If light gaps appear on both sides, remeasure the distance from the fabric edge to the window frame at three heights. For inside-mounted window coverings, gaps must be assessed alongside the squareness of the recess; for outside-mounted window coverings, check the overlap on both sides and the flatness of the wall. Fabric curtains touching the floor unevenly may result from a sloping floor, protruding baseboards, or a track installed at the wrong height. In that case, mark the lowest point, adjust the mounting brackets to level them, and only then alter the curtain hem if necessary.
Every adjustment should be recorded as an item: the cause, measurements before correction, corrective action, person confirming it, and completion time. If hardware must be replaced, clearly record the codes for the track, mounting brackets, bead chain, roller tube, or motor. This approach provides a basis for the next acceptance inspection while avoiding disputes caused by purely subjective descriptions such as “the curtains are crooked” or “the coverage is incomplete.”
Proper cleaning for each component
Before cleaning, move the curtains into a position that is easy to work with, disconnect the power if they are motorized, and use a soft-bristle brush or low-power vacuum to remove dust from the fabric surface, curtain housing, track, and bottom bar. Do not spray glass cleaner, alcohol, or cleaning agents directly onto fabric, mesh, or controls. For coated fabric curtains, test a neutral cleaning solution in a hidden corner; do not scrub vigorously, wring, or dry at high heat unless the material label allows it.
Zebra blinds should be wiped one band at a time with a dry or slightly damp microfiber cloth, taking care not to pull the light-filtering fabric layers out of alignment. For mesh roller shades, clean the roller tube, bottom bar, and both side guide rails, if present; long-standing dust buildup in the rails can make the mesh edges harder to move. Pull cords, bead chains, and plastic rings only need to be wiped dry; do not oil the track or gearbox yourself, as oil traps dust and can cause the mechanism to slip.
Maintenance schedule and handover
Each month, briefly check that the track runs smoothly, the curtains hang straight, and the control cord is in good condition. After three to six months, clean more thoroughly depending on dust levels, humidity, and how often the curtains are opened and closed; areas near kitchens, balconies, or streets typically need earlier checks. If you notice squeaking, slack cords, mesh rolling unevenly, damp or moldy fabric, or wobbling brackets, stop using force and take photos so the issue can be addressed. A handover package containing the acceptance form, finished measurements, cleaning instructions, and maintenance schedule will help the curtain system operate reliably over the long term.
If you need your curtain system rechecked after use, you can submit a site survey request so a technician can compare the actual measurements and assess the condition of the materials and hardware. When scheduling in-home curtain measurement, describe the curtain type, the location to be inspected, and the problem you are experiencing so the right tools can be prepared.
Related projects
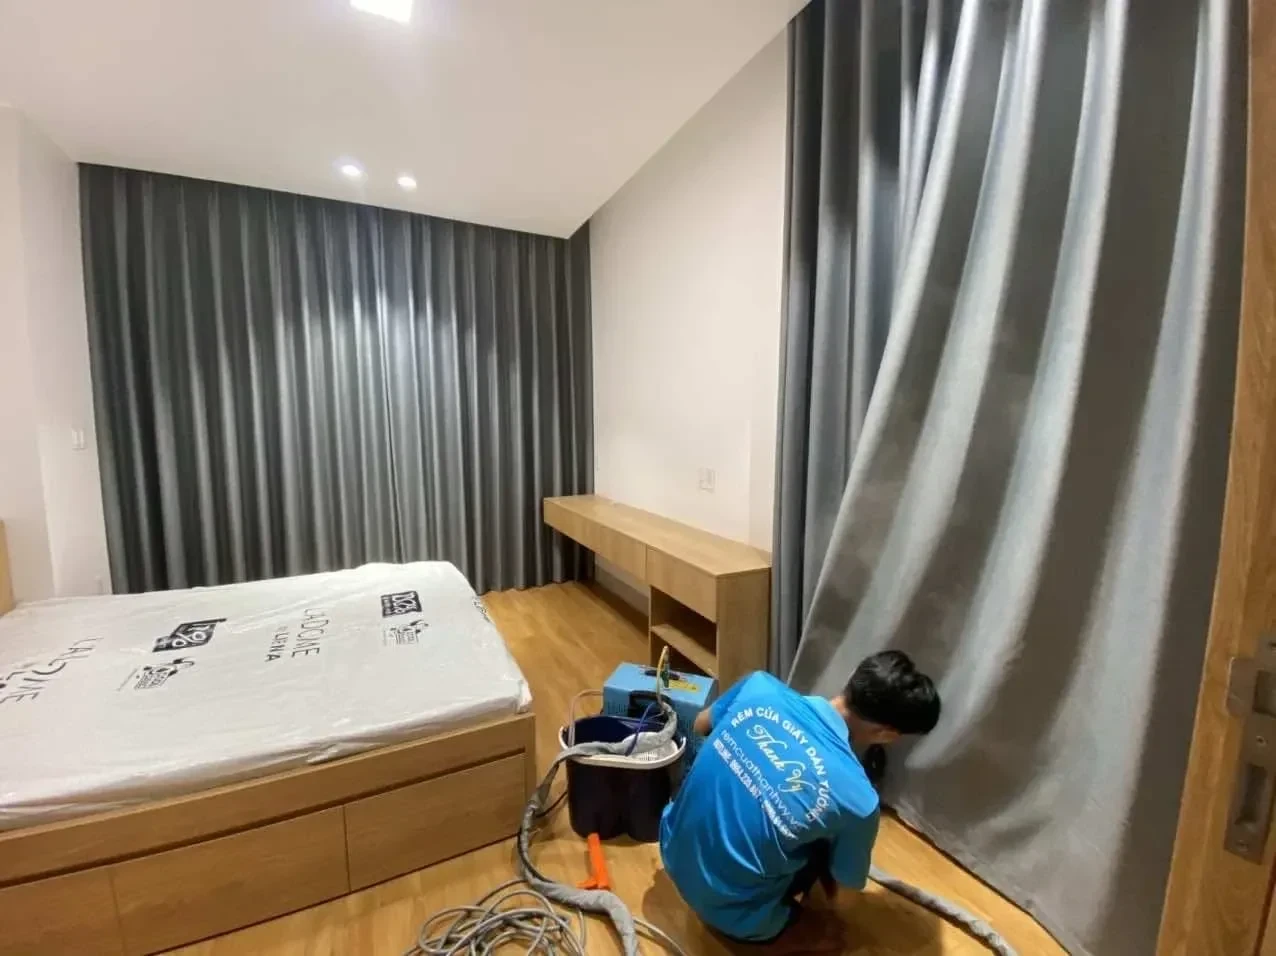
2-Layer Wave-Fold Fabric Curtains for Ho Tram Villa Bedroom
In 2024, Thanh Vy Curtains completed a 2-layer wave-fold fabric curtain project for the master [...]
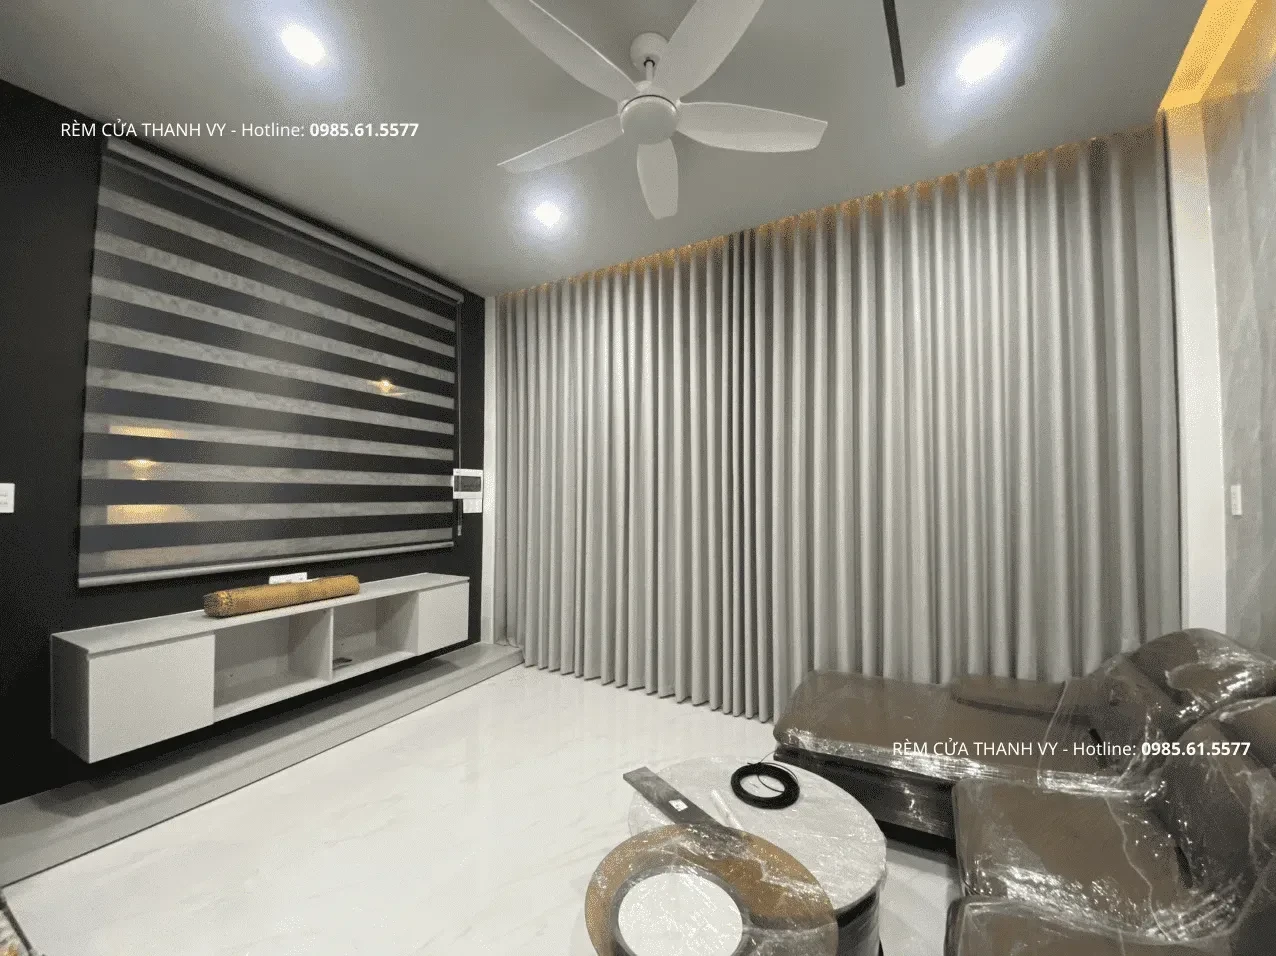
2-Layer Fabric Curtains + Horizontal Striped Roller Blinds – Duc Hoa Apartment, Long An
This project was carried out in a modern apartment in Duc Hoa, Long An – [...]
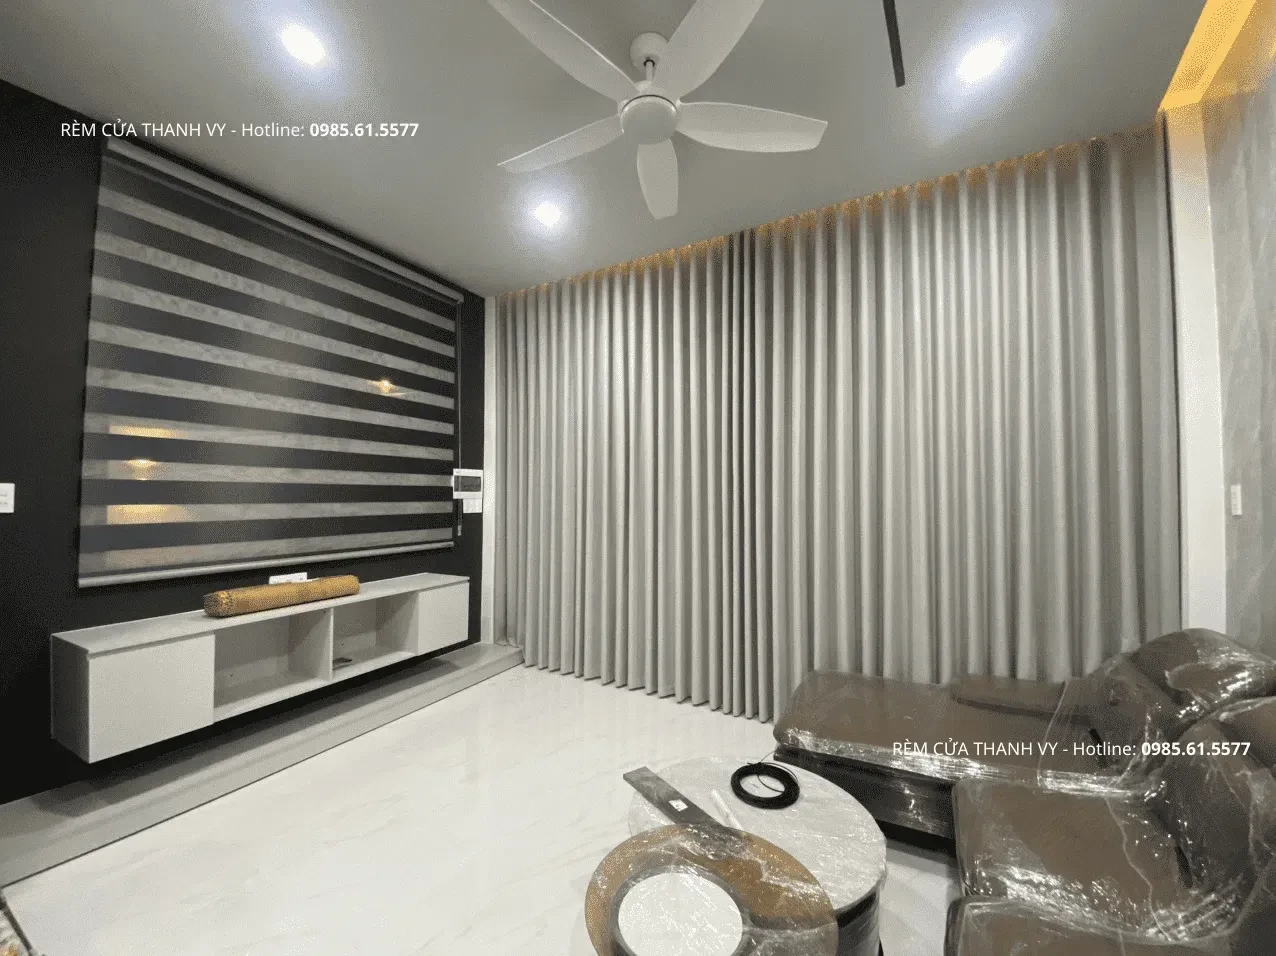
Fabric Curtains Combined with Zebra Blinds – Hiep Binh Chanh, Thu Duc
This project in Hiep Binh Chanh, Thu Duc, features a modern townhouse living room with [...]
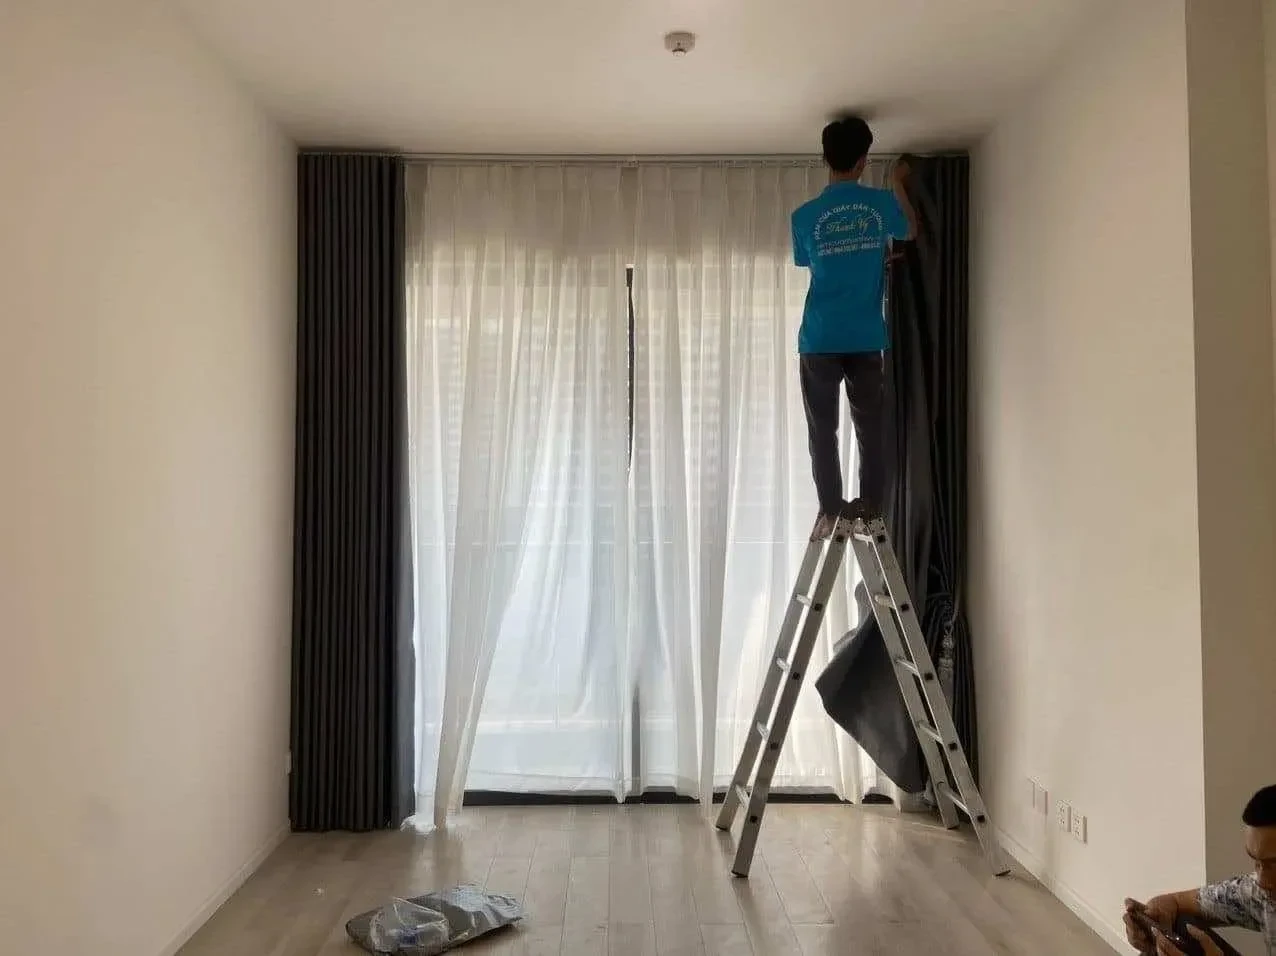
Black-and-White Double-Layer Curtains for a Masteri Centre Point Apartment in District 9
This project involved installing a double-layer curtain system for a high-rise apartment at Masteri Centre [...]
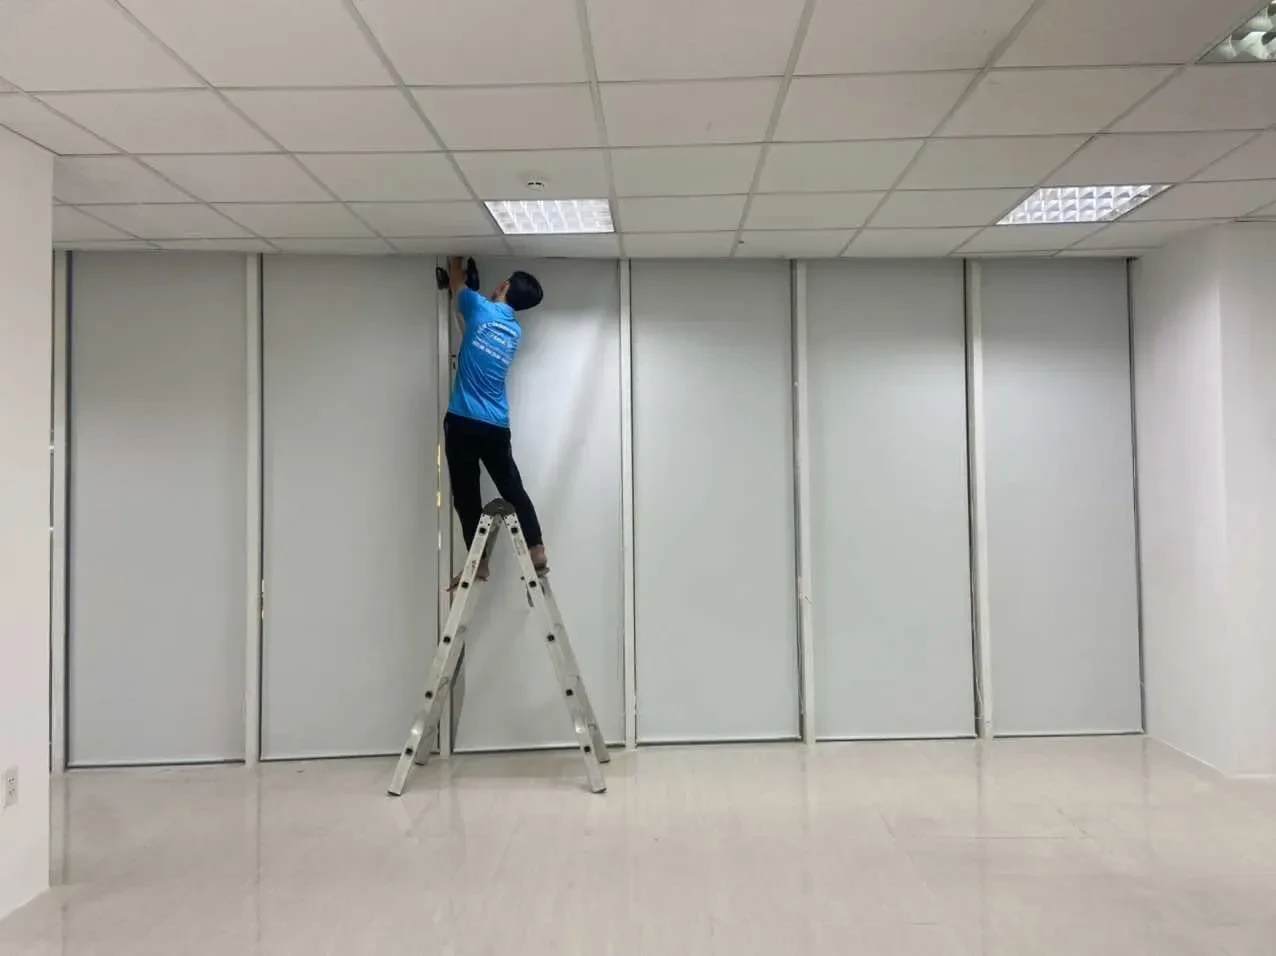
Office Roller Blinds in District 11 – Le Dai Hanh Street
This project involved installing roller blinds on an upper floor of a modern office building [...]
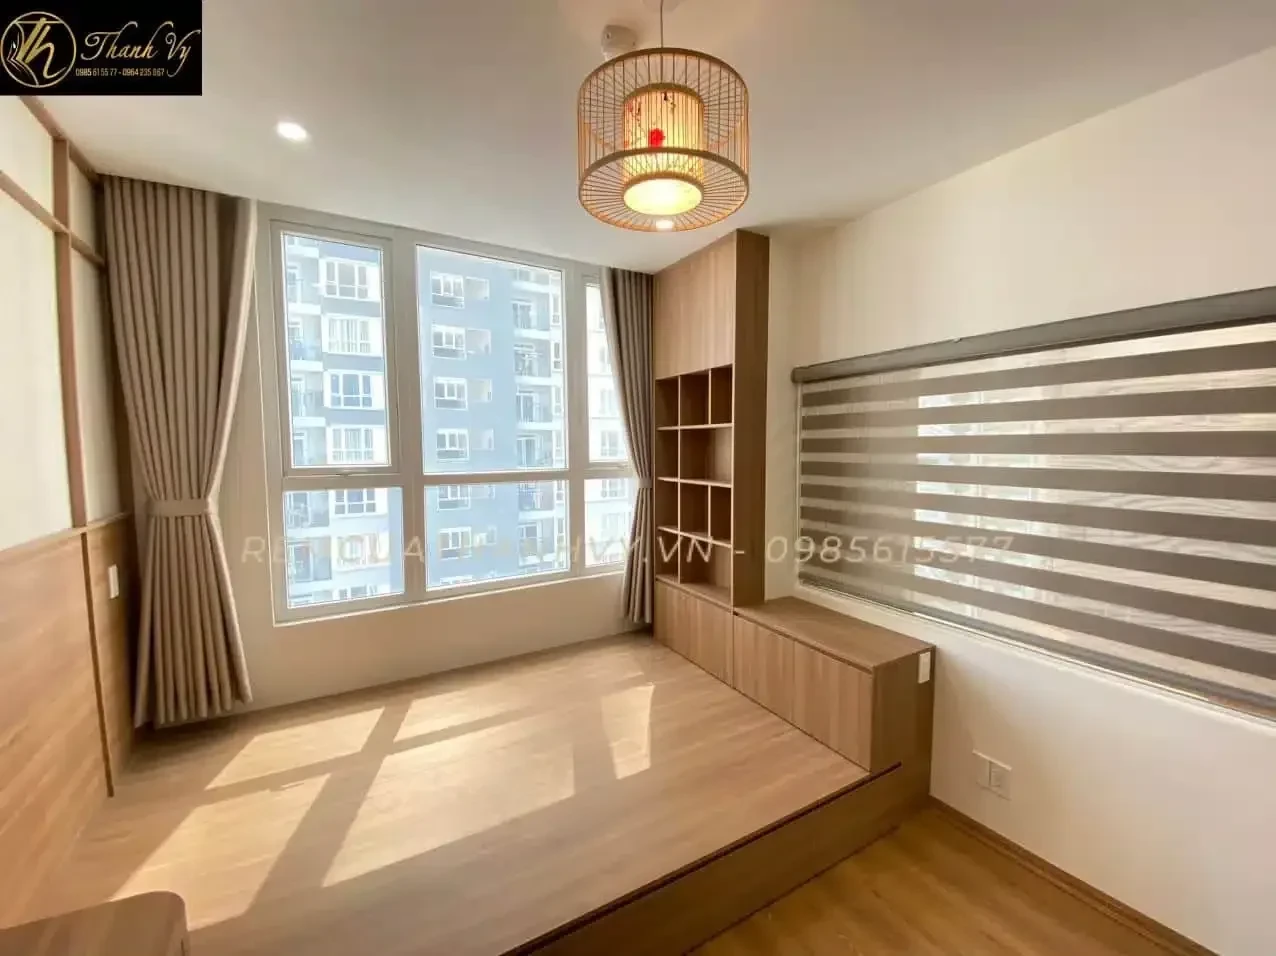
Blue Roman Shade Blinds for The Western Capital Apartment, District 6
This project at The Western Capital apartment complex (District 6) is a typical example of [...]
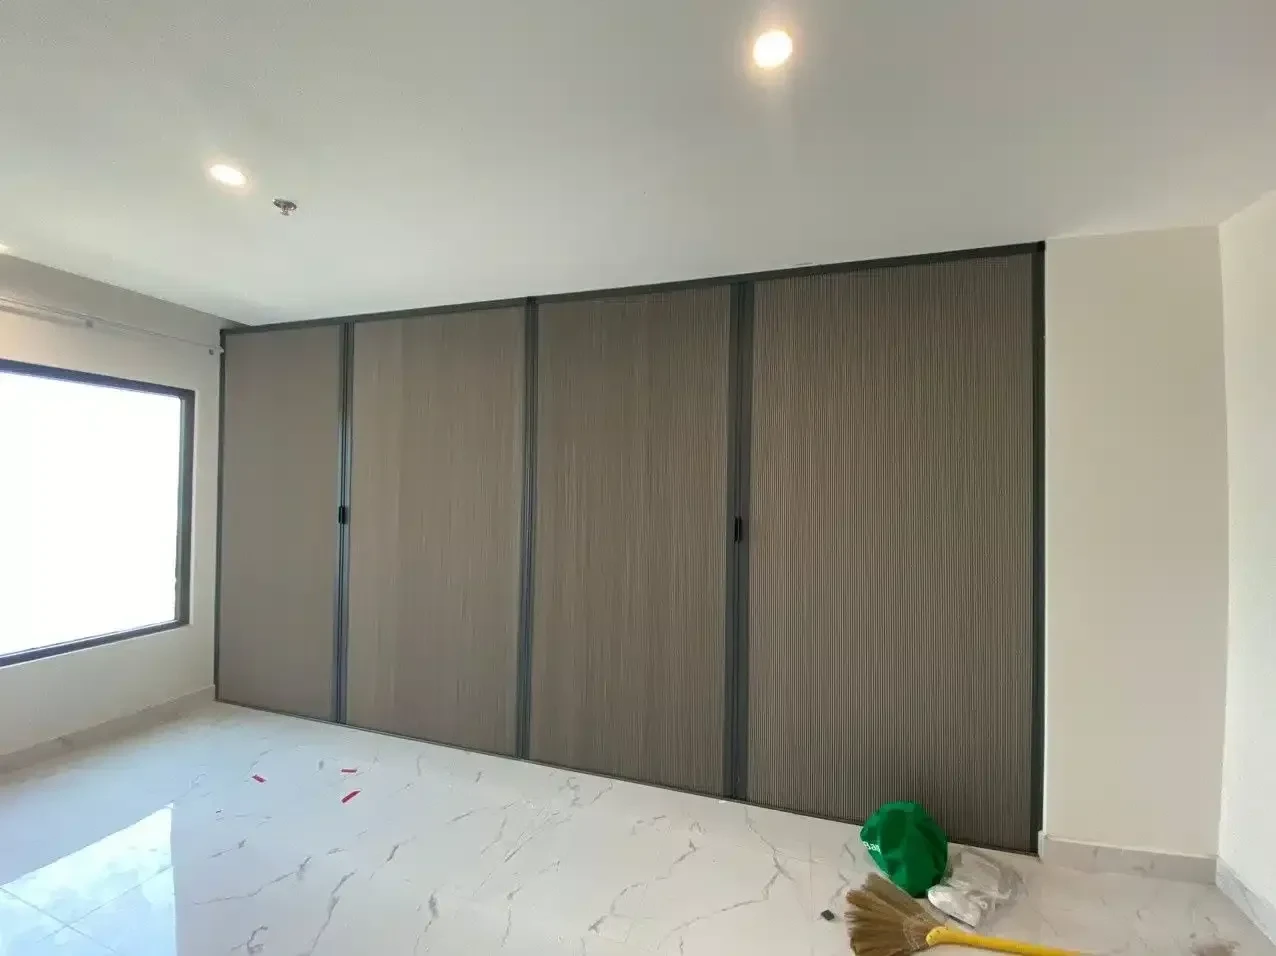
Glass Partition with Roller Blinds at Vinhomes Grand Park – BS-16 Apartment
This project at Vinhomes Grand Park, in the BS-16 tower, was a luxury apartment interior [...]
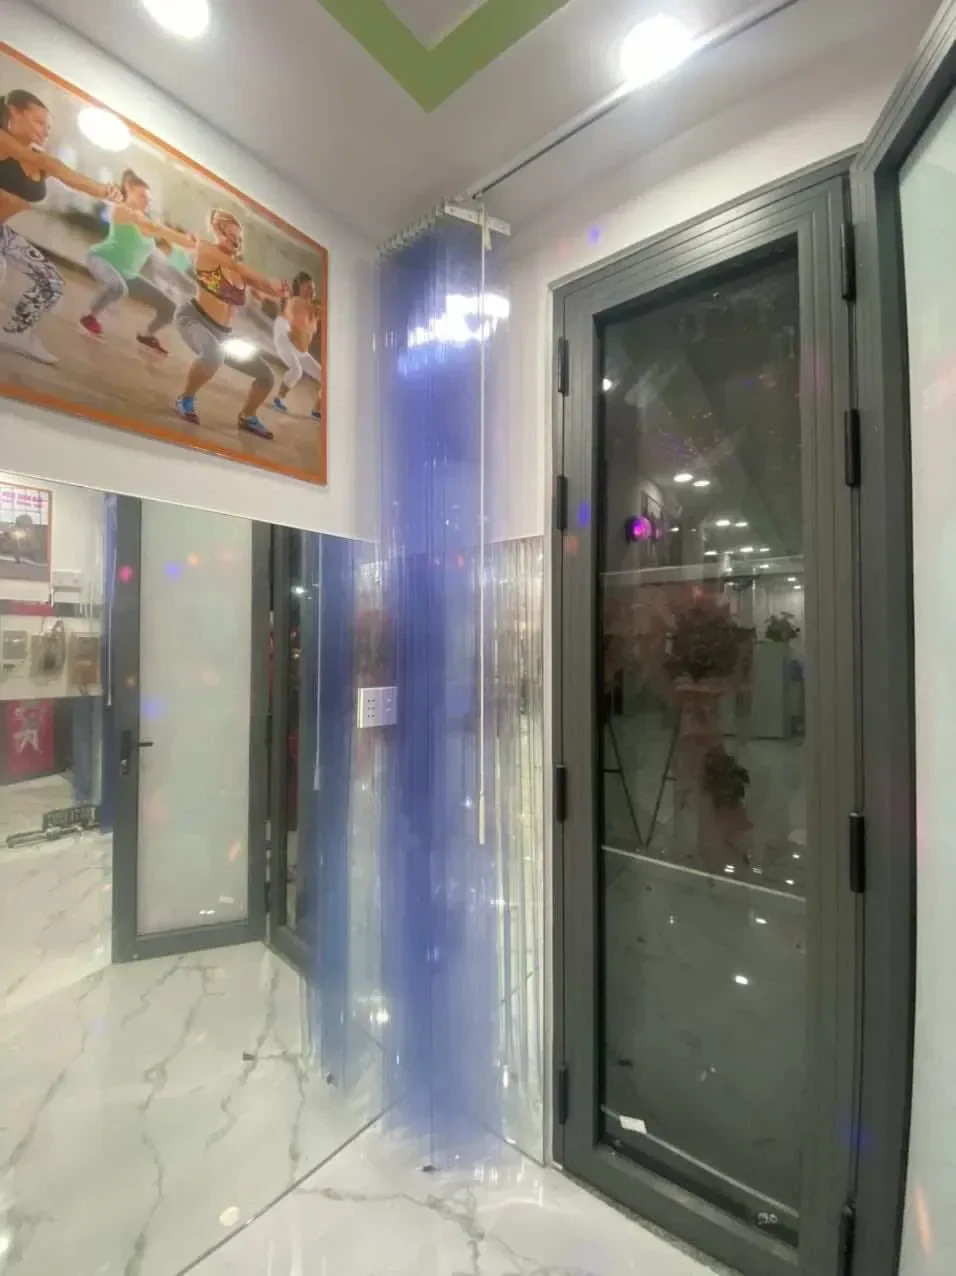
PVC Curtains in Bình Tân District – Ngọc Liên Club
Ngọc Liên Club, a modern fitness and yoga space in Bình Tân District, required a [...]
Related services

Curtain Warranty and Maintenance: Checks and Service Under the Policy
A guide to distinguishing curtain warranty service, maintenance, and repairs; preparing records, photos, and videos; [...]
Apartment Curtains in Ho Chi Minh City: Consultation, Measuring, Sewing, and Installation
Apartment curtain services in Ho Chi Minh City include consultation based on sun exposure, measuring, [...]
Townhouse Window Treatments: Choose by Facade, Light and Budget
Advice on choosing townhouse window treatments based on facade orientation, light intensity, materials, installation techniques [...]
Related areas
Curtains in Nha Be Commune, Nha Be: On-site measurement and installation at the new address
Curtain measurement and installation in Nha Be Commune, Nha Be. A new ward merged from [...]
Related reviews
Binh Tan Curtains: What 11 Completed Projects Reveal About the Types of Curtains to Choose—and Avoid
This is drawn from 11 curtain projects we actually completed in Bình Tân: which types [...]

Curtains in Thu Duc: 8 Completed Projects and Lessons from Tall Glass Windows
Eight curtain projects we have completed in Thu Duc City share one factor that determines [...]
Related posts

Simple DIY Rainbow Blind Installation Guide
A step-by-step guide to installing rainbow blinds, from identifying your needs and checking the window [...]

Simple DIY Roller Blind Installation Guide
A step-by-step guide to installing roller blinds, from identifying your needs and checking the window [...]
Simple Ways to Install Fabric Curtains at Home
Step-by-step guide on how to install fabric curtains, from identifying needs and checking window conditions [...]

Binh Duong Curtain Installation: A Streamlined Survey and Installation Process
Binh Duong curtain installation is only effective when the survey, configuration, and mounting location are [...]
Rainbow Blinds for Windows: Tips for Choosing & Styling Well
A guide on choosing window rainbow blinds based on windows, lighting, privacy, materials, finish styles, [...]
Roller Blinds for Windows: Selection & Styling Tips
A guide to choosing window roller blinds based on window type, lighting, privacy, materials, finishing [...]

Fabric Curtains for Windows: Tips for Choosing & Styling
A guide to choosing window curtains based on window type, lighting, privacy, materials, finishing styles, [...]

On-Site Curtain Installation Services in Binh Tan
A guide to choosing and installing curtains in Binh Tan based on living space, lighting, [...]
No comments yet!