



Showroom and Store Window Treatments: Keep Displays Bright and Sunlight in Check
Showroom window treatment needs: maintaining display lighting and limiting sunlight
Showrooms need window treatments to regulate light throughout the day, reduce direct sunlight on products, and still maintain the brightness customers need to view them. A suitable showroom window treatment system should not make the space dark and enclosed; it must diffuse light, reduce glare on glass, and limit heat absorbed through the storefront. For showrooms in Ho Chi Minh City, these needs are often most apparent at east- and west-facing glass doors, tall windows extending close to the ceiling, and display areas near the storefront.
Natural light can make product colors look more attractive, but sunlight passing through glass also creates harsh patches of light on floors, tabletops, glass display cases, or glossy painted surfaces. Customers coming in from outdoors need a few seconds to adjust to the brightness; if the display area has glare, they will struggle to see product colors and details accurately. Prolonged sunlight also raises temperatures near windows, making the air conditioning work harder and affecting the shopping experience.
Three needs to address right at the storefront
The first is maintaining even ambient lighting. Window treatments should not simply open or close completely; they need to provide a light-filtering layer during hours when sunlight enters at an angle. The second is limiting UV exposure on fabric samples, leather, stained wood, printed paper, packaging, and interior materials. The third is ensuring that sightlines from the entrance to the consultation counter, sample shelves, and hands-on experience area are not blocked by thick panels or bulky fabric folds.
For example, a showroom with a glass storefront 6 m wide and 3 m high, but with a reception counter only 1,2 m from the glass, will need a different approach from a store with narrow, high windows. In the first case, window treatments should reduce glare at eye level and maintain visibility through the storefront. In the second, the priority may be reducing heat at the high glass section without affecting light in the display area below.
Window treatments are planned by usage zone, not applied uniformly
Rather than installing one type of window treatment throughout the showroom, divide the floor plan into zones: the sun-facing storefront, entrance, main display area, checkout counter, fitting rooms, or private consultation area. Each zone has different glare levels, viewing angles, and operating requirements. A west-facing window may need a stronger light-blocking layer; a north-facing window generally needs only a light-filtering layer to keep product colors looking natural.
Areas displaying glossy products such as tile, stone, glass, metal, or automotive paint are prone to reflections. Here, window treatments need to be adjusted according to the angle of sunlight, not just the window area. Areas with hanging fabric samples, wallpaper, or light-colored furnishings need diffused light so customers can distinguish shades. In areas with screens, spotlights, or electronic signs, outdoor light must be kept from reflecting directly onto display surfaces.
Recognizing when a showroom needs a window treatment solution
Start by observing at three points in the day: morning, midday, and late afternoon. Record where patches of sunlight appear, which areas are warmer, which glass surfaces cause glare, and which products must be moved because of fading or poor visibility. Use a phone compass to determine window orientation and a laser measure to measure the width and height of each glass opening; light meter apps should only be used as reference data during the survey.
If staff frequently need to adjust window treatments during consultations, customers squint while viewing samples, or display lighting has to be turned up even during the day, these are signs that light is not being controlled. Existing window treatments that sag, have jammed bottom rails or misaligned tracks, collect dust, or fail to fully cover the edges of the glass also lose effectiveness. These observations help the consultant identify the exact areas that need attention before recommending options.
Know the cost before you decide
Send estimated dimensions and a few photos of the space, and Thanh Vy Curtains will prepare a quote for exactly the items you need.
Request a quote Call 0985 615 577 Message on ZaloFor stores in leased spaces, also check the locations of service enclosures, drywall ceilings, concrete beams, electrical outlets, and the clearance needed for doors to open. Details such as handles, signs, cameras, fire sprinklers, and shelving close to the glass can affect the window treatment layout. An error of just a few centimeters in edge coverage or mounting position can still let light into the exact spot where customers are sitting.
Practical goals for the window treatment system
The goal is not to turn the showroom into a dark room, but to create comfortable, consistent ambient light for the products. When needed, window treatments must quickly reduce direct sunlight; while customers browse, they should still allow views outside and accurate color perception. The ability to draw, rotate, raise, or adjust treatments for individual windows is just as important as their appearance, because staff need to operate them quickly during business hours.
Initial requirements should therefore be recorded as observable criteria: which areas need glare reduction, which hours have harsh sunlight, which products are UV-sensitive, how far the glass is from the shelves, and how much privacy is needed. With this data, a showroom window treatment plan has a basis for balancing display lighting, temperatures in the sales area, and the customer experience.
If preparing to open or renovate a space in Ho Chi Minh City, showroom owners can schedule a site survey to measure each window, mark the direction of sunlight, and divide the display areas into zones. Request a survey record that includes glass dimensions, mounting locations, areas needing light filtration, and operating methods; only then compare window treatment options, quotes, and installation schedules.
Analyze the floor plan, sunlight direction, and display zones before choosing window treatments
Before choosing showroom window treatments, create a lighting map rather than simply selecting a style to match the interior colors. This map must clearly record the orientation of the glass doors and windows, the dimensions of each opening, the times sunlight enters, the locations of display counters, customer circulation routes, and areas needing consistent brightness. The same type of window treatment may suit a north-facing window but allow glare at a west-facing storefront. An accurate survey helps showroom owners know which openings need light filtration, which need heat reduction, and which should still retain natural light.
Measure the floor plan window by window, not the entire storefront as one
Divide the showroom into areas with different functions: the glass storefront, main product area, consultation counter, product testing area, small storage room, changing rooms, and delivery access route. For each window, record the overall width, height from the floor to the top of the glass, clearance above, window recess depth, handle location, and distance to cabinets and shelves. If multiple glass panels are adjacent but separated by aluminum mullions or concrete columns, measure each span separately to prevent a window treatment from catching during operation.
Survey tools should include a laser measure, steel tape measure, level, phone compass, marking pen, and floor plan. A laser measure allows quick height checks; a steel tape measure verifies glass edges and recess depth. A level detects uneven sills or ceilings. A compass provides only an approximate orientation, while sunlight timing must be recorded on site. When service enclosures, fire detectors, cameras, or pipes are near a window, mark them directly on the measurement drawing.
Assess sunlight direction during operating hours
Window orientation is only the starting point. East-facing storefronts typically receive morning sunlight, west-facing ones experience angled sunlight and a sharp rise in heat late in the day, while south- or north-facing ones can still have glare depending on the season, overhangs, and buildings opposite. The survey sheet should therefore include observations at opening time, midmorning, early afternoon, and late afternoon. At each point, record sunlit floor areas, reflective glass surfaces, areas where products appear to change color under the light, and places where customers have to squint while viewing products.
Do not draw conclusions from a single site visit. A west-facing showroom shaded by a neighboring building may need a different solution from one facing the same direction but with a large open courtyard. Glass canopies, vertical louvers, signs, greenery, and existing window treatments all change the patches of light. If the space is being renovated, record both its current condition and the items scheduled for installation so that window treatments are not chosen based on temporary conditions.
Identify display areas that need consistent lighting
Each product category has a different level of sensitivity to light. Displays of fabric, paper, paintings, painted wooden items, cosmetics, or products with glossy surfaces are often prone to visible reflections in direct sunlight. Areas used for photography or video recording need diffused light that does not create patches of light and shadow on products. At consultation counters, prioritize reducing glare on computer screens and countertops. In aisles, avoid having curtains spread into areas where customers turn around or pull out products.
On the floor plan, you can use three symbols: areas that need to stay bright, areas that need light filtering, and areas that need substantial sunlight reduction. Areas that need to stay bright are usually near products whose true colors need to be seen; light-filtering areas are at windows that receive angled sunlight but where daylight is still desired; areas that need substantial sunlight reduction are in front of checkout counters, screens, waiting chairs, or products that heat up easily. This zoning approach helps ensure showroom window treatments are selected for specific purposes, rather than installing the same configuration across all windows.
| Survey area | Conditions to record | Initial decision |
|---|---|---|
| Glass storefront | Direct sunlight, reflections, surface heat | Measure the direction of sunlight and divide window treatments into modules |
| Key product shelves | Color distortion, cast shadows, difficulty taking photos | Prioritize diffused light |
| Consultation counter | Screen glare, customers seated against the light | Check sightlines and the space needed to draw window treatments |
| Aisles | Interference with pull controls, door panels, directional signs | Mark safe operating clearances |
Check sightlines and obstructions before finalizing installation positions
Do not measure just the glass. Determine whether the window treatments will be mounted inside the recess, outside the recess, or from the ceiling. Shallow window recesses may not have enough space for a rod, roller cassette, or control mechanism. Swinging doors need clearance for the door panel; sliding doors require checking the tracks and handles; tall windows close to the ceiling require planning accessible operating positions or convenient control options. If display shelves are close to the glass, leave maintenance clearance so the window treatments do not rub against the shelf edges.
For showroom renovations, photograph each window opening straight on and at an angle. Straight-on photos show the proportions of the glass; angled photos show how far walls, sills, and shelves protrude. Note the door-opening direction, outlet heights, switch locations, and preinstalled wiring. These details are especially important when dividing window treatments into multiple independent units so that one area can be adjusted without covering the entire storefront.
Turn survey results into a decision table
After measuring, the survey table should include at least these columns: window opening code, orientation, dimensions, hours of sunlight, affected area, obstructions, planned mounting method, and priority level. Coding openings according to the floor plan, such as M-01 for the storefront and T-02 for a side window, makes it easier to cross-reference drawings, site photos, and quotations. If two openings have the same dimensions but different sunlight directions or display areas, do not group them together just to shorten the list.
Showroom owners can use this table to communicate clearly with the consultant: which openings need to stay bright, which need glare reduction, which must be operated independently, and which still lack enough data for a final decision. It also provides a basis for comparing showroom window treatments by area, checking measured quantities, and limiting unforeseen issues caused by overlooked obstructions. When the layout changes, simply update the window opening codes and functional areas instead of redoing the entire set of documents.
One team from drawings to installation
Thanh Vy Curtains surveys, designs and installs based on your actual site. Send us the dimensions and current condition, and we will advise the right solution.
Request a quote Call 0985 615 577 Message on ZaloIf your showroom in Ho Chi Minh City has extensive glazing, tall windows, or frequently changing display areas, you can schedule a site survey to check each window opening, sunlight direction, and operating area. Request a record that includes dimensions, site photos, installation positions, areas that need light filtering, and points to note before moving on to selecting styles.
If complete drawings are not yet available, you can still start with a hand-drawn plan of the existing layout. Simply mark the glass windows, sunlight directions, product shelves, and aisles; the rest will be checked on site. This approach helps keep the showroom window treatment plan aligned with actual sales operations and avoids decisions based solely on reference photos.
Comparing fabric curtains, zebra shades, and solar roller shades for showrooms
For showrooms that need to maintain display lighting while limiting sunlight, no single window treatment style suits every glass opening. Fabric curtains stand out for their layered coverage and upscale feel; zebra shades offer flexibility when light levels need to change throughout the day; solar roller shades control glare well while maintaining an outside view. A practical selection process involves considering the product type, glass window orientation, window opening area, shelf positions, and required level of privacy before finalizing the showroom window treatment plan.
Fabric curtains: suitable for areas that need soft coverage and an elegant look
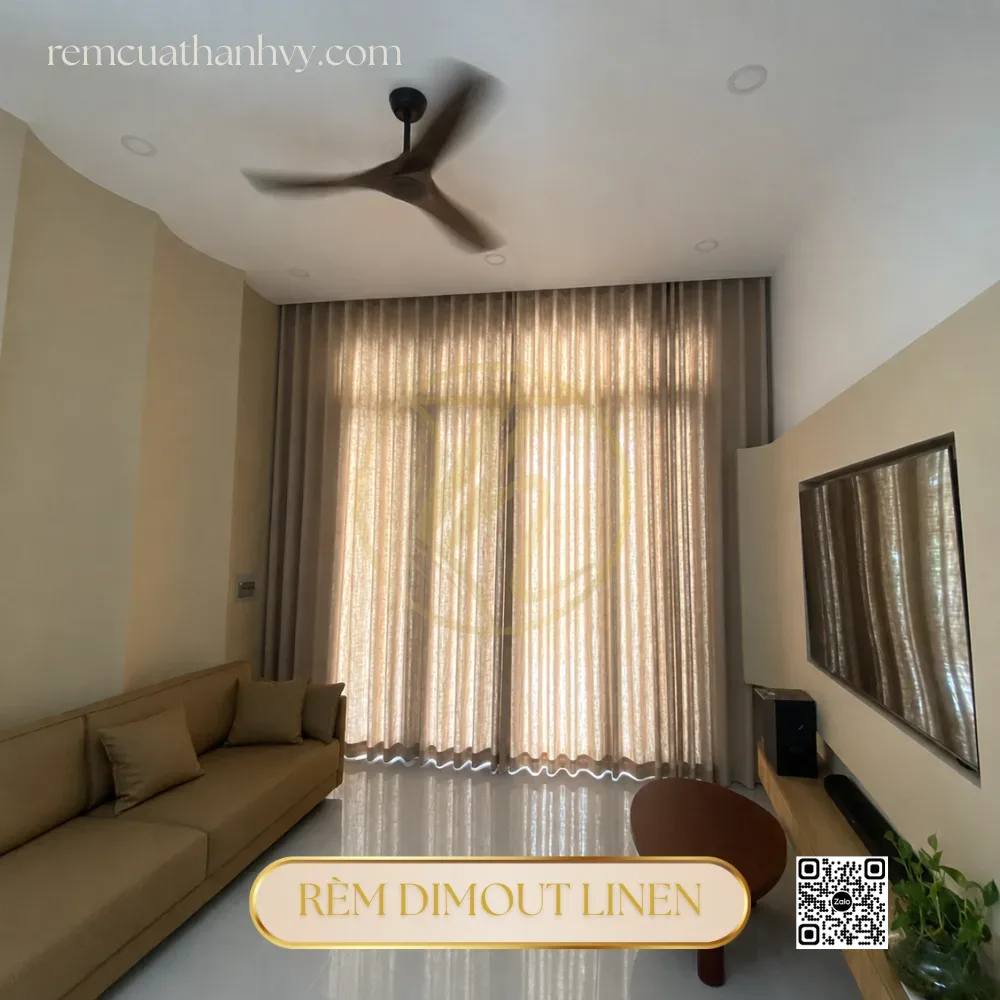
Fabric curtains consist of fabric sewn into panels, a curtain rod or track, a pull mechanism, and mounting accessories. In showrooms for fashion, furniture, wedding dresses, or premium products, the fabric surface creates a warm feel and helps the window frame blend into the overall design. A sheer layer can be used to diffuse gentle sunlight, paired with a thicker fabric layer when substantial light reduction is needed. This two-layer configuration lets staff adjust the curtains throughout opening hours without completely covering the storefront.
A major advantage of fabric curtains is their flexibility in width, pleating, length, and color. For tall glass windows close to the ceiling, a continuous curtain panel on a ceiling track can cover a broad area, reducing the fragmented look created by multiple smaller window treatments. Fabric curtains also work well as a backdrop for consultation counters or product trial areas. However, space must be left at the sides or above for the gathered fabric; in a narrow layout, the retracted fabric may affect aisles and views of products.
- Choose when: the showroom prioritizes a soft look, needs broad coverage, or needs a combination of light-filtering and light-blocking layers.
- Check: curtain stacking space, track load capacity, outlet and air conditioner locations, and ease of regular cleaning.
- Suitable applications: large storefront windows, furniture showrooms, customer reception areas, or areas that need a photography backdrop.
Zebra shades: adjusting bands of light throughout the day
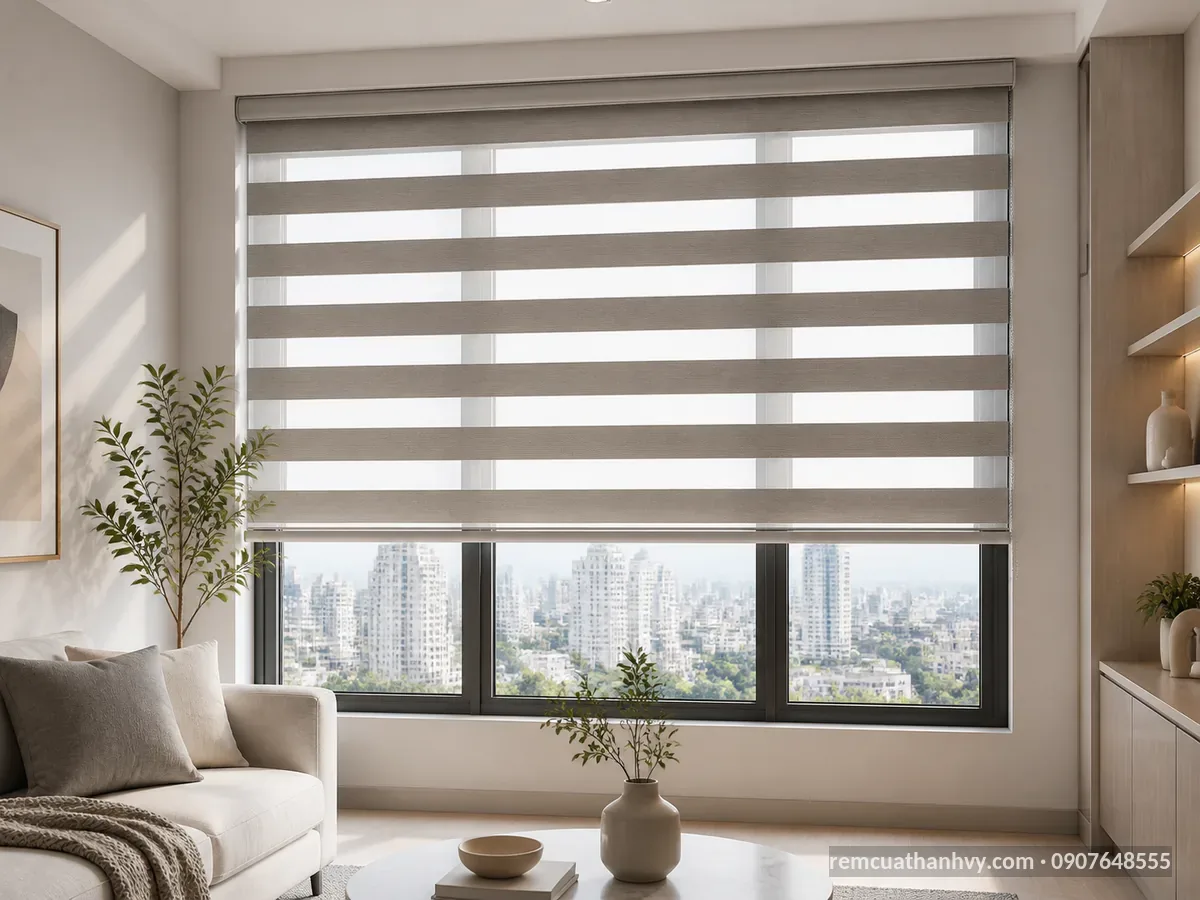
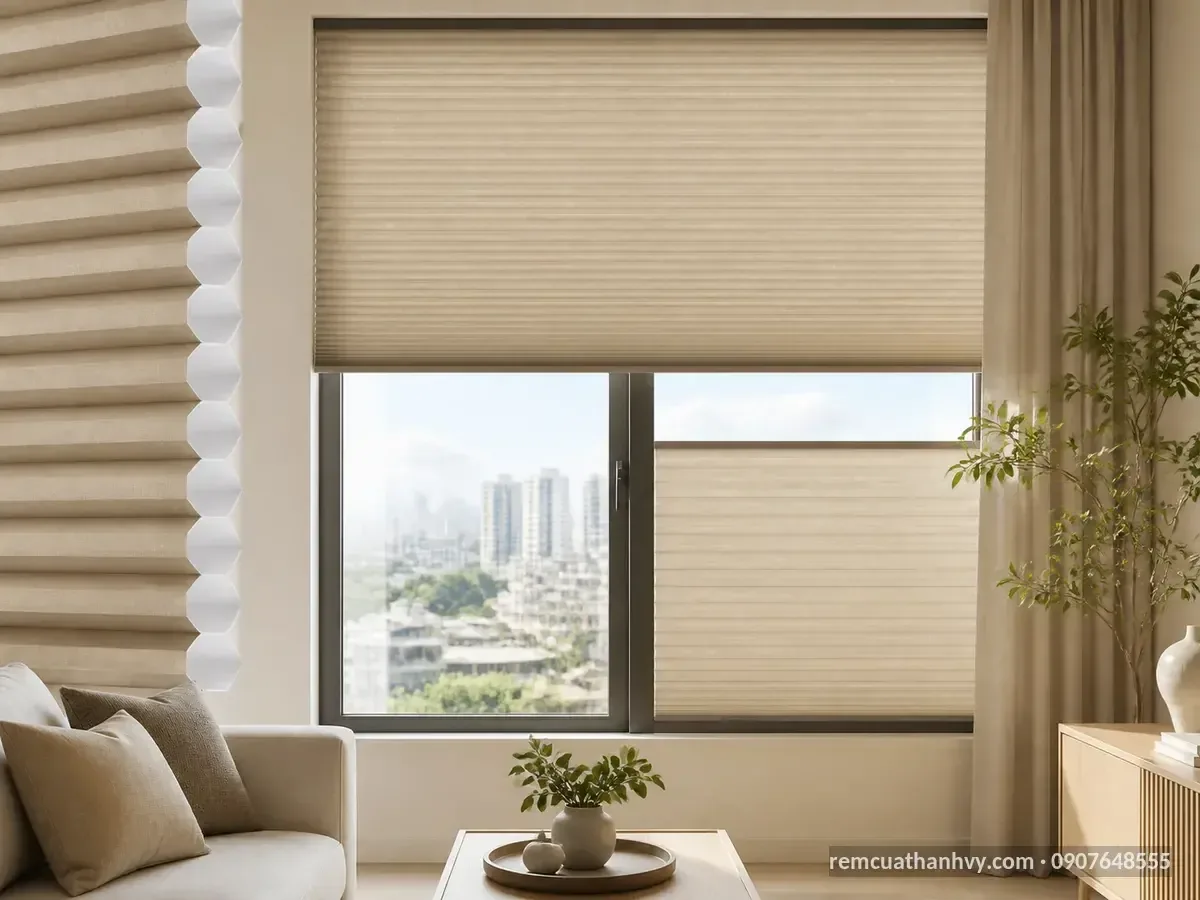
Zebra shades, also called combi shades, use alternating bands of sheer and light-blocking fabric. Two layers of fabric move in offset positions on a roller mechanism, allowing users to open them fully, close them completely, or align the horizontal bands to let light through in sections. The construction typically includes a roller cassette, an aluminum tube, horizontally striped fabric, a pull cord or controller, and a bottom bar that keeps the fabric flat.
In showrooms with multiple adjacent windows, zebra shades help define lighting zones more clearly than a single large fabric curtain. Staff can lower the shade on a window receiving angled sunlight while leaving the others open to let in light. This operation is useful for stores with product shelves close to the glass, where harsh light casts shadows on surfaces or makes it difficult for customers to see colors clearly. When a darker background is needed for a screen, mirror, or consultation area, the light-blocking bands can be closed quickly.
Zebra shades have a compact appearance, making them suitable for small and medium-sized windows, modular glass partitions, or private fitting rooms. The shades usually sit close to the frame, taking up little aisle space. In return, the width of each unit must be measured precisely so the fabric runs straight and adjacent units remain level. For very wide storefronts, consider the number of units, the junction locations, and how they will be operated; multiple independent units provide good adjustability but require clear operating guidelines.
- Choose when: the showroom needs frequent brightness adjustments throughout the day, has multiple windows, or requires control of individual zones.
- Check: fabric flatness, pulling direction, gaps along the frame edges, and consistent mounting heights across units.
- Suitable settings: cosmetics, fashion, and accessories stores, and sales offices with glass partitions divided into small sections.
Solar roller shades: reducing glare while preserving the view
Solar roller shades use a sheet of screen fabric wound around a roller tube, along with a head cassette, brackets, and a bottom bar. The mesh surface has small woven openings that filter direct light, reducing reflections on glass, screens, and glossy surfaces. Unlike fully light-blocking fabric, solar roller shades still maintain some outward visibility when light levels on both sides allow it. This is a practical choice for showrooms that need a bright storefront and do not want to cover the glass completely.
The strengths of solar roller shades are their flat profile, small footprint, and ease of installation on individual glass panels. When sunlight falls on the checkout counter or a product presentation screen, simply lower the corresponding shade to reduce glare. Units can be installed inside the frame, outside the frame, or in front of a glass partition, depending on existing conditions. Dark-colored mesh generally helps reduce perceived glare and keep outdoor views clearer, while light colors create an airy feel and reflect some radiation.
Solar roller shades are not the optimal choice if a showroom needs a high level of privacy or complete darkness. At night, when the interior is brighter than the exterior, visibility through the fabric can reverse. For light-sensitive products, mesh fabric also cannot fully replace a light-blocking layer. Therefore, in areas requiring strict control, solar roller shades can be used as the outer layer, with fabric curtains or light-blocking roller shades added in specific functional zones.
- Choose when: glare reduction, preserving views, and keeping the storefront open are priorities.
- Check: the mesh fabric’s light transmission rate, sunlight direction, glass reflectivity, and nighttime privacy needs.
- Suitable settings: car, technology equipment, and modern furniture showrooms, or stores with display screens.
Comparing three types of window treatments for the same showroom
For a fair comparison, divide the showroom into zones rather than choosing one type for the entire space. A west-facing glass panel in front of a product counter may need a solar roller shade to reduce daytime glare, while the reception area at the back uses double-layer fabric curtains to create a sense of privacy. Small windows near merchandise shelves can use zebra shades so staff can adjust each window individually. This combined approach is often more aligned with actual operations than installing the same type of window treatment throughout.
| Criteria | Fabric curtains | Zebra shades | Solar roller shades |
|---|---|---|---|
| Light control | Good with two layers | Flexible adjustment through horizontal bands | Reduce glare while retaining ambient light |
| Privacy | High when fully closed | Adjustable by band position | Depends on light transmission and the difference in light levels |
| Space required | Need space for stacked fabric | Compact, close to the frame | Compact, flat profile |
| Suitable zones | Large glass doors, reception areas | Sectioned windows, fitting rooms | Storefronts, screens, sales counters |
| Points to note | Tracks, folds, cleaning | Mounting heights and operation of each unit | Nighttime privacy, light transmission level |
If the showroom needs an upscale image and frequently changes its layout, fabric curtains provide a good visual backdrop, but stacking space must be calculated carefully. If the priority is controlling light at each window, zebra shades offer a balance between aesthetics and operation. If the main goal is to reduce reflections on products or screens while keeping the storefront open, solar roller shades are usually more appropriate. The final decision should be based on a layout marked with sunlight directions, the dimensions of each opening, and merchandise locations.
Choosing based on actual usage scenarios
For showrooms with long glass storefronts where customers need to see products from outside, solar roller shades can be prioritized for panels exposed to direct sunlight. For display areas that need a clean photo background, solid neutral-colored fabric curtains help conceal the background and create a consistent backdrop. For stores with many small windows facing different directions, zebra shades allow individual units to be closed according to sunlit zones rather than darkening the entire room.
In showrooms operating in shifts, consider who will operate the window treatments and how many times each day. Manually operated units are suitable when there are only a few; multiple consecutive glass panels may require a uniform control system or motors, but the decision should only be made after identifying the power supply, controller location, and safety requirements. Avoid placing pull cords in customer traffic paths or close to protruding shelf edges. An attractive solution that is difficult to operate will quickly be neglected during sales hours.
For showroom window treatments in Ho Chi Minh City, sunlight and heat conditions can vary significantly between facades. Therefore, the same project can use fabric curtains in areas requiring coverage, zebra shades on frequently adjusted windows, and solar roller shades on glass surfaces where views need to be preserved. When requesting a consultation, provide photos of windows in each direction, approximate dimensions, the types of products on display, and the times when sunlight enters. The survey team will then have a basis for comparing samples rather than simply recommending one generic option.
Get advice on choosing window treatments: Send a floor plan or photos of the glass doors and windows to have fabric curtains, zebra shades, and solar roller shades compared for each display zone.
Schedule a site survey: Book on-site measurements when your showroom has multiple glass panels, different sunlight directions, or needs a combination of window treatment types in the same space.
Choosing Materials, Colors, and Light Transmission for Showroom Window Treatments
For showroom window treatments, choose materials, colors, and light transmission for each glass panel rather than using one style throughout the space. A practical approach is to identify areas that need soft light, areas that need glare reduction, and areas where products must be protected from direct sunlight; then compare fabric types, coatings, window treatment colors, and light transmission specifications. This keeps display counters bright enough to see product colors while preventing excessive reflections on screens, glossy surfaces, and furnishings.
Choosing Materials Based on Location
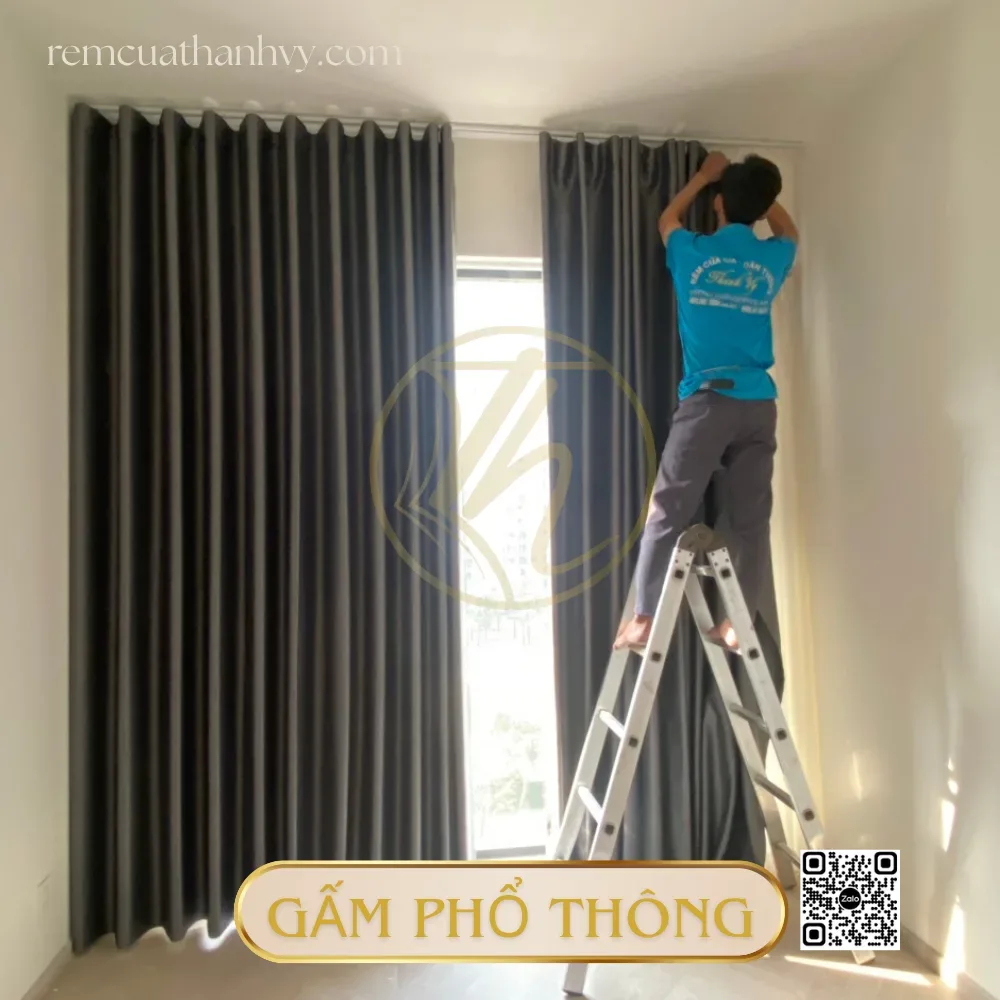
Fabric curtains suit showrooms that need a soft, elegant feel and have large window areas. Consider woven polyester, canvas, linen blends, or back-coated fabrics. Woven polyester holds its shape well, resists wrinkles, and is easy to clean; canvas adds a textured surface that softens the cold feel of glass; linen blends offer a natural look but require checking for shrinkage and pleat retention. For windows that extend nearly to the ceiling, also consider fabric weight, fabric width, drape direction, and the placement of joining seams.
For further information, please contact Thanh Vy Curtains
We provide free consultation and on-site measuring at your home.
Zebra shades use two layers of alternating solid fabric and mesh bands, making them suitable for vertical windows in front of counters or product testing areas. By pulling the cord, users can align the light-filtering bands to let in diffused light; when fully closed, the fabric bands overlap to reduce visibility and sunlight. Check the band width, hardware housing dimensions, aluminum rail color, pull cord type, and clearance between the shade and door handles.
Solar roller shades are a practical choice for wide glass surfaces, sun-facing windows, or areas that need a view outside. Screen fabrics are usually classified by openness factors such as 1%, 3%, or 5%. The smaller the openness factor, the greater the reduction in glare and direct sunlight, but the darker the space becomes. For showrooms that need to maintain views and daylight, 3% or 5% options are often worth testing with actual samples before making a final choice.
In dusty display areas, prioritize fabric surfaces that resist dust buildup, neatly cut edges, and easy-to-remove hardware. Areas near entrances require consideration of airflow, impacts from carts, frequent pulling by hand, and the risk of snagging products. In spaces with drywall ceilings, check the ceiling framing locations before choosing curtain rods or brackets; attractive materials that are incompatible with the mounting surface will require additional work.
Coordinating Colors Without Competing with Products
Window treatment colors should provide a backdrop for merchandise, not draw more attention than the collection. Fashion showrooms can use cream, cool beige, light gray, or warm gray to bring out fabric colors. Wood furniture areas work well with ivory, pale sand, and taupe; technology equipment areas are generally easy to coordinate with pale gray, neutral gray, or charcoal black on glass panels that need light control. Before approving a color, place the swatch next to the floor, walls, shelves, and key products.
Light colors reflect more light, making small spaces feel more open, but may show dust near windows. Dark neutrals absorb light, helping reduce perceived glare at west-facing glass, but can make walkways dark if used throughout. With solar roller shades, the interior-facing color directly affects customers’ perception; gray generally keeps perceived colors relatively consistent, while white brightens the space but reduces light-blocking effectiveness.
Not every window needs to be the same color. You can use light-colored treatments on a less sunny facade, darker solar shades on west-facing glass, and fabric curtains as a decorative layer in reception areas. This combination still maintains a consistent color scheme if the rods, roller housings, pull cords, and stitching are chosen in matching tones. For showrooms with a strong brand identity, use brand colors on trim, edging, or chairs rather than across all the window treatments.
Assessing Light Transmission with Actual Samples
Light transmission should not be judged solely from catalog photos. Hang a sufficiently large fabric sample, at least approximately 60 x 100 cm, on the actual type of glass and observe it at three times: in the morning, during intense sunlight, and with the display lights on in the evening. Record four things: brightness on the floor, shadows cast on products, reflections on the glass, and the ability to see true colors. A sample that looks beautiful in a sample room can produce entirely different results on a continuous glass facade.
Needs can be divided into three levels. Areas that need ambient light while preserving outdoor views should use sheer fabric, voile, or screen fabric with a high openness factor. Areas that need a balance between light and privacy should test 3% screen fabric, zebra shades in an intermediate position, or woven fabric with a light-blocking layer. Areas where sunlight falls directly on products, screens, or color-sensitive materials should use a layer with greater light-blocking capability, double-layer curtains, or an additional lining; simply choosing a darker color is not the right solution.
When testing samples, measure with a lux meter if the showroom has one, or use the same phone camera angle to compare before and after closing the window treatments. Place a white board, a gray board, and key products next to the glass to identify color casts. If track lights shine on glossy surfaces, check the reflection angles on both the glass and screens. The goal is evenly distributed light, not making every area as dark as possible.
For tall glass windows, consider the angle of sunlight throughout the seasons, not just on the survey day. A glass panel may need 3% screen fabric in the afternoon but only 5% screen fabric in the morning. If the showroom has glass walls divided into multiple sections, record each panel’s code, window orientation, overall dimensions, proposed material type, and desired light transmission level. This coded list helps the workshop cut the correct material, prevents the installation team from mixing up locations, and makes future replacements easier for the manager.
Quick Selection Matrix for Each Area
| Showroom Area | Materials to Test | Suggested Colors | Light Transmission to Check |
|---|---|---|---|
| Facade where views need to be maintained | Solar roller shades | Light gray, neutral gray | Approximately 3–5% |
| Product counters that need soft light | Zebra shades or woven fabric | Ivory, pale beige | Moderate, without harsh shadows |
| West-facing glass, direct sunlight | Low-openness screen fabric or double-layer curtains | Medium gray, charcoal gray | Approximately 1–3%, test during sunny hours |
| Consultation rooms, reception areas | Polyester or linen-blend curtains | Sand, cream, taupe | Soft light with privacy |
| Areas with screens and glossy surfaces | Glare-reducing screen fabric or lightly light-blocking fabric | Neutral gray | Prioritize checking reflections |
The table above is only a starting point for selecting samples. Quotes for showroom window treatments should clearly itemize materials, openness factors, coatings, colors, dimensions, and hardware rather than list a generic product name. If two windows have the same dimensions but different sun exposures, their light transmission requirements still need to be recorded separately. In particular, do not finalize your choice based on colors shown on a screen; approve coded swatches with the front and back marked and notes on the lighting where they will be used.
To receive advice on materials, colors, and light transmission for each glass panel, you can send photos of the facade, a shelf layout, or an existing dimension chart. When you need to compare multiple samples, schedule an on-site measurement and sample assessment at the showroom to check actual lighting, glare, and compatibility with the products on display before finalizing your showroom window treatments.
[contact]Get advice on materials and colors for each glass area.[/contact] [measure]Schedule an on-site measurement and sample assessment to check light transmission at the showroom.[/measure] [quote]Request a quote itemized by material, dimensions, and hardware.[/quote]Technical requirements for sun protection, glare control, and operation in showrooms
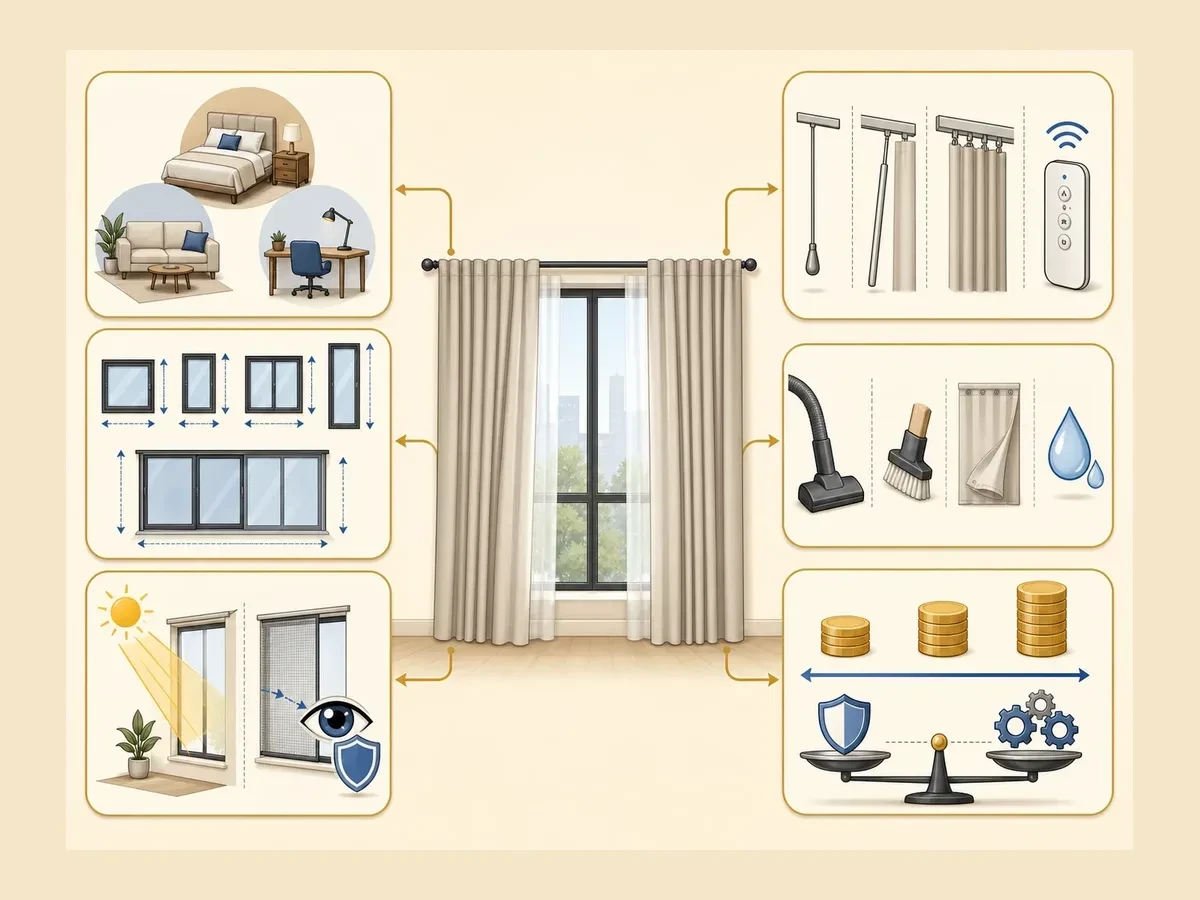
For showroom window treatments, technical requirements go beyond simply covering the glass. The system must reduce solar radiation near windows, reduce glare on product surfaces, maintain consistent light color, and allow convenient operation throughout the day. During the site survey, sunlight direction, glass dimensions, spotlight locations, display materials, and walkways must be recorded to determine the appropriate level of light blocking rather than choosing one type of window treatment for the entire space.
Controlling sunlight based on glass orientation and time of use
East-facing glass typically receives angled sunlight in the morning; west-facing glass is exposed to strong solar radiation in the afternoon. Large south- or southwest-facing glass surfaces can create persistent hot spots on floors and display tables. Technical documentation should therefore separate each elevation, recording width, height, glass edge elevation, furniture setbacks, and times of direct sunlight exposure. This data helps select dimout fabric, blackout fabric, light-blocking coatings, solar screen roller shades, or dual-layer configurations for the right locations.
“Sun protection” should not be understood as making a space completely dark. Areas that need ambient light can use solar screen shades with an appropriate openness factor to filter sunlight while preserving outdoor views. Product testing areas, counters with color-sensitive materials, or locations exposed to direct sunlight need greater light blocking. For floor-level glass, the bottom bar must be heavy enough to prevent the shade from moving when entrance doors open and close or when exposed to airflow from air conditioning.
Reducing glare on products, glass, and screens
Glare often occurs when light reflects off display case glass, glossy painted surfaces, metal, polished tile, advertising screens, or color-testing tables. Technicians should visually inspect from multiple standing angles, especially from customers’ and sales associates’ sightlines. A lux meter can be used to compare areas near the glass with areas deeper inside the showroom, while also observing patches of light on floors and display surfaces at different times of sunlight exposure.
An effective solution often involves layered light filtering: an outer screen layer reduces direct rays, while an inner fabric layer handles times when privacy or stronger light blocking is needed. Zebra shades allow adjustment of light-transmitting bands, while curtains can be opened asymmetrically on each side to preserve necessary illuminated areas. When installing solar screen roller shades, actual light transmission must be checked using a fabric sample placed directly in front of the glass, rather than relying solely on the product’s percentage designation.
The distance between the window treatment and the glass also affects glare control, heat dissipation, and ease of operation. If the shade housing is positioned too close to the door panel, the pull handle or control chain may catch on the door handle. If the shade does not fully cover the glass area, light will leak through both edges. Overall dimensions, overlaps, roll direction, housing location, and ceiling clearance must therefore be shown on the measurement drawing.
Specifications to check before finalizing the configuration
A technical specification sheet for showroom window treatments should include at least: fabric code, fabric width, thickness, light transmission, light-blocking level, front and back colors, sewing or roll style, overall dimensions, curtain rod or track type, roller tube type, bottom bar, mounting hardware, and control method. For curtains, confirm the fullness ratio, pleat direction, curtain rod or track weight, and whether panels can be removed for cleaning.
For roller shades, check the tube diameter, drive mechanism load capacity, bracket locations, chain or control handle length, and bottom bar straightness. For zebra shades, check fabric band alignment, balance at both ends, and spacing between adjacent shades. Adjacent shades must be aligned at a consistent height so the showroom facade maintains an uninterrupted horizontal line.
For motorized systems, the configuration must specify the power supply, outlet location, wiring route, switches, signal receiver, and control plan for each zone. All glass surfaces should not be grouped together if each orientation requires a different opening and closing schedule. Zones can be divided by elevation, display area, or groups of glass panels so staff can adjust quickly as sunlight changes. Before acceptance, both local operation and remote control must be tested if the system offers both methods.
Safe operation in a retail environment
With customers constantly entering and leaving showrooms, pull cords, bead chains, and control handles must not extend into walkways or sit beside table corners. Window treatments must operate quietly, without rubbing against walls, hitting spotlights, or obstructing emergency exits. In children’s areas or at counters where people stand nearby, prioritize compact control mechanisms, secure cords, and avoid hardware that creates low-hanging loops.
After handover, Thanh Vy Curtains stays with you
Talk directly with the Thanh Vy Curtains team to settle the right plan, from design to handover.
Request a quote Call 0985 615 577 Message on ZaloDuring business hours, staff should follow operating guidelines based on three states: fully open when natural light is needed, partially lowered to reduce glare, and mostly closed during direct sunlight exposure or when protecting products. Do not yank the fabric, apply uneven force to the bottom bar, or roll up shades while the fabric is still damp. A brief instruction label in the service area helps reduce errors when multiple shifts use the same system.
For large-area showroom window treatments, run continuous tests over multiple cycles to detect noise, shaft misalignment, chain jams, or incorrect stopping positions. Adjacent shades must open and close evenly without creating unusual light gaps. In air-conditioned areas, check for airflow blowing directly onto the shades, as prolonged movement can cause fabric edges to shift or bottom bars to hit the frame.
On-site checks before handover
Before finalizing installation, request a sample test at the exact glass panel causing problems, at the time when the showroom typically experiences strong sunlight or glare. Place the sample both close to the glass and at the customer’s viewing position, then check product colors, reflections on the glass, visibility through the material, and heat felt by hand. If the light still creates harsh streaks, adjust the openness, add a filtering layer, or change the layout orientation before full-scale production.
The inspection report should record the condition of the window treatment surface, bar squareness, coverage at both edges, flatness when lowered, pulling force, noise, stopping positions, and switch accessibility. For control systems, hand over a zoning diagram, power outage instructions, and guidance on returning the shades to a safe position. These specifications help the operations team maintain effective sun protection, glare control, and system longevity during business operations.
To receive a plan tailored to each glass orientation, schedule a measurement and sample appointment at the showroom and provide the times when intense sunlight typically occurs. The survey team can record lux levels, reflection locations, furniture setbacks, and installation conditions before preparing the showroom window treatment configuration. When requesting a quote, ask for separate pricing for the curtain or shade itself, curtain rods or tracks or roller tubes, motors, accessories, installation labor, and any additional items.
Consultation, site survey, measurement, and installation process for showroom window treatments

Model stopped responding mid-stream. Please resend. | Model stopped responding mid-stream, please retry.
Reviewing quotes and checking service commitments for showroom curtains
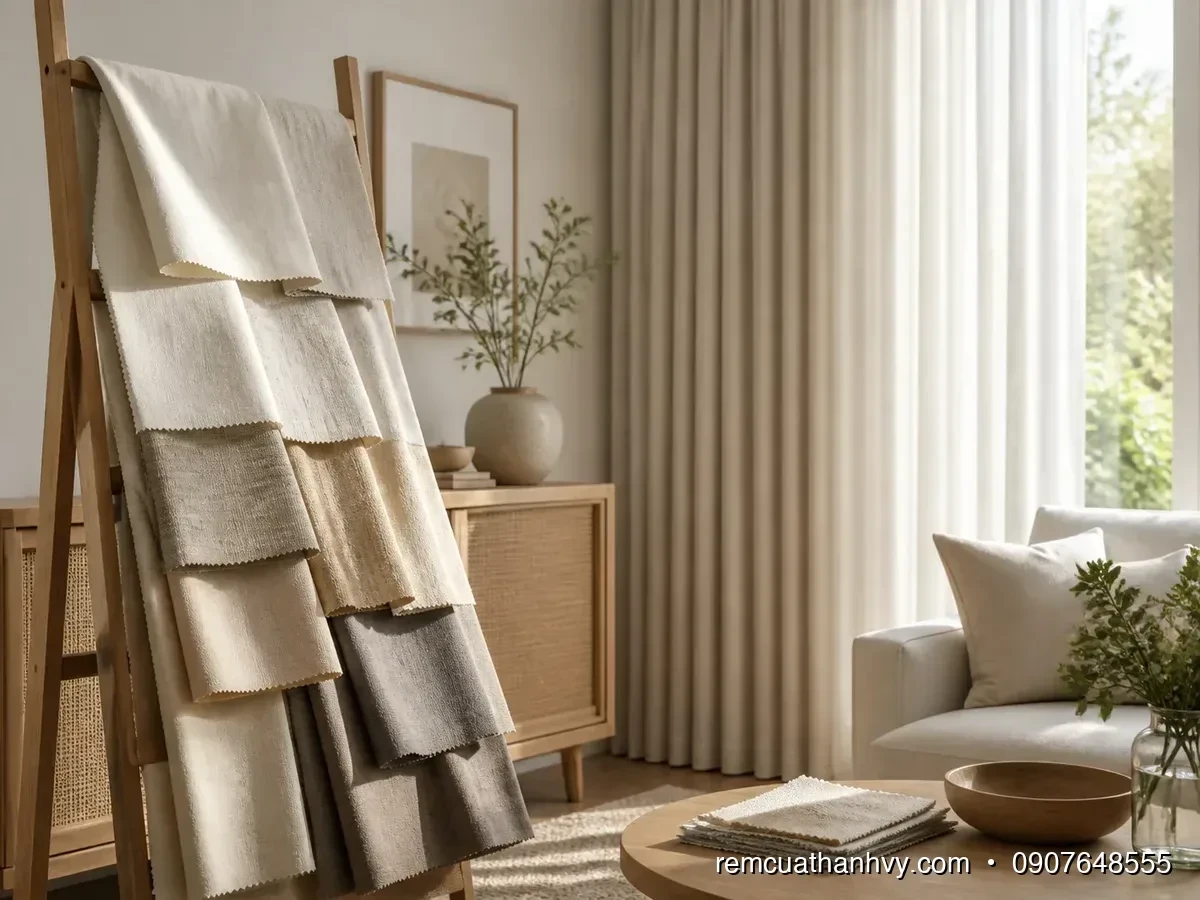
For showroom curtains, a quote worth approving is not just a single total price, but the configuration that will be installed. Ask for the quote reference number, area, reference measurement sheet, and status to be specified: estimated, site-surveyed, or finalized. This allows the purchasing approver to distinguish a budgeting figure from the basis for placing an order.
First, cross-check the quantity schedule against the measurement sheet. Each glass panel, entrance, storefront partition, or stockroom window needs its own identifier; do not lump everything together as “one set.” Check the overall width, installation height, ceiling elevation, return clearance, stacking space, and number of sections. Any obstructions must be shown with the areas to be covered and left clear.
- Review the calculation formulas. Ask for the unit of measurement for each line: linear meters of track, square meters of overall coverage, meters of fabric, sets, or individual items. Sewn curtains need to specify fabric width, fullness ratio, number of panels, lining, and hems; roller shades need the finished width, height, and number of modules.
- Finalize the materials. A line reading “complete curtain set” is not enough. The schedule should separately list the fabric or mesh code, aluminum track, double track, brackets, mounting plates, wall plugs, screws, rollers, hanging hooks, end stops, and pull cords. Curtain boxes, covers, bottom bars, roller tubes, side guides, or cassettes must also have quantities listed.
- Review the mechanisms section. Automated systems need to identify the motor, power supply, remote, switch, signal receiver, electrical wiring, conduit, and power connection point. Distinguish items included in the showroom curtain package from low-voltage electrical work prepared by another team; “motor included” does not mean all connections and cable concealment are included.
- Document installation conditions. Ceiling drilling, steel frame reinforcement, removal of old curtains, protection of merchandise, transport through the basement, installation registration, lifts, or scaffolding must be recorded according to actual site conditions. Premises open for sales, display cabinets close to the glass, or work restricted to after hours all affect the scope; unresolved points need to be marked for confirmation.
- Compare exclusions. Read the notes at the bottom of the schedule to identify taxes, delivery, loading and unloading, preparation of anchoring surfaces, power supply wiring, ceiling finishing, paint touch-ups, or design changes. The lower-priced option is only worth choosing when materials, installation labor, and site conditions are equivalent.
- Save the approved version. When dimensions, the number of sections, or accessories change, request a replacement quote with a version number; do not rely solely on verbal revisions. The final version should come with the layout drawing, materials schedule, and approved samples so the purchaser, showroom manager, and installation team can all cross-check them.
Before confirming, quickly check the points below. If any cell is missing information, request a written addition; the statement “make it like the sample we saw” cannot replace material codes, dimensions, or the scope of work.
| Required information | How to check |
|---|---|
| Dimensions and quantities | Match the opening identifiers, width, height, number of sets, and number of sections against the measurement sheet. |
| Materials and accessories | Include item codes, specifications, units of measurement, quantities, and inclusions or exclusions. |
| On-site installation | Specify hanging anchors, drilling and mounting, protective coverings, post-installation cleanup, and access conditions. |
| Changes and payment | Identify the person confirming, the method for adjusting quantities, payment milestones, and accompanying documents. |
Service commitments should be read as verifiable tasks, not general promotional statements. Confirm the point of contact for changes, sample approval procedure, timing for finalizing measurements, installation conditions, handover contents, and how discrepancies between actual conditions and drawings will be handled. If a warranty is offered, separate the covered items, such as fabric, stitching, tracks, accessories, motors, and installation labor; the duration and exclusions must follow the supplier’s written documentation.
If the work is urgent or renovations are underway, do not accept schedule commitments without stated conditions. The quote needs to specify clean premises, completed ceilings or anchoring frames, unobstructed ladder placement areas, a ready power supply if motors are included, and protected display merchandise. If conditions change, the schedule and costs also need to be reconfirmed.
Before signing, compile the finalized quote, quantity appendix, measurement sheet, layout drawing, material samples or codes, payment terms, and change confirmation records into one set. This is useful when showroom curtains go through multiple rounds of approval among design, operations, and purchasing teams. You can send overview photos, ceiling cross-sections, preliminary measurements, and a list of areas requiring coverage to request a site survey, then cross-check the updated quote before scheduling installation.
Know the cost before you decide
Send estimated dimensions and a few photos of the space, and Thanh Vy Curtains will prepare a quote for exactly the items you need.
Request a quote Call 0985 615 577 Message on ZaloThe final deciding point is that the acceptance scope must match the quote: the correct number of sets, correct locations, all accessories, operation according to the selected configuration, and handover documentation. When every line has a unit of measurement, applicable conditions, and reference documents, a showroom curtain quote becomes a budget control tool rather than merely a figure for price comparisons.
Acceptance inspection, cleaning, and maintenance of showroom curtain systems
Acceptance inspection of showroom curtains needs to confirm the full number of sets, correct dimensions, correct locations, smooth operation, and no distortion of display lighting. Afterward, management should have an area-by-area schedule for vacuuming, wiping accessories, and inspecting moving mechanisms. This approach helps detect misaligned curtain rods, slack pull cords, dusty fabric, creased mesh, or motors stopping mid-travel early.
On-site acceptance checklist
Before signing the inspection report, check each opening against its location code on the drawing or measurement sheet. Cross-check the number of sets, fabric type, color, opening direction, curtain rods, roller housings, handheld controls, and accompanying accessories. If the showroom has multiple storefronts, do not accept everything based on an overall visual inspection, as a set installed in the wrong location could still be overlooked.
- Dimensions: remeasure the overall width, curtain height, left and right edge gaps, and floor contact. For roller shades, check that the fabric edges do not shift out of alignment with the roller tube.
- Surface: fabric must be free of oil stains, unusual creases, loose stitching, or workshop dust; zebra shades must have evenly aligned layers; mesh must not be snagged or torn.
- Mechanisms: test the full range of travel and check the bead chain, clutch, bottom bar, pulleys, mounting brackets, and expansion anchors. Do not accept binding noises, jerky movement, or manual pulls requiring excessive force.
- Electrical operation: test the switch, remote, signal receiver, motor, upper stop, and lower stop. Check that power cords are secured and do not run through walkways.
- Lighting: open and close each set at commonly used positions, and stand at the consultation counter and product areas to check for glare, shadows, and areas that become abruptly dark.
The report should clearly record which sets pass, which need adjustment, photos of current conditions, the inspection date, and the person confirming. If curtains touch door handles, rub against glass display cabinets, or block cameras, record these as separate corrective items rather than simply noting “handed over.”
Cleaning by component
The cleaning schedule depends on street dust, customer traffic, renovation work, and the distance between the window treatments and products. Entrances, storefronts, and product testing counters usually need more frequent cleaning than less-used windows. Before cleaning, turn off the motor, remove the remote batteries if necessary, and test the cleaning solution on an inconspicuous corner.
- Fabric curtains: use a vacuum with a soft brush attachment, working from the top of the fabric down to the hem without pressing hard on the folds. Spot stains should be treated with a slightly damp white cloth; avoid rubbing in circles, which can cause color bleeding. Do not soak or wash them yourself without knowing the structure of the coating, the shape-retaining layer, or the manufacturer’s instructions.
- Zebra blinds: align the fabric bands in the fully closed position, then vacuum gently. Use a microfiber cloth wrung almost dry to wipe each band without pulling the two fabric layers out of alignment. Check the edges of the bands after wiping to ensure they do not curl into the headbox.
- Screen roller shades: vacuum both the front and back with a soft brush attachment. Do not use a stiff brush, as the screen fibers may become scratched or delaminated. For fine dust that has built up over time, wipe in one direction from top to bottom, then let the shades air-dry.
- Hanging rods and roller headboxes: use a dry cloth to remove dust from tracks, bottom channels, headbox covers, and support brackets. Do not spray cleaning solution directly onto motorized tracks, outlets, motors, or signal receivers.
Cover the showroom floor when cleaning window treatments to prevent dirty water from dripping onto wood, carpet, or product boxes. Do not use chlorine bleach, solvents, room sprays, or hot steam cleaners on fabrics and light-blocking coatings. These can cause fading, make adhesives brittle, or deform bottom bars.
Maintenance schedule and warning signs
Each week, staff can quickly check for dust, folds, pull cords, and ease of opening and closing. Each month, clean brush attachments, tracks, roller headboxes, bottom bars, and the areas around motors. After interior renovations, wall painting, or display shelf replacements, inspect all window treatments again, as fine dust and impacts often cause hardware to shift out of alignment.
Record the following in the maintenance log: window ID, inspection date, person performing the inspection, pull cord condition, bottom bar alignment, operating noises, and items requiring replacement. If a roller shade runs unevenly to one side, stop using it and check the roller tube, brackets, and fabric edges before pulling it again. If the motor becomes hot, smells burnt, or stops on its own, disconnect the power and do not dismantle the electrical box yourself.
Issues such as a dislodged bead chain, broken pull chain, detached bottom bar, torn fabric, noisy track, or disconnected remote should be classified as cleaning, alignment, or component issues. Correct classification helps avoid replacing the entire assembly when only a bracket adjustment or track cleaning is needed.
Handing over care documentation to the showroom manager
The handover documentation should include an acceptance report, a location code chart, operating instructions, cleaning instructions, an accessory list, and a proposed inspection schedule. For systems using remotes or switches, note which control buttons correspond to each area. If shelf or spotlight positions change, the manager should report this so that the lighting coverage and operating clearance around the window treatments can be checked.
An investment in showroom window treatments only pays off when the system undergoes a documented acceptance inspection and receives care appropriate to its materials. A checklist with measurements, photos of current conditions, window IDs, and a maintenance schedule will help the operations team address issues quickly, keep surfaces clean, and maintain a consistent lighting experience for customers.
Related projects
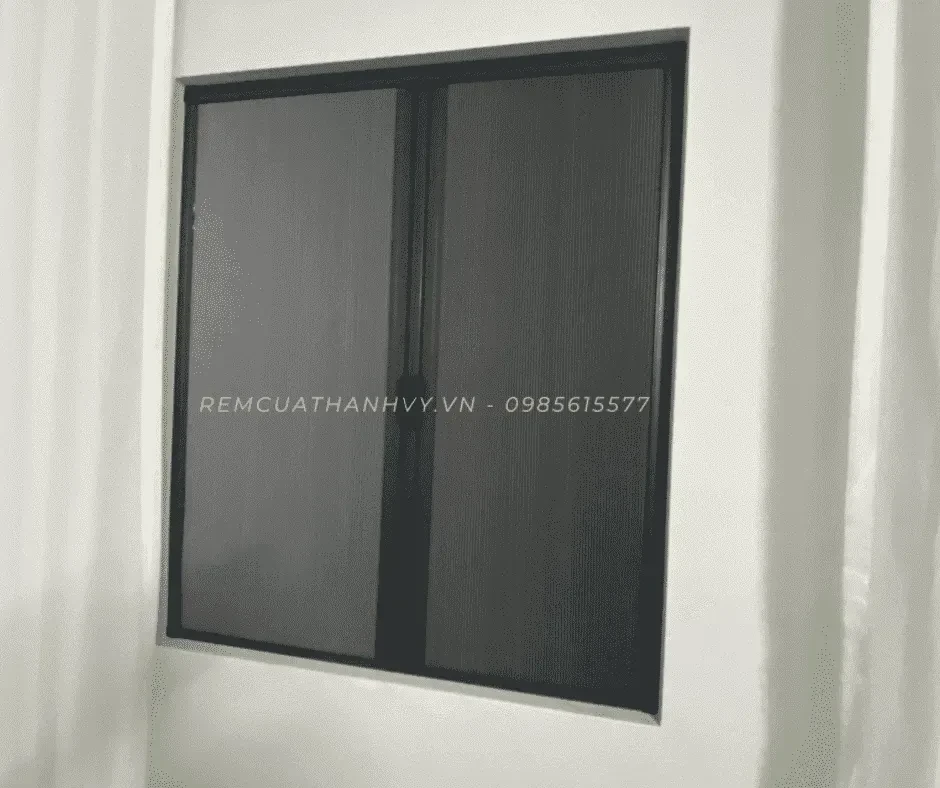
Premium Fabric Roller Blinds for Minh Hoàng Jewelry Store, Bình Tân
This project is a typical example of applying premium fabric roller blinds in a luxurious [...]
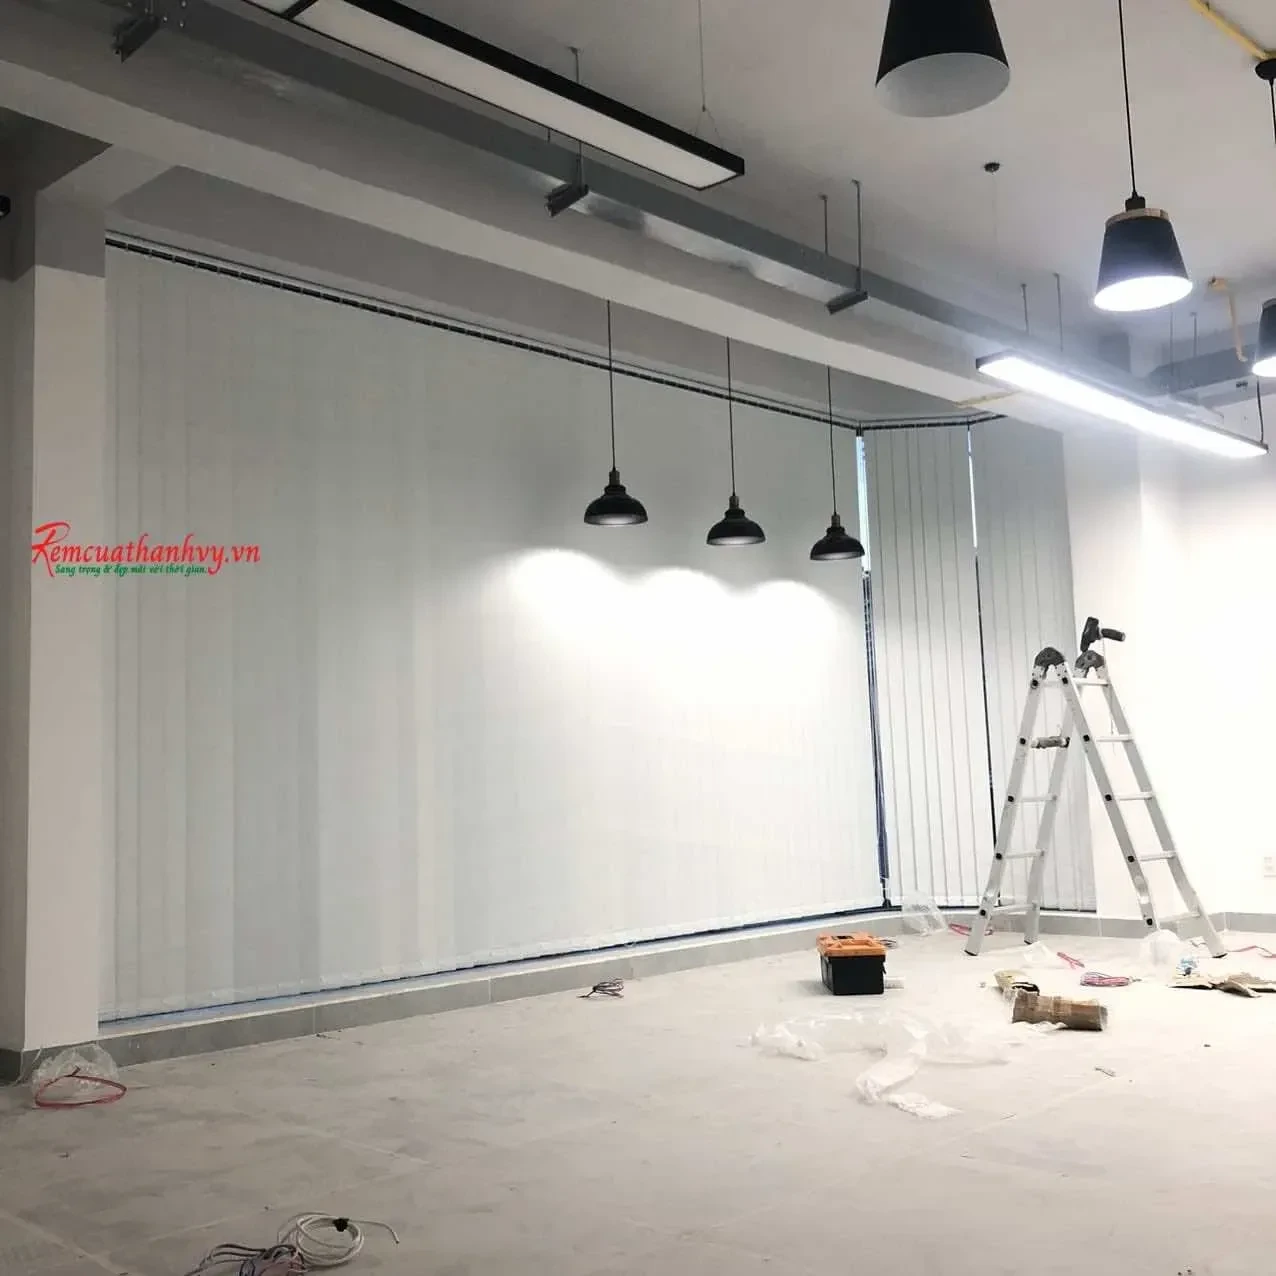
Vertical Blinds for Grocenter District 1 Showroom – Professional Lighting Solution
This project was carried out at Grocenter, 132-134 Dien Bien Phu, Da Kao, District 1 [...]
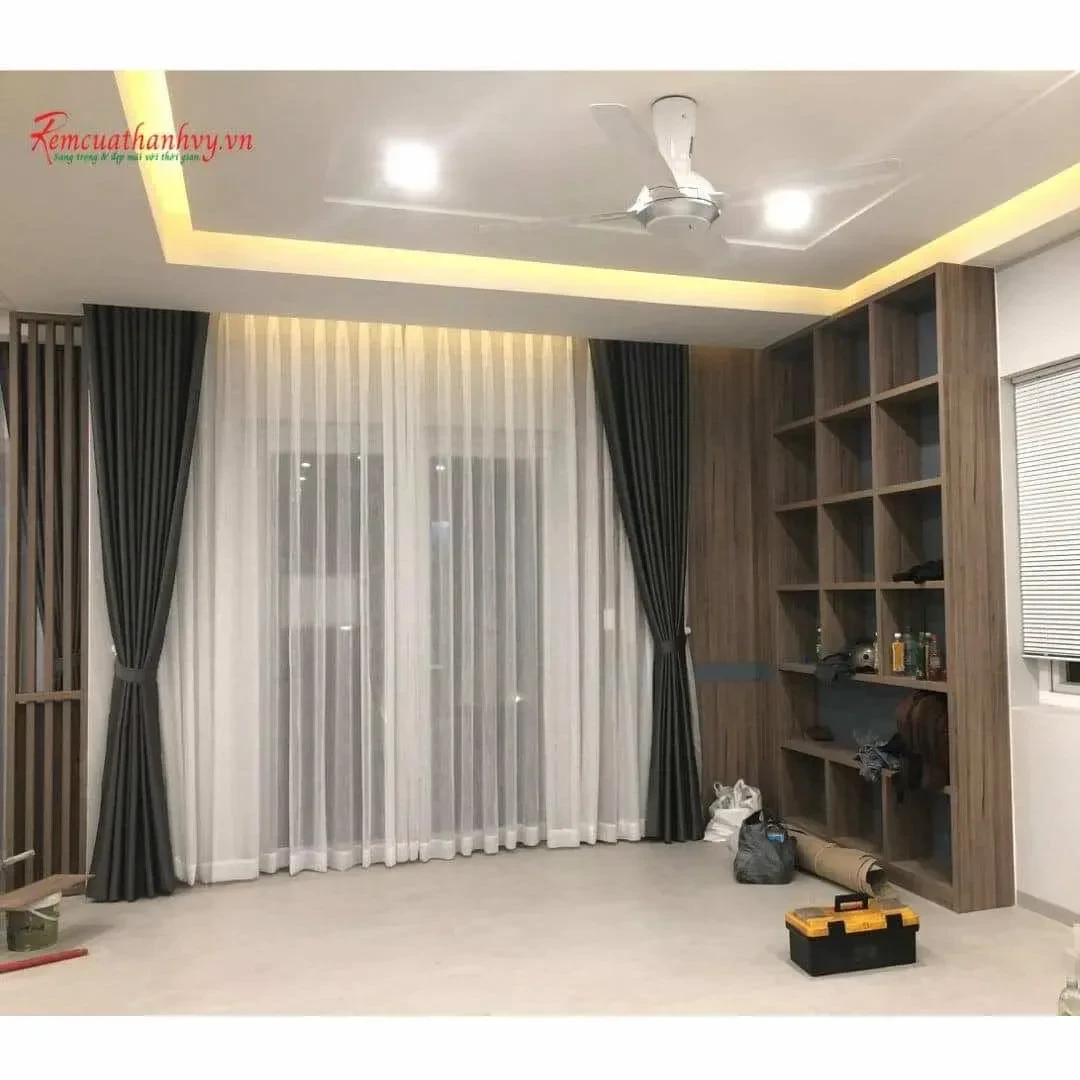
Gray Fabric Curtains at the MELOSA Garden Khang Điền Showroom, District 9
The fabric curtain project at the MELOSA Garden Khang Điền sales showroom (District 9, Ho [...]
Related services
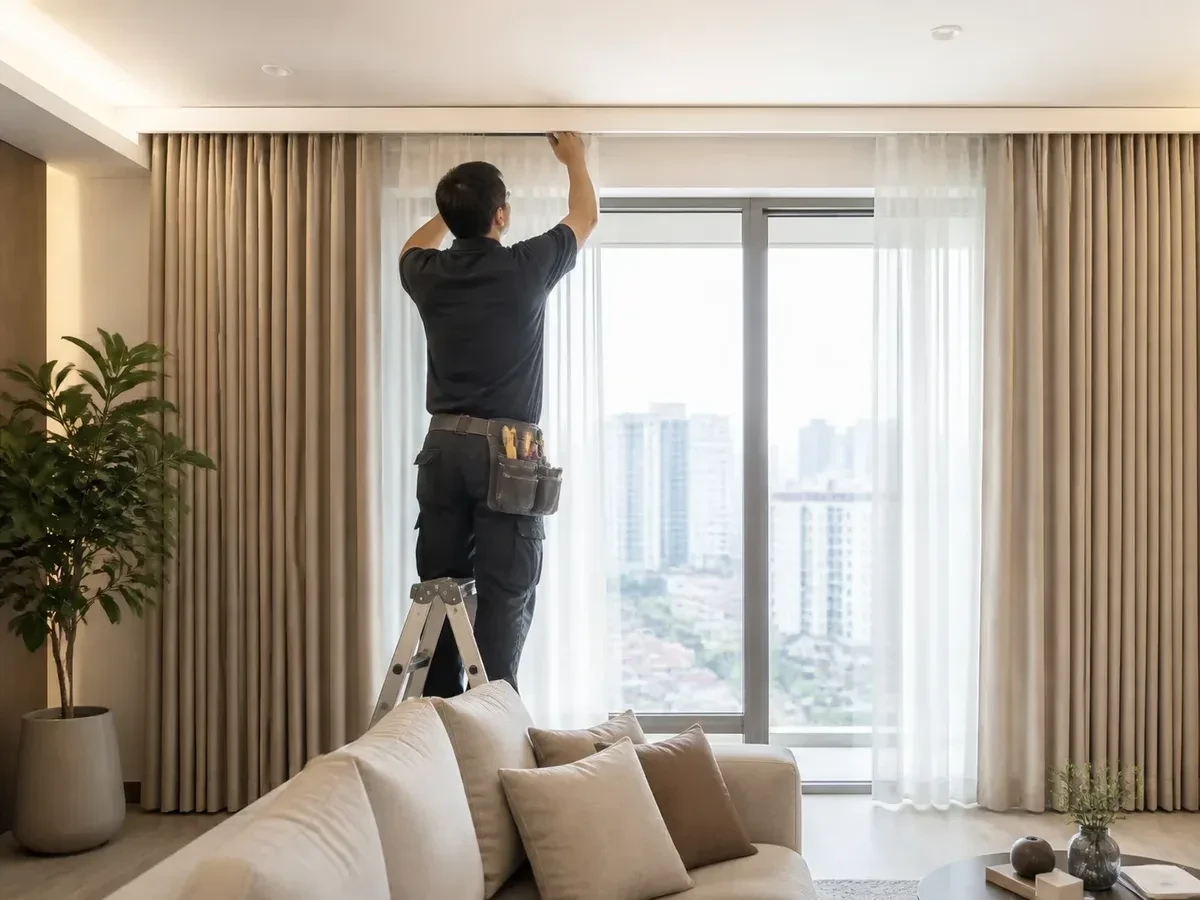
Motorized Curtain Installation in Ho Chi Minh City: Site Surveys and Technical Advice
Motorized curtain installation in Ho Chi Minh City, including curtain recess surveys, power supply checks, [...]
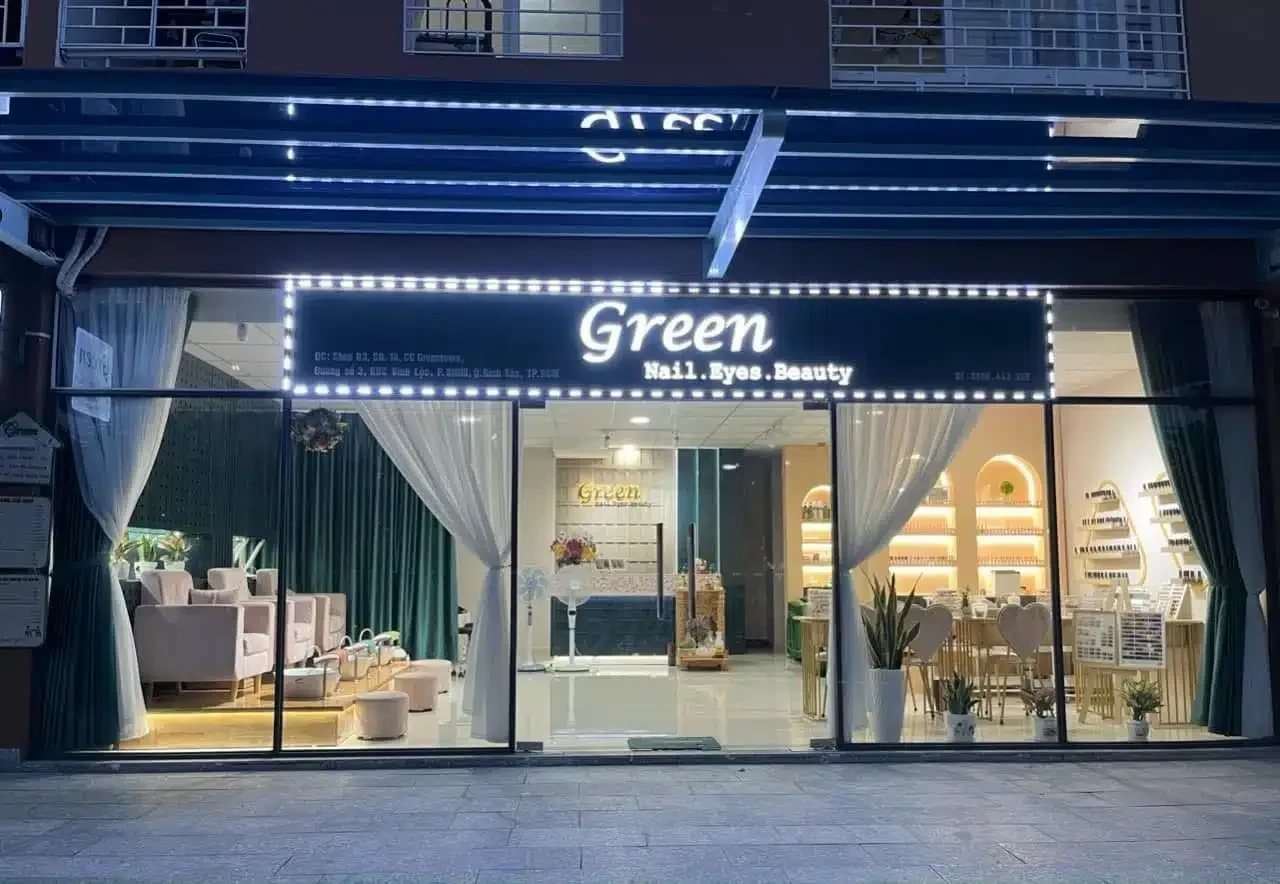
Spa and Nail Salon Curtains: Divide Spaces with Privacy and Style
Spa curtain services in Ho Chi Minh City, focusing on materials, curtain frames, the process, [...]
Office Window Treatments: Control Glare, Heat, and Privacy at Work
A guide to choosing office window treatments by light-blocking needs, materials, and usage areas, plus [...]
Related posts

Curtain Price Quotes in District 8: How to Compare Configurations Correctly
A curtain price quote in District 8 is only reliable when you are comparing the [...]
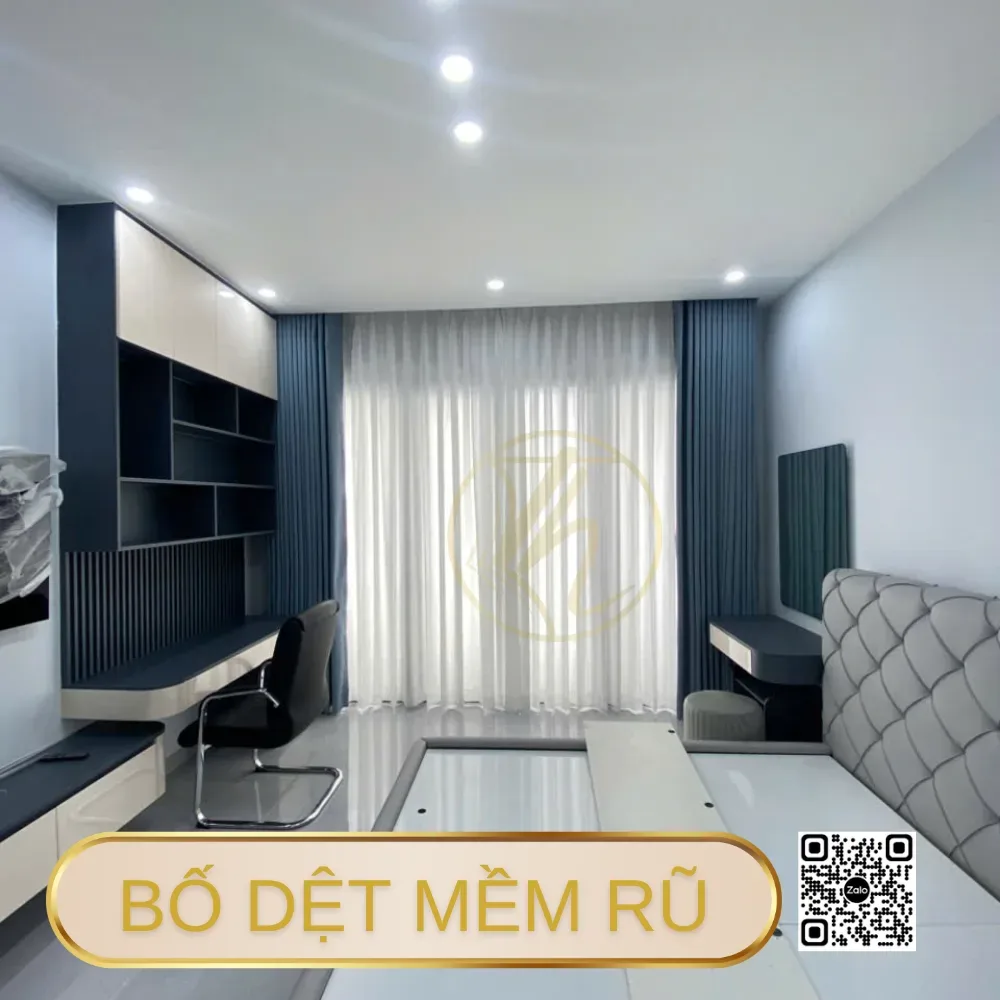
Curtain price quotes in Tan Phu: How to read and compare based on your needs
A curtain price quote in Tan Phu should be read as a complete configuration, not [...]
Binh Duong Curtain Installation: A Streamlined Survey and Installation Process
Binh Duong curtain installation is only effective when the survey, configuration, and mounting location are [...]
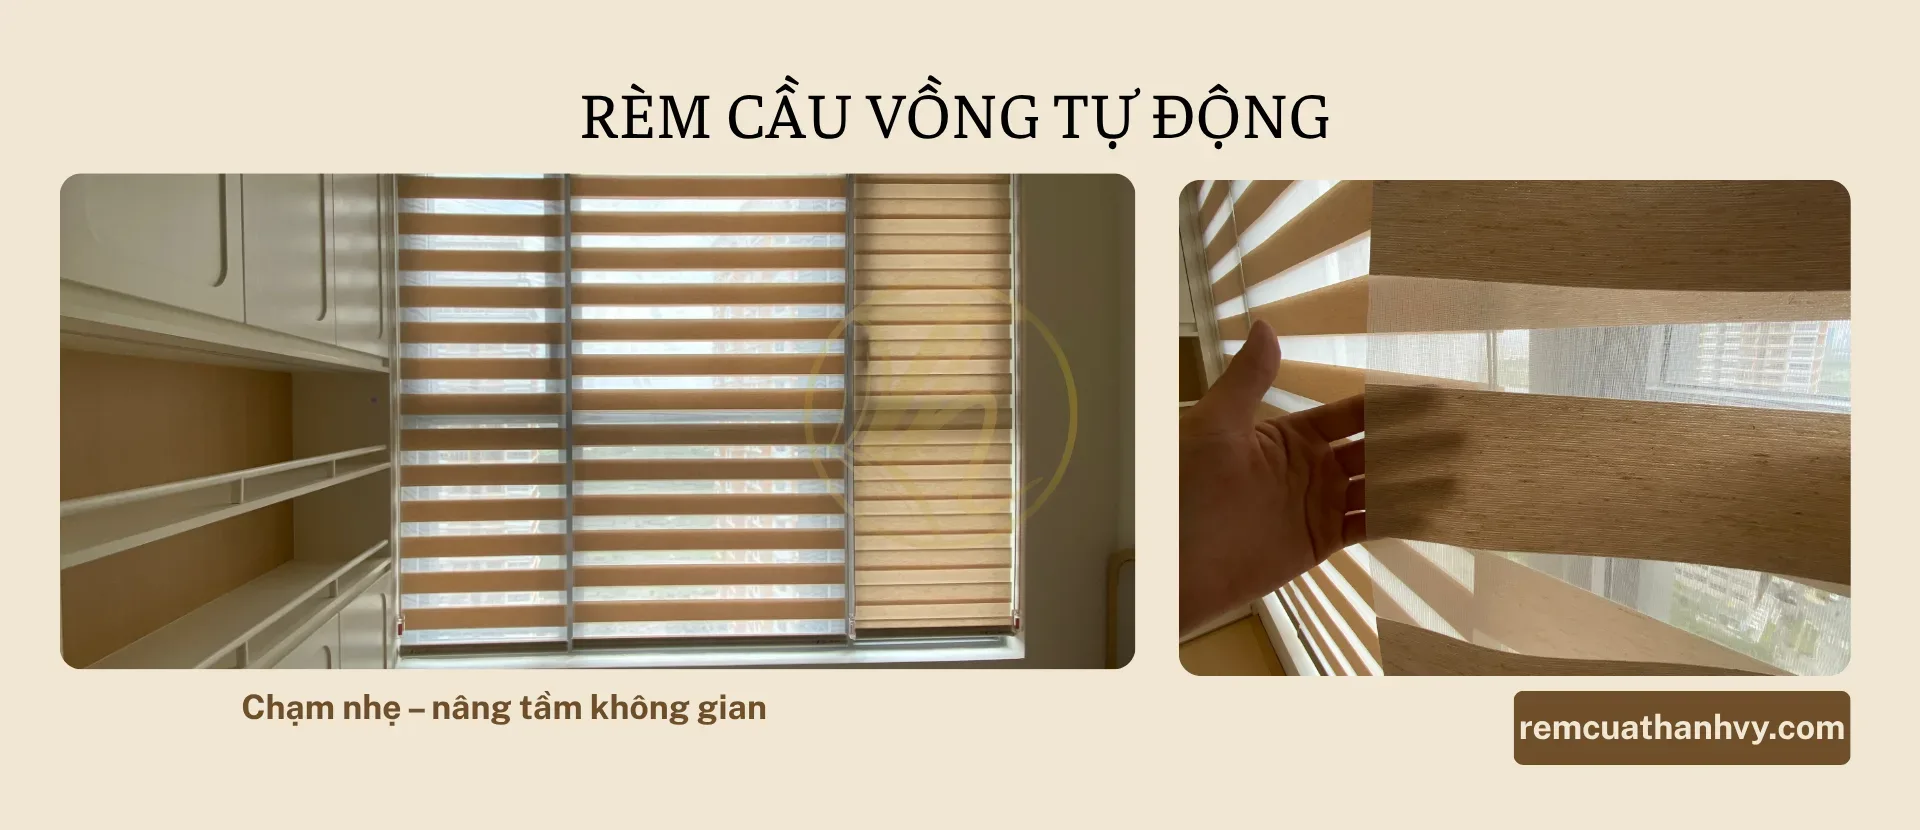
Roller Blinds for Main Doors: Tips for Choosing and Styling
A guide to choosing rainbow blinds for main doors based on the doorway, light, privacy, [...]
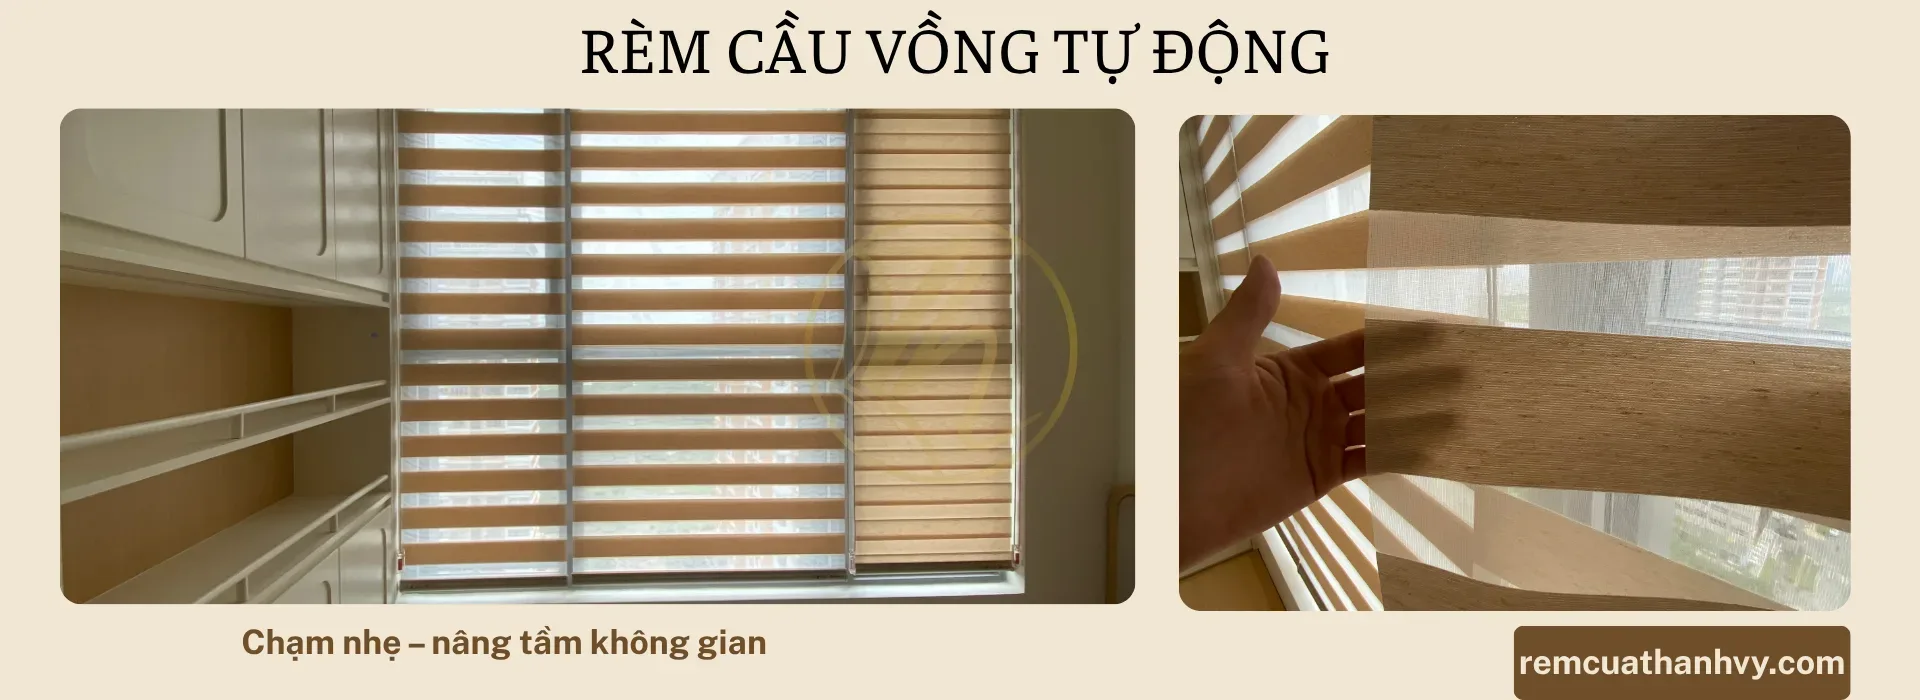
Rainbow Blinds for Windows: Tips for Choosing & Styling Well
A guide on choosing window rainbow blinds based on windows, lighting, privacy, materials, finish styles, [...]
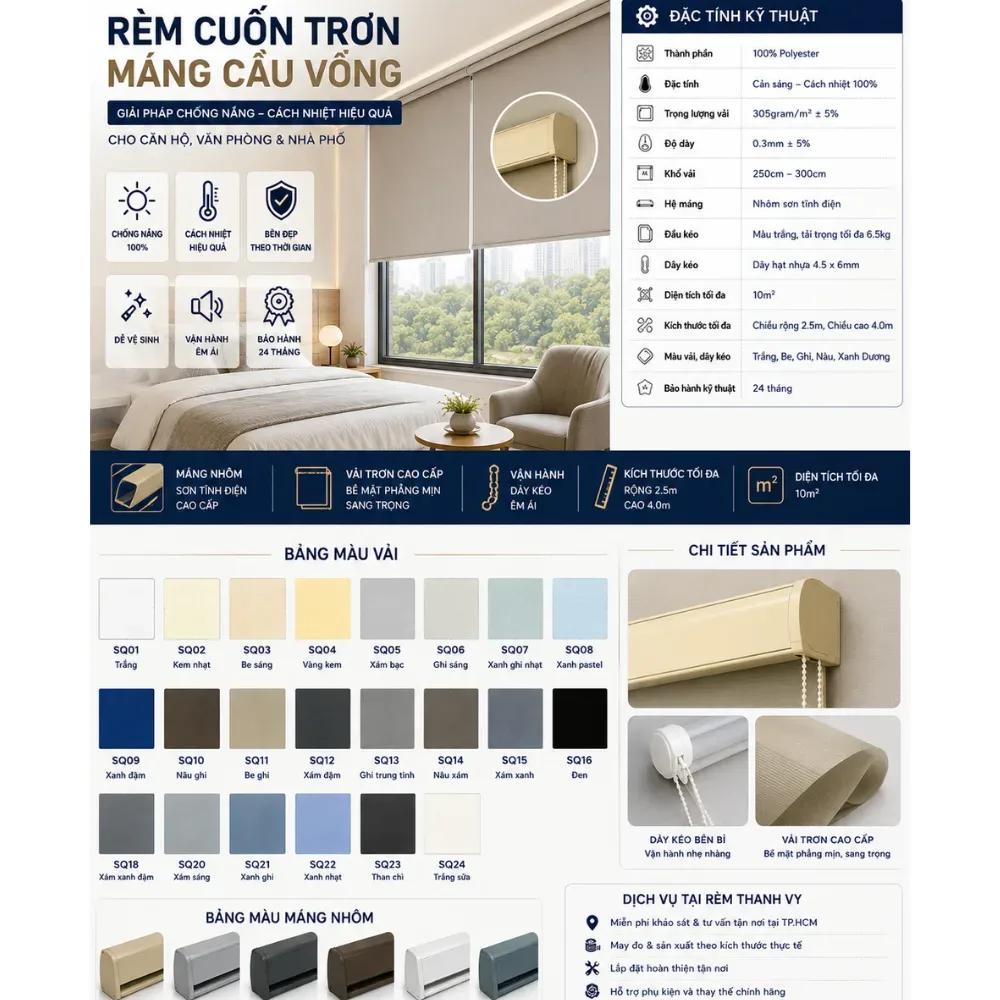
Rainbow Blinds for Showrooms: A Suitable Solution
A guide to choosing rainbow blinds for showrooms based on the space, lighting, privacy, materials, [...]
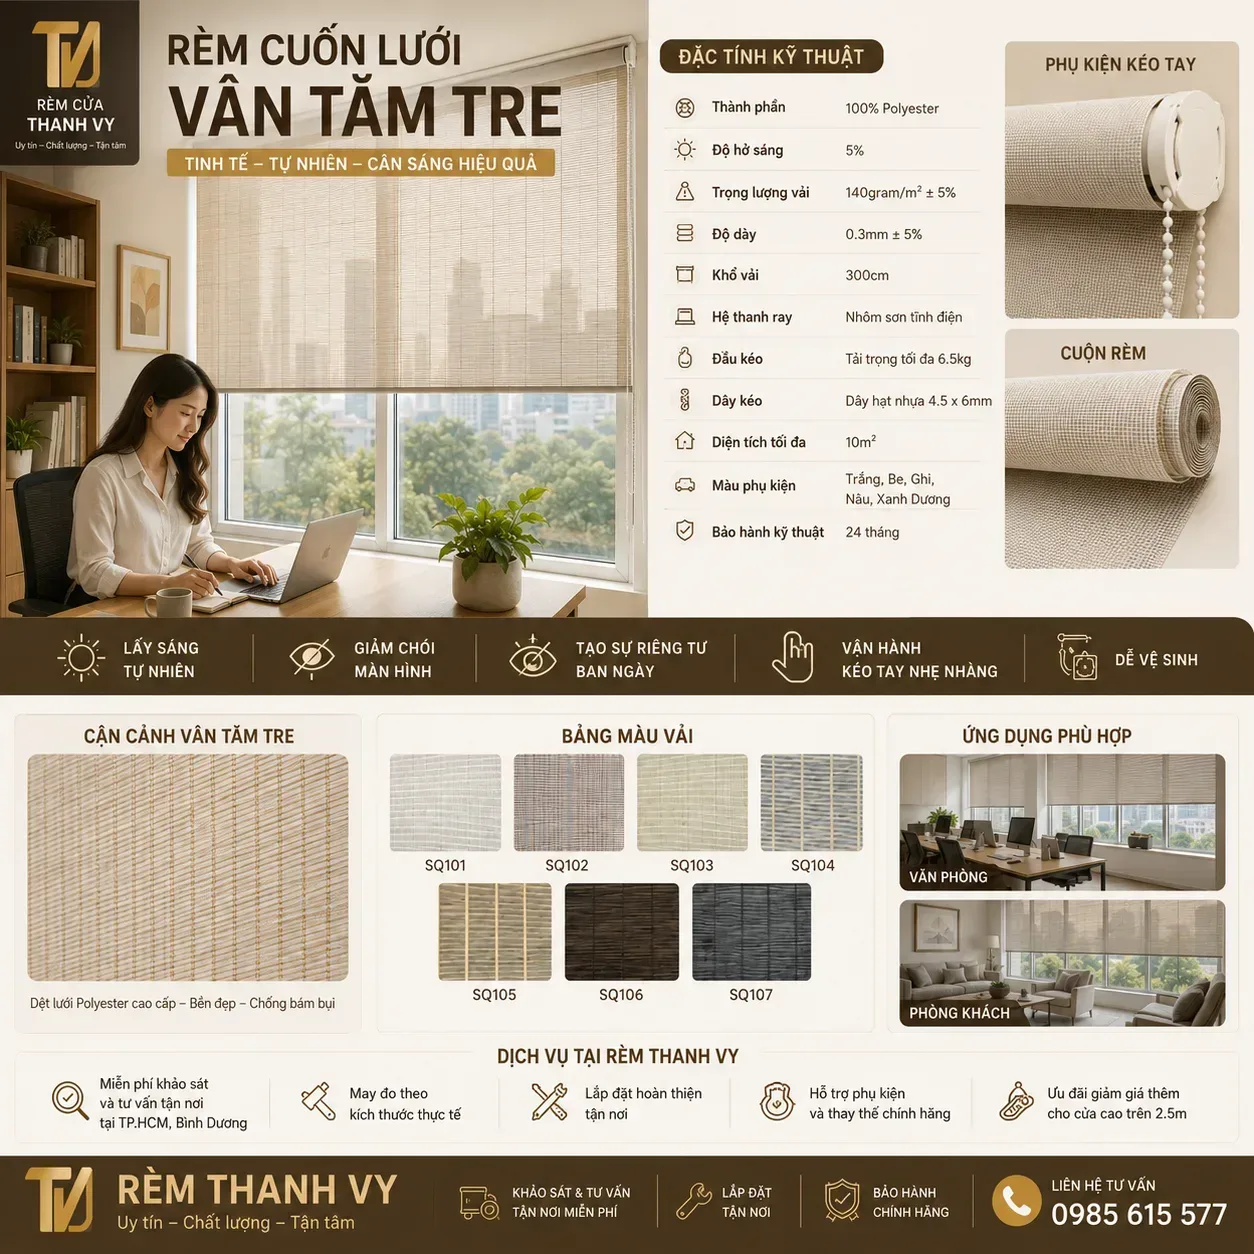
Roller Blinds for Windows: Selection & Styling Tips
A guide to choosing window roller blinds based on window type, lighting, privacy, materials, finishing [...]
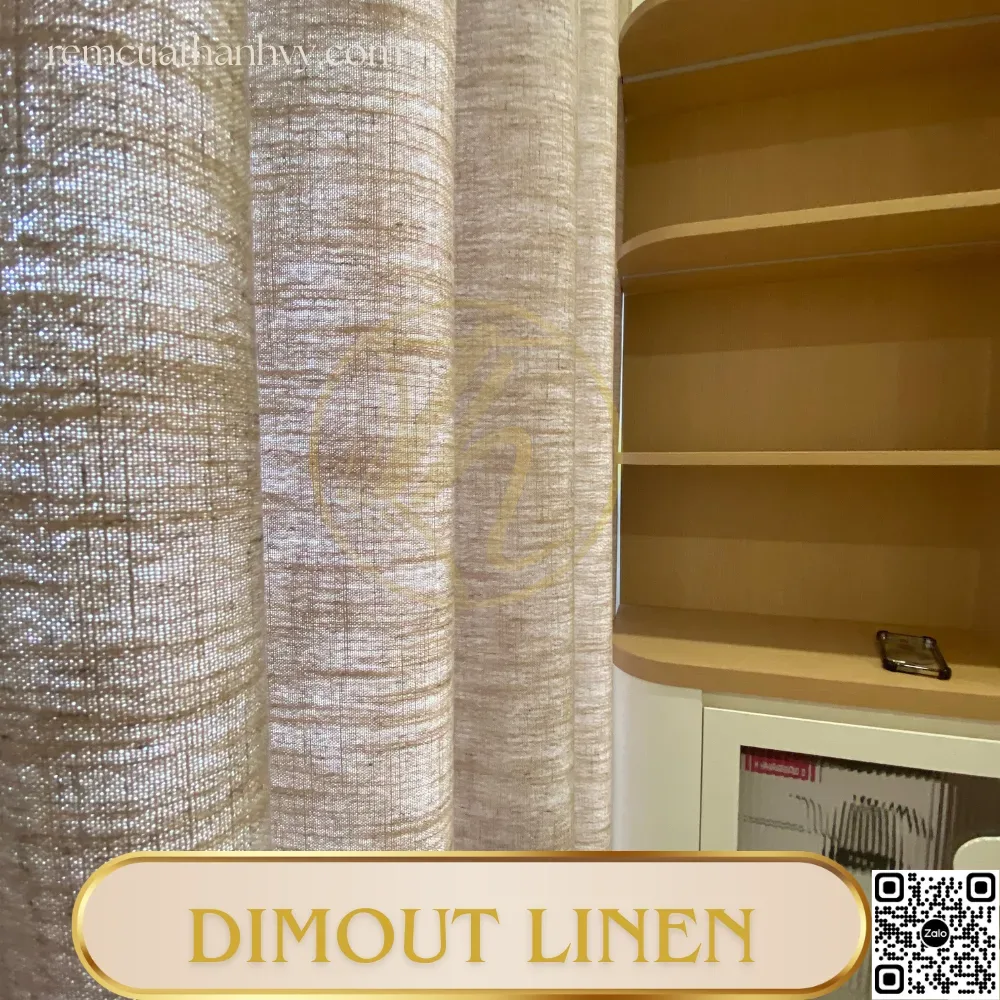
Fabric Curtains for Windows: Tips for Choosing & Styling
A guide to choosing window curtains based on window type, lighting, privacy, materials, finishing styles, [...]
No comments yet!