




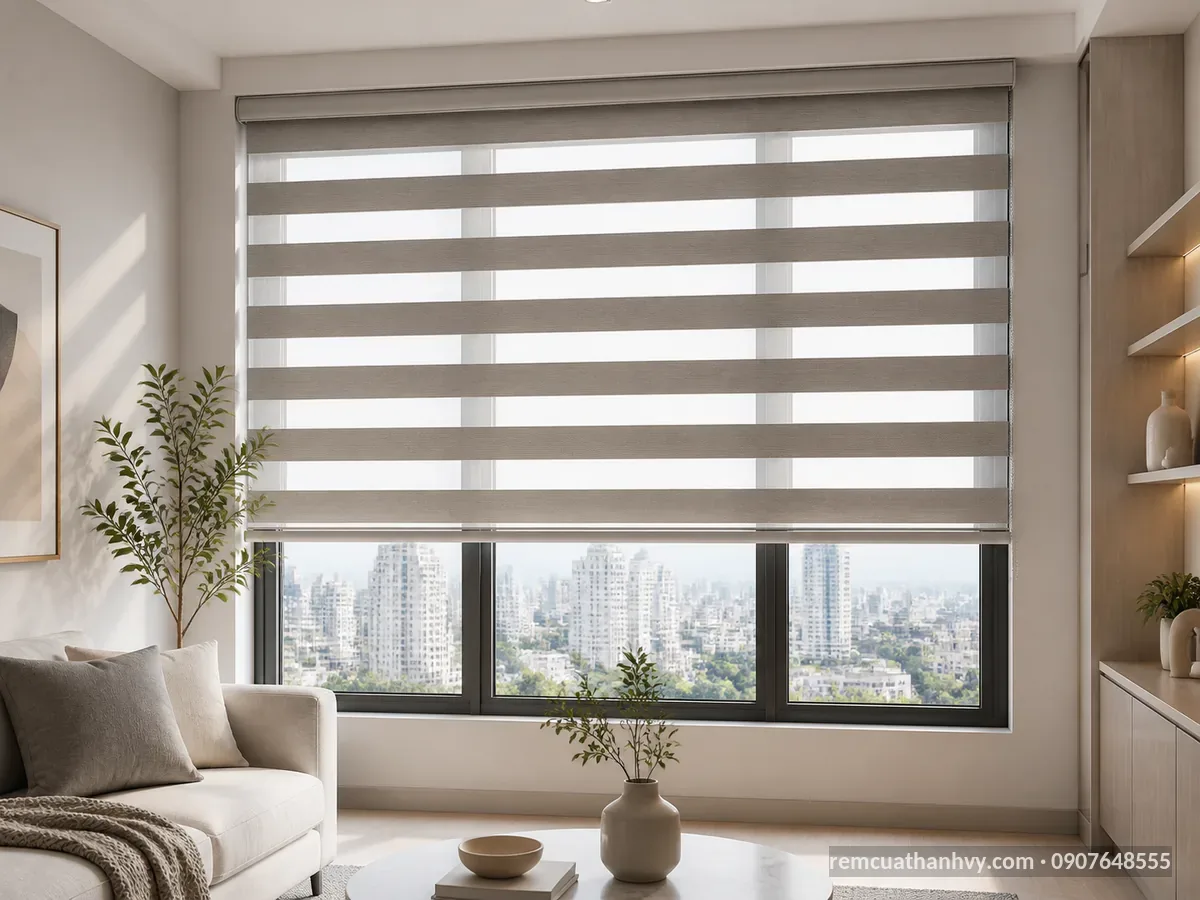

Office Window Treatments: Control Glare, Heat, and Privacy at Work
Why do office window coverings need to control glare, heat, and privacy?
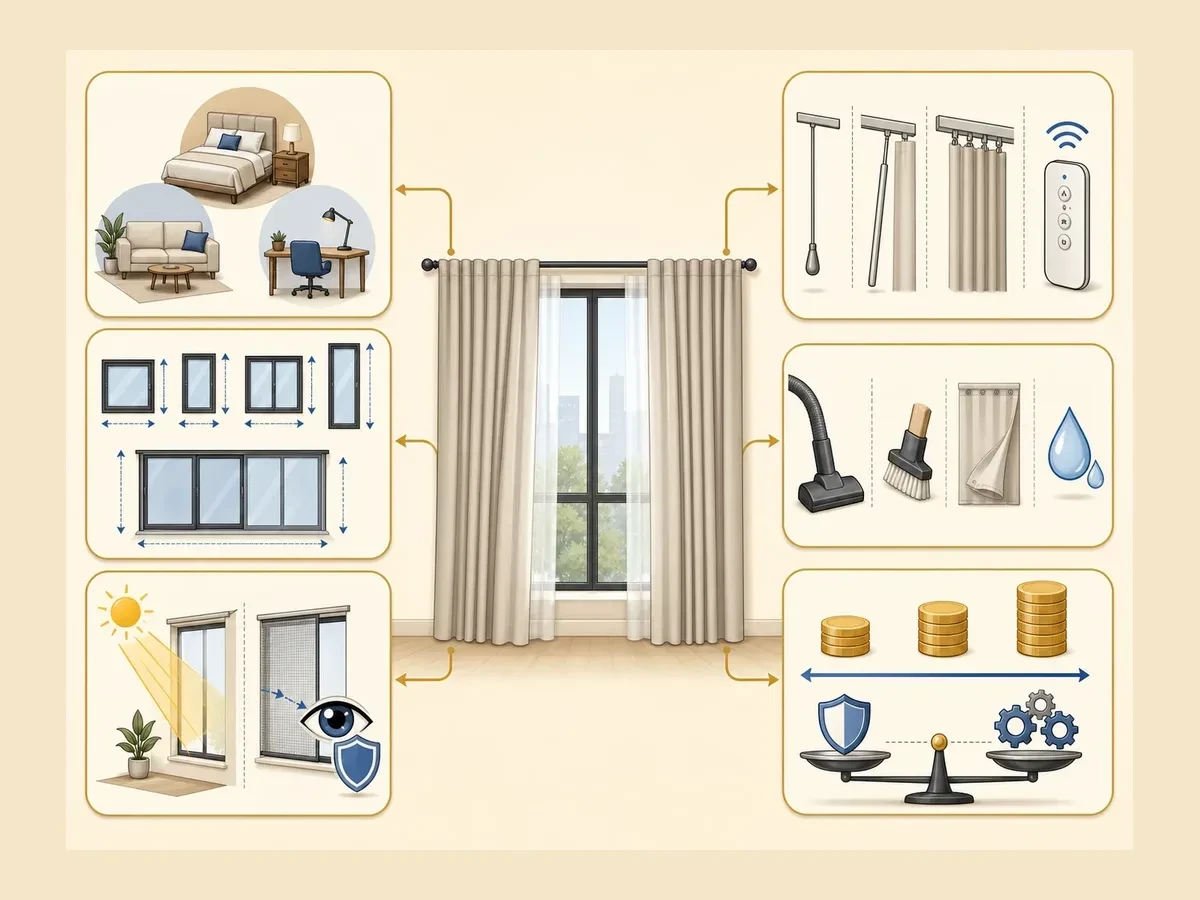
Office window coverings should be selected as a technical component, not just a decorative item. With east- or west-facing glass facades, sunlight can shine directly onto screens, causing employees to squint, change seats, or read data less accurately. A suitable window covering system must address three issues simultaneously: reducing glare at workstations, limiting heat transfer through glass, and blocking views from outside when confidentiality is required.
Glare makes screens harder to see
Light reflecting off screens typically causes the most noticeable discomfort between 8–10 in the morning at east-facing windows and 14–17 at west-facing windows. People sitting near the glass may see reflections of lights, windows opposite them, or bright patches on the white backgrounds of software interfaces. Temporarily lowering the shades helps reduce glare, but if the fabric is too dark or the shades remain fully closed all day, the space becomes dim and requires more artificial lighting.
Solar roller shades are a common solution for areas that need diffused light. Their woven fiber structure creates small openings that reduce sunlight intensity while preserving some outward visibility. According to recorded market data, solar roller shades can block approximately 70% of light, making them suitable for workstations and areas where an outside view is needed. When a room needs complete darkness for presentations, solid roller shades that block 100% of light are more suitable.
Heat through glass increases the air conditioning load
Large glass windows absorb solar radiation and then transfer heat to floors, desks, chairs, and equipment near the windows. Easily noticeable signs include desktops becoming hot, employees having to lower the air conditioning temperature, or areas next to the glass consistently having a different temperature from the center of the room. Window coverings cannot replace heat-control window film, but the fabric, PVC coating, and air gap between the covering and the glass can reduce the amount of radiation entering the room directly.
For rooms exposed to intense sunlight, you should observe the window orientation, glass height, distance from workstations to windows, and the time when heat builds up before selecting a light-blocking level. A neutral-colored shade with a stable surface, installed to fully cover the edges of the glass, will limit light gaps better than one that is too narrow. When measuring, also record the locations of utility enclosures, door handles, outlets, and ceiling edges so that nothing obstructs the shade during operation.
Privacy involves layout and confidentiality
Offices on lower floors, human resources offices, finance offices, and meeting rooms often need to control visibility at different times. During the day, solar shades can reduce direct lines of sight but do not always conceal silhouettes when interior lights are on. At night, glass reflects interior light outward, so rooms used for discussing documents or holding internal meetings should have a more opaque layer of window covering.
Privacy also depends on viewing angles. Windows facing another building, hallway glass partitions, and camera locations can create different lines of sight. During a site survey, stand in walkways, opposite lobbies, and on neighboring floors to check which areas are visible. Based on the results, shades can be divided by window section, set to an appropriate covering height, or combined using solid roller shades and solar shades rather than installing one type throughout the entire space.
Proper control creates a more consistent workplace
A properly selected office window covering system allows employees to adjust lighting throughout the day, reduces reliance on lowering the air conditioning temperature, and protects privacy in sensitive situations. A practical approach is to record the direction of sunlight, measure glass panel dimensions, identify seating positions, check presentation needs, and test fabric samples on-site. This information provides a basis for selecting the appropriate light-blocking level, color, operating method, and coverage.
For further information, please contact Thanh Vy Curtains
We provide free consultation and on-site measuring at your home.
Businesses should also request material samples, light-blocking specifications, details of the roller tube, bottom bar, and clutch mechanism, and instructions for handling jammed pull cords or accessories. For spaces with many glass panels, the measurement plan should identify each window with a code to minimize installation errors involving sizes. When glare, heat, and privacy are assessed together, the investment cost will reflect actual usage needs rather than being based solely on color or price per square meter.
Send preliminary dimensions or schedule a site survey to have the sunlight direction, viewing angles, and installation locations checked before finalizing your window covering selection.
Choosing office window coverings based on usage needs
Comparing office window covering materials: polyester, fiberglass, and PVC
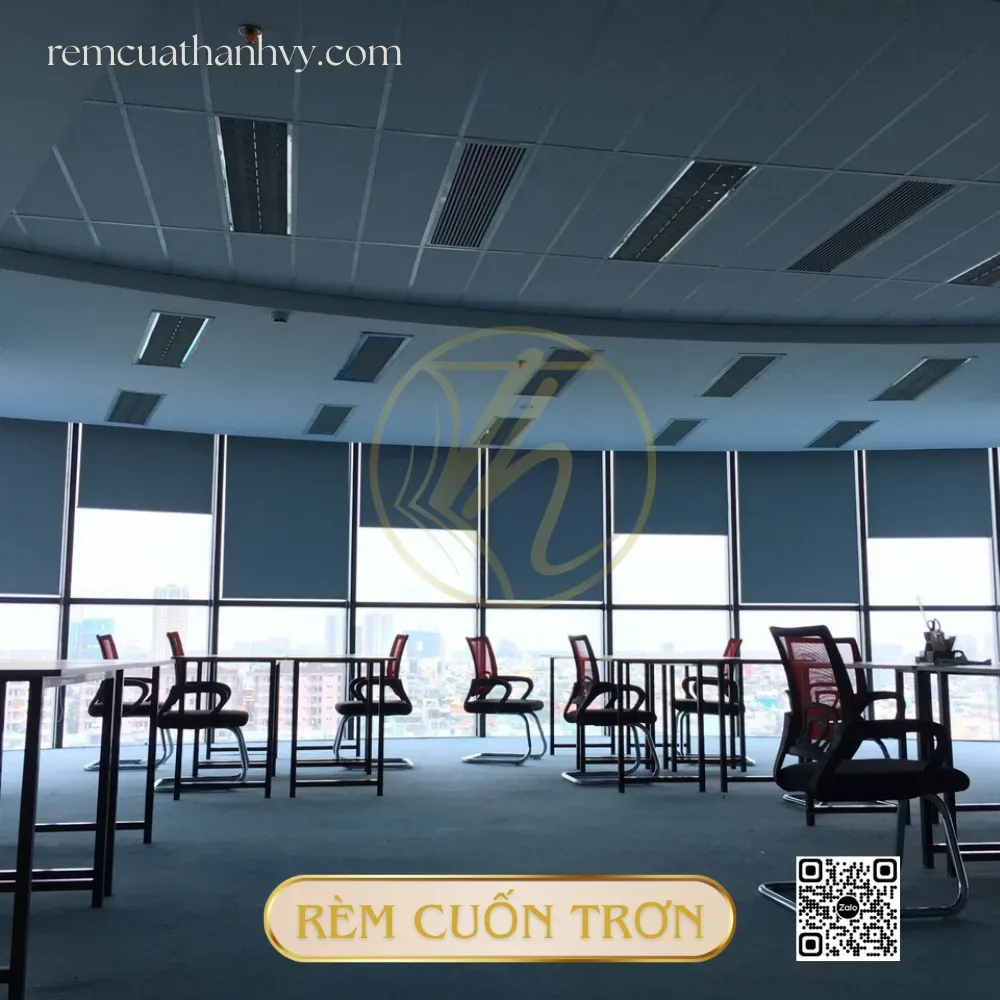
Three common material categories for office window coverings are PVC-coated polyester, PVC-coated fiberglass, and PVC sheeting. Polyester is soft, lightweight, and easy to print in color; fiberglass is more stable under sun exposure; and PVC emphasizes ease of cleaning and light blocking. When comparing them, do not look only at thickness or price per square meter. Compare the coating structure, light transmission, window dimensions, frequency of shade operation, and actual usage environment.
PVC-coated polyester: lightweight, versatile, and easy to coordinate with brand identity
Polyester fabric is made from synthetic fibers woven into a fabric base, then coated with a layer of PVC on the back or on both sides. The fabric base gives the shade flexibility, allowing it to roll compactly onto an aluminum tube; the coating improves light blocking, limits moisture, and keeps the surface stable. For office window coverings, this is a balanced choice for office glass windows, reception areas, or rows of desks that need glare reduction while maintaining consistent colors.
An easily noticeable strength is its light weight. A polyester shade can use a moderately sized roller tube and clutch mechanism, making it relatively easy to raise and lower. The surface is also suitable for printing logos, blocks of brand colors, or brand identity patterns. However, when west-facing windows receive intense sunlight for many hours, the coating and fabric color need to be checked carefully; fabric that is too thin may quickly fade or deform if the wrong specifications are selected.
- Suitable for: open-plan offices, divided windows, and areas where colors need to change to match brand identity.
- Advantages: lightweight, available in many colors, easy to fabricate, and easy to replace individual shade panels.
- Check: weave density, fabric weight, coated sides, and flatness after rolling.
PVC-coated fiberglass: holds its shape well in strong sunlight
Fiberglass consists of fine inorganic fibers woven into a mesh or fabric backing, then coated with PVC to improve surface durability. This structure helps the blind resist stretching and shrinking, maintaining more stable dimensions as temperatures change. For large glass panels or continuous glazed facades, PVC-coated fiberglass often feels firm and lies flat, especially when the blinds are raised and lowered frequently throughout the day.
The material’s heat resistance depends on the fiber ratio, coating, color, and sun exposure; it should not be simplistically equated to a fixed level of heat reduction. Light-colored panels generally reflect radiation better than dark ones, while an opaque coating helps reduce light transmission. If the office is on a west-facing facade, bring material samples close to the glass to check glare at 9, 12, and 15 hours before making a final decision.
The drawback of fiberglass is that it feels stiffer than polyester and offers less drape. If the dimensions are cut incorrectly or the edges are not properly sealed, the blind’s edges may be more noticeable. Drilling and installation also require checking the load capacity of the roller tube and brackets, as well as the clearance between the fabric edge and the aluminum frame. Samples with a large mesh opening provide soft light but still allow silhouettes to be seen; opaque-coated samples prioritize privacy and light blocking.
PVC: easy to clean, strong light blocking, and suitable for specialized environments
PVC can come as a coating on a fiber backing or as a flexible plastic sheet. PVC sheets have a nonporous surface that retains little water and can be wiped with a damp cloth, making them suitable for areas near the pantry, technical rooms, document storage rooms, or places prone to splashes and stains. For office blinds that require strong light blocking, thick PVC generally provides more complete coverage than mesh materials.
In exchange, PVC can be heavier and less breathable. If the sheet is too thick, a small roller tube or an operating mechanism with insufficient load capacity will make the blind harder to pull, wear out the control cord quickly, and cause uneven rolling. In enclosed rooms with continuous air conditioning, consider ventilation needs, heat reflectivity, and whether an outside view is necessary. Do not choose PVC solely for its easy-to-wipe surface while overlooking the load of the entire blind assembly.
Printing ink stains, fine dust, and fingerprints on PVC can usually be removed with a slightly damp microfiber cloth. Do not use scrapers, strong solvents, or abrasive pads, as they can scratch the coating and create areas that collect dust. For PVC-coated polyester, test the cleaning solution on the back or in an inconspicuous corner first; vigorous rubbing can cause fading or peel off the printed logo.
Quick comparison table before choosing a material
| Criteria | PVC-coated polyester | PVC-coated fiberglass | PVC sheets |
|---|---|---|---|
| Material feel | Soft, lightweight, easy to roll | Stiff and holds its shape well | Thick, opaque, potentially heavy |
| Light | Available in various light transmission levels | From light-softening mesh to opaque coatings | Usually offers strong light blocking |
| Dimensional stability | Depends on the fabric backing and coating | Good under changing temperatures | Good, but requires the correct tube load capacity |
| Cleaning | Wipe gently, avoid harsh chemicals | Wipe off dust along the fiber direction | Damp cloth, no abrasive scrubbing |
| Suitable applications | Workstations, reception areas, logo printing | Large glass surfaces, strong sun exposure | Rooms requiring light blocking and easy cleaning |
How to check physical samples at the office
Before ordering office blinds, request a sample of each material measuring at least approximately 20 x 30 cm, along with information on weight per unit area, light transmission rate, and coating type. Place the sample close to the window frame, measure the window opening’s width with a laser measure or steel tape measure, then inspect it from both inside and the hallway. Also check the cut edges, flatness, plastic odor, how well it rolls on a sample tube, and the smoothness of the operating mechanism.
For wide windows, divide the blinds by individual sections rather than using one oversized panel. This approach reduces the load on the roller tube, makes replacement easier, and allows each group of desks to adjust its own lighting. If a logo is included, approve a print on the actual material backing, since colors may appear differently on polyester, fiberglass, and PVC. Only an approved sample should serve as the basis for finalizing cut dimensions and quantities.
In terms of cost, the material is only one part of the quote. The total also depends on the area calculated from the coverage dimensions, the number of blind assemblies, roller tubes, brackets, operating mechanisms, edge finishing, logo printing, and installation conditions. Therefore, request a quote that separates materials, accessories, and labor to compare options accurately, rather than comparing a single total with an unclear breakdown.
If you are unsure which type to choose, you can use polyester for standard window openings, fiberglass for glass surfaces exposed to strong sunlight, and PVC for areas requiring frequent cleaning. Assigning materials according to the environment helps office blinds last longer, operate more smoothly, and avoid extra spending on unnecessary features.
Send the dimensions of each window opening and photos showing sun exposure to receive advice on suitable material samples for your office.
Know the cost before you decide
Send estimated dimensions and a few photos of the space, and Thanh Vy Curtains will prepare a quote for exactly the items you need.
Request a quote Call 0985 615 577 Message on ZaloYou can schedule an on-site measurement to check blind dimensions, roller tube load capacity, and section layout before making a final decision.
Technical requirements for light blocking, thermal insulation, privacy, and operation
To choose the right office blinds, finalize four groups of specifications from the outset: light-blocking level, heat reduction capability, privacy, and operating method. A west-facing window beside a workstation will need a different configuration from a meeting room’s glass partition or a reception counter. During the site survey, record sun exposure, window opening dimensions, furniture setbacks, and frequency of use to select suitable fabric, accessories, and controls.
1. Determine the light-blocking level based on the work area
Plain roller blinds can achieve 100% light blocking when made with opaque-coated fabric and combined with a bottom rail and roller cassette fitted closely to the frame. This configuration suits meeting rooms used for presentations, executive offices, or areas with screens facing glass windows. Mesh roller blinds typically provide around 70% light blocking while still filtering sunlight and allowing a view outside; this option suits workstation areas that need natural light with reduced glare.
Do not rely solely on the “light-blocking” label on a fabric sample. Check actual light transmission by placing the sample in front of a light source, observing light around the edges, and checking gaps between blind assemblies. For wide glazed facades, divide the blinds into multiple sections rather than using one large panel; this approach helps reduce light gaps, limit fabric sagging, and make individual assemblies easier to replace when needed.
2. Check thermal insulation and glare reduction capabilities
The heat reduction capability of office blinds depends on fabric color, weave density, backing coating, the distance between the blind and the glass, and the direction of sunlight. Light-colored fabrics reflect radiation better, while PVC coatings help limit light transmission. However, blinds do not replace heat-control window film or air conditioning; the technical goal is to reduce direct radiation on people, desks, and screens.
For west-facing glass windows, prioritize blinds with strong light blocking and light neutral colors, installed to extend beyond the glass edges. When measuring, the technician should clearly record the left and right coverage widths, top overlap, and distance from the glass to the blind surface. Excessive gaps increase light leakage; conversely, blinds touching window handles or cabinet doors will rub against them and shorten the lifespan of the fabric edges.
3. Ensuring privacy at different times of use
Daytime and nighttime privacy are two different challenges. Screen shades can limit visibility from outside when the interior is brighter than outdoors, but the effect reverses when office lights are turned on in the evening. Meeting rooms, human resources offices, or document processing areas should use opaque fabric or a dual-layer configuration if complete coverage is needed during meetings.
For glass partitions next to hallways, check diagonal sightlines, not just perpendicular views. Vertical blinds can be used to adjust the slat direction, opaque roller shades for areas requiring complete coverage, or coverage can be divided by height. Fabric edges, bottom rails, headboxes, and adjoining gaps must be aligned to avoid openings that expose screens, documents, or people working.
4. Operating specifications to include in the quote
Each office window shade assembly should have its own information sheet listing overall dimensions, fabric dimensions, roller tube type, tube diameter, bottom rail, brackets, control mechanism, and pull direction. For large shade assemblies, fabric weight and tube length determine the pulling force required. An overloaded tube can easily sag, roll unevenly, or make rubbing noises during operation.
Manual shades need lift cords, pulleys, or bead chains of the correct length, secured neatly and kept clear of walkways. Cord systems should be anchored securely, especially in areas with children or frequent foot traffic. When opening and closing the shades, users should pull straight along the axis rather than jerk the bottom rail sideways; this helps prevent fabric misalignment and chain breakage.
Motorized shades require checks of the motor, controller, power supply, switches, remote, and travel limits. For multiple bays, control groups should be clearly specified so the west-facing area can be closed independently without covering the entire office. If connected to a smart system, the signal receiver location, power supply arrangement, and manual operation capability during power outages must be determined.
5. Technical inspection process before finalizing the selection
Request measurements at a minimum of three points on each window opening: the beginning, middle, and end of its width; also measure the height at both edges and the center. If the measurements differ, determine whether the glass, wall, or ceiling will serve as the reference surface for installation. Technicians should also use a laser measuring tool, steel tape measure, spirit level, and angle finder when the space has beams, utility enclosures, or drywall ceilings.
Before production, the technical documentation should specify the fabric code, front side, back side, color, stated light-blocking level, inside- or outside-mount style, bracket positions, and control direction. For shades printed with logos, approve the color file, print area dimensions, and viewing orientation before cutting the fabric. Approval should not be based solely on an on-screen image because displayed colors may differ from the actual sample.
During installation, check the wall anchors, mounting plates, bracket spacing, tube level, and gaps between assemblies. Each office shade assembly must be raised, lowered, and stopped at multiple positions to detect uneven rolling, a jammed bottom rail, or excessive lift cord tension. For motorized shades, test the local switch, remote, and emergency stop mode if the system includes one.
6. How to maintain the original specifications through proper use
Do not roll up shades when the bottom rail is caught on a plant pot, documents, or a desk edge. With screen shades, adjust the viewing angle and opening position according to the direction of sunlight rather than repeatedly yanking them. Keep the fabric dry and avoid prolonged direct airflow from an air conditioner onto one edge. When moving furniture, check the clearance again before operating the shades.
One team from drawings to installation
Thanh Vy Curtains surveys, designs and installs based on your actual site. Send us the dimensions and current condition, and we will advise the right solution.
Request a quote Call 0985 615 577 Message on ZaloThe handover documentation should include a diagram of each bay, fabric codes, installation dates, control directions, and basic cleaning instructions. If you notice noises, a misaligned roller tube, wrinkled fabric, or an unusual increase in pulling force, stop using that assembly and record its location for inspection. Sending photos of the glass windows, the direction of sunlight, and the dimensions of each bay will help make office window shade recommendations more closely suited to actual operating conditions.
To finalize the right light-blocking level and operating method, send the dimensions of each window opening along with photos showing the direction of sunlight to receive a suitable configuration of fabric samples, accessories, and controls.
You can schedule an on-site measurement to check the flatness of the window openings, roller tube load capacity, bracket positions, and light-blocking overlap before production.
Choosing shades for each area: workstations, meeting rooms, and reception
The same configuration should not be used for every window opening in the office. Workstation areas need glare reduction while maintaining sufficient light; meeting rooms need privacy and reduced screen reflections; reception counters need to create a tidy impression consistent with the brand identity. When choosing office window shades, consider the direction of sunlight, glass panel width, clearance above the frame, frequency of opening and closing, and furniture layout in each area.
Workstation areas: prioritize glare reduction without blocking too much light
For rows of desks next to west- or southwest-facing glass windows, screen roller shades are a suitable choice when employees still need to see outside. Screen fabric with moderate light transmission helps reduce direct sunlight, limit screen glare, and maintain sightlines between desks. Fabric samples should be evaluated at the actual window location around 14–16 hours, rather than choosing colors solely under showroom lighting.
For windows exposed to intense sunlight, plain roller shades with high light-blocking performance can be used for desks affected by heat or glare at certain times. Check the light-blocking overlap at both edges, the utility enclosure position, and how far the window handle protrudes. If the window swings inward, the roller assembly should be mounted inside the opening when there is sufficient clearance, or outside the opening so the fabric does not hit the window sash.
In offices with multiple desk clusters, shades can be divided into modules aligned with the windows instead of using one continuous long panel. This allows employees to adjust only the sunlit area, reduces the load on the roller tube, and makes replacement easier. Bottom rails, pull cords, winding mechanisms, and mounting brackets should be positioned away from areas where swivel chairs, filing cabinets, and foot traffic could come into contact with them.
- Desks next to glass: prioritize screen shades, neutral colors, and unobtrusive pull operation.
- Desks with large monitors: test samples from a seated viewing angle to check reflections.
- West-facing windows: consider plain shades for frames exposed to direct sunlight.
- Flexible work areas: divide shades into modules by window opening so each group can adjust them independently.
Meeting rooms: managing privacy, presentation lighting, and operating noise
Meeting rooms need a different configuration from work areas because they often have screens, projectors, cameras, and discussions that require privacy. Solid-fabric roller shades with high light-blocking performance are suitable for meeting rooms with projection screens; when the shades are lowered, light from the glass doors and windows is reduced evenly, making images on the screen less washed out. If the room is only used for quick daytime meetings and still needs natural light, dual-layer shades can be used, or screen shades can be combined with a solid-fabric layer for each opening.
For meeting rooms with clear glass partitions, measure the partition height, ceiling edge, recessed shade pocket if present, and gaps between panels. Shades must not only cover windows but also minimize light gaps at the joints. Shade panels can be divided according to the meeting table, doorway, and fixed glass sections so users can close only the areas needed without having to lower the entire system.
If the meeting room has a long table, hanging operating cords can get in the way of seated users or equipment on the table. Place the controls on a less-used wall side, choose cords with fixed retainers, or use motors when there are many shade sections. For leased office projects, confirm screw mounting locations, drywall type, concrete beams, and the building management’s installation rules in advance.
| Area | Suggested configuration | Points to measure and test |
|---|---|---|
| Workstations | Screen or solid-fabric roller shades according to sun exposure | Screen reflection angles, desk edges, door handles |
| Meeting rooms | Solid-fabric shades with high light-blocking performance, divided into modules | Light gaps, projection screens, glass partitions, control locations |
| Reception | Color-coordinated roller shades or shades printed with brand elements | Logo, reception desk, view from the lobby |
Reception areas: coordinating brand identity and keeping the frontage tidy
The reception area is the first place visitors see, so shades need to coordinate with the wall colors, reception desk, name sign, and visual identity. Solid-fabric roller shades in gray, cream, or brand colors often create a clean surface with few details that is easy to coordinate with the interior. If using patterns or a printed logo, place the image in an easily visible area without obscuring signage, security cameras, or information screens.
For tall glass frontages, check the sightline from outside the lobby toward the reception desk. Screen shades can preserve daylight and reduce the sense of exposure, while a solid-fabric layer can be used when files, equipment, or visitor seating areas need to be concealed. Avoid overly shiny fabrics because downlights and vehicle lights at night can create reflective patches on the glass.
Reception windows are usually opened and closed less frequently but need to maintain a consistent appearance. Roller assemblies should be aligned straight, bottom rails should not touch the counter, control cords should be secured close to the wall, and shade housings should not obstruct signage. For lobbies with high ceilings, the tops of shades across openings need to be set at the same height so the horizontal line seen from the entrance is not uneven.
How to finalize the configuration for each floor plan
Before ordering office window coverings, create a table for each area: window opening code, width x height, sun exposure, glass type, desk or screen location, required privacy level, and operating method. Take photos from seated positions, from the hallway, and from outside the frontage to identify actual glare points. Then test fabric samples on at least one representative opening before extending the selection to the entire floor.
When sending a consultation request, include a floor plan, the number of window openings, ceiling photos, and information about when the rooms are used. The technical team can use this to recommend screen shades for workstations, solid-fabric shades for meeting rooms, and a color-coordinated configuration for reception. If an accurate quote is needed, request separate pricing for fabric, roller tubes, brackets, controls, installation labor, and additional items for each area.
Send photos and dimensions for each area to receive a plan specifying shade types. Clearly state whether each opening is at a workstation, in a meeting room, or at reception, along with its sun exposure and operating needs; this information helps make product selection and on-site measurements more closely suited to the layout.
The process for consultation, site surveys, measurements, and office installation

To order office window coverings that fit correctly and operate reliably, the process should begin with a site survey rather than selecting a style from photos. The consultant needs to record sun exposure, ceiling height, door and window types, workstation locations, and the desired operating method. A technician then measures each opening, checks bracket mounting locations, cross-checks the drawings, and finalizes the plan before production. This approach helps minimize incorrectly sized shades, interference with handles, insufficient opening clearance, or inconsistencies between areas.
1. Gathering requirements and screening initial information
At the first step, the installer needs to receive photos of the frontage, interior photos, a floor plan, or a short video of the office. The person in charge should provide the number of window openings, estimated dimensions, installation floor, permitted installation times, and VAT invoice requirements if the business needs payment documentation. This information helps distinguish projects with floor-to-ceiling glass, continuous glass partitions, hinged doors, or sliding doors.
The consultant also needs to clarify the areas of use: workstations, meeting rooms, the director’s office, reception desk, pantry area, or server room. For leased premises, confirm wall-drilling rules, material delivery times, and the route for bringing ladders up to the floor. If the office is operating, the survey should be scheduled to avoid meeting hours or periods with heavy visitor traffic.
Rather than immediately sending a single option, the consultant should prepare a list of proposals covering shade style, fabric color, light transmission level, operating mechanism, and installation location. Customers can also send brand color codes, interior photos, or logo printing requirements so the technician can prepare suitable fabric samples and layout options.
2. Surveying existing office conditions
Upon arriving at the site, the technician checks each window section in sequence, marking area codes such as HC-01, HM-02, or LT-03 to avoid confusion during measurement and installation. Information to record includes the glass opening width, height from the floor to the top edge, ceiling height, wall thickness, upper setback, and side clearances. For continuous glass partitions, the joints between glass panels and possible roller tube locations must be identified.
Survey tools typically include a laser measuring device, tape measure, level, angle finder, marking pen, camera phone, and existing-condition form. The laser measuring device helps check heights in large areas; the tape measure is used to cross-check frame edges. The level helps detect sloping ceilings or window sills. Photos should capture the entire opening, adjacent walls, electrical outlets, handles, utility enclosures, and the control cord route.
The technician must look for commonly overlooked obstructions such as fire detectors, cable trays, recessed lights, concrete beams, filing cabinets, wall-mounted air conditioners, and emergency exits. If installing shades close to desks, check cabinet door opening clearance or how far monitors project. For tall glass openings, determine whether tube extensions, divided sections, or connecting bars are needed for convenient operation.
3. Measuring and Finalizing Production Dimensions
Each window opening should be measured at least twice at different points. If the measurements differ, the technician should check the frame for squareness rather than mechanically averaging them. The measurement sheet must clearly distinguish overall dimensions, clear opening dimensions, and finished dimensions. It must also specify left-side, right-side, center, or split operation, since changing the operating direction affects the position of the clutch mechanism and the clearance needed for operation.
For outside-mount blinds, the person taking measurements determines the overlap beyond the glass edges, the clearance below, and the distance from the roller tube to the ceiling. For inside-mount blinds, the recess depth, aluminum lips, and handles must be checked. Do not make allowances based on a general formula when walls are slanted or windows have thick glazing beads. The final dimensions must appear on the confirmation sheet for the customer to verify.
On the measurement sheet, each unit should have a location code, finished width, finished height, mounting type, fabric color, accessory type, and special notes. Windows with identical dimensions but different sun exposure still need separate entries for easier checking. If a logo is to be printed, the approval proof must show the print area, logo proportions, ink color, placement, and viewing orientation from inside to outside.
4. Approving Samples and Confirming the Plan
After the site survey, the installer sends fabric samples, color samples, accessory photos, and a description of the operating mechanism. Customers should check samples under the actual lighting in the office, especially when the blind color needs to coordinate with the flooring, partitions, conference table, or brand identity. A small sample may look different when covering a large expanse of glass, so photos of similar projects or a trial hanging sample should also be reviewed if the space has demanding requirements.
The approval record must clearly specify the fabric code, surface finish, bottom rail color, pull cord type, clutch mechanism, mounting brackets, connecting bars, and number of units. If motors are used, the motor positions, power supply, switches, controllers, and wiring plan must be finalized. For offices with multiple areas, a summary table organized by floor or room helps the person in charge check everything before placing the production order.
Only after the dimensions, samples, and mechanisms have been confirmed should the installer proceed to production. Any changes after this point, such as changing colors, increasing coverage, or switching from manual to automatic operation, must be recorded in writing to avoid discrepancies between the quote, measurement sheet, and delivered goods.
5. Preparing Materials and the Installation Plan
Before installation day, the technical team checks the actual goods against the item code list: fabric rolls, aluminum tubes, bottom rails, clutches, pull cords, brackets, screws, wall anchors, connecting bars, motors, and controllers. Blind units should be sorted by room code, labeled by size, and packaged separately. For multistory projects, the delivery plan must specify the staging time, transport elevator, and temporary storage area.
The office manager should notify staff in advance about the installation area, drilling times, and the need to clear belongings near windows. The installation team needs to prepare a drill, suitable drill bits, screwdrivers, a power screwdriver, a level, a ladder, a vacuum cleaner, protective sheeting, and waste collection bags. If work takes place outside business hours, arrangements must be agreed upon for the person opening the premises, security staff, and the site handover procedure.
After handover, Thanh Vy Curtains stays with you
Talk directly with the Thanh Vy Curtains team to settle the right plan, from design to handover.
Request a quote Call 0985 615 577 Message on Zalo6. Installation, Adjustment, and Handover
Installers position the brackets according to the measurement sheet and use a level to check alignment before drilling and securing them. Brackets must be firmly anchored to the wall substrate or a structure approved for drilling; screws should not be driven arbitrarily into thin drywall without suitable anchors. After mounting the roller tube or track, installers check the balance, coverage along both edges, and clearance from the ceiling, window sill, and handles.
For cord-operated units, the cord must run straight, without twisting or rubbing against the wall edge. For blinds with multiple connected units, the tubes or rails must align so the overall arrangement remains visually continuous. For motorized units, technicians check the power supply, rotation direction, stop limits, switches, and controllers. Each unit is opened, closed, and stopped several times to detect binding noises, fabric misalignment, cord slippage, or bracket vibration.
Finally, the installation team cleans up drilling dust, removes protective film, collects packaging, and photographs each area after installation. The handover record should list the number of completed units, points requiring monitoring, operating instructions, warranty schedule, and the recipient. Only when the customer verifies the location codes, dimensions, fabric colors, and operation is the office blind installation process considered complete.
Schedule a site survey: Send a layout or photos of each window opening to receive an on-site measurement appointment and a list of information to prepare.
Request measurements: Provide the area, sun exposure, window type, and expected installation time so a technician can prepare a site condition sheet.
Reviewing Quotes and Checking Office Blind Service Commitments

Before finalizing an order, request an office blind quote that clearly itemizes each component: blind type, materials, window opening dimensions, price per square meter, accessories, installation labor, VAT, and warranty period. A quote that only says “all-inclusive” without specific specifications is difficult to verify at acceptance. For spaces with multiple window openings, a table organized by area should be prepared instead of combining everything into a single figure.
Check the Quote Structure Before Comparing
Check whether the quote specifies the product type: solid-fabric roller blinds, screen roller blinds, vertical blinds, or aluminum Venetian blinds. Even among roller blinds, PVC-coated polyester fabric, PVC-coated fiberglass, and different light-blocking levels result in different prices. If logo printing is included, design costs, printing plates, number of colors, and print area must be itemized separately to avoid additional charges appearing after sample approval.
The unit of measurement must also be confirmed. Quotes may be calculated by finished square meter, fabric width, blind unit, or window opening. The person in charge should verify the overall width, overall height, number of units, cutting and sewing waste allowance, and how areas are rounded. For example, two window openings measuring 1,2 m wide and 2,4 m high should not automatically be converted into a single 2,4 m-wide unit if the hanging rails, roller tubes, or operating mechanisms still need to be made separately.
Cost Items That Should Be Included in the Table
- Main materials: fabric code, color, thickness, light-blocking percentage, and PVC coating specifications, if applicable.
- Accessory set: aluminum roller tube, bottom rail, brackets, headbox, pull cord, clutch mechanism, pulley, or motor.
- Fabrication: cutting to size, hemming, pressing the bottom rail into place, logo printing, and sample finishing.
- Installation: site survey, transportation, drilling and mounting, adjustment, and addressing locations obstructed by utility enclosures or drywall ceilings.
- Taxes and documentation: VAT, delivery receipt, handover record, and business invoice.
If the quote lists “standard accessories,” ask for each component to be named. For glass windows extending close to the ceiling, recessed brackets or connecting brackets may differ from those used for concrete walls. For offices operating continuously, reduced-effort clutch mechanisms or remote-controlled motors must also have their load capacity, power supply, switches, and warranty coverage clearly specified.
Compare reference prices correctly
These are benchmarks for comparison, not final prices for every project. Actual prices also depend on the total area, number of window openings, installation height, materials, accessories, and VAT invoicing requirements.
When comparing two suppliers, make sure you are comparing like for like: the same dimensions, fabric code, light-blocking level, bottom rail type, installation method, and whether VAT is included. A lower quote using mesh fabric that blocks about 70% of light cannot be compared directly with a plain roller blind that blocks 100% of light. If volume discounts are available, the eligibility conditions and price validity period must be specified.
Check warranty commitments and how issues are handled
Advertised warranty periods on the market range from 12 months to 3 years, but you also need to read the scope of coverage. The document should clearly specify the components covered: fabric, roller tube, lift cord, pulleys, slats, motor, switches, or installation defects. Ask about the time frame for acknowledging requests, technical response times, and the procedure when parts need replacing. The warranty should not simply state “according to company policy.”
For leased offices, agree on responsibilities if the walls, ceilings, or blind housings are unsuitable for drilling and installation. If measurement errors, color differences between fabric batches, jammed blinds, or bottom rails touching window sills are discovered, the quote and contract must provide a mechanism for repairs, replacements, or adjustments. Any changes after the site survey should be confirmed through an addendum, work email, or sample approval form signed by the person in charge.
Checklist before signing
- Check the drawings or measurement sheet against the number, width, and height of each window opening.
- Confirm the color code, fabric sample, reverse side, front side, and logo print sample, if applicable.
- Check unit prices, billable area, shipping fees, installation labor, and VAT.
- Clearly specify the delivery date, installation schedule, site conditions, and person responsible for handover.
- Read the warranty period, exclusions, and warranty service contact details.
- Request an acceptance report covering checks of operation, flatness, and accessories.
Before paying a deposit, the person in charge can send the floor plan, close-up photos of the window frames, outlet locations, and ceiling height to the installer for a final review. When receiving a quote for office blinds, ask for required items to be listed separately from optional items such as motors, covers, logo printing, or sensors. This helps businesses control their budget, make transparent comparisons, and retain a basis for resolving issues if the actual products do not meet the agreed commitments.
Suggested action: Prepare a list of window openings, preliminary dimensions, photos of existing conditions, and VAT requirements to receive a quote that can be compared item by item.
For further information, please contact Thanh Vy Curtains
We provide free consultation and on-site measuring at your home.
Acceptance inspection, cleaning, and maintenance of office blind systems
Inspecting office blinds immediately after installation helps identify misaligned tracks, jammed roller tubes, wrinkled fabric, or missing accessories before handover. The person in charge should check each window opening against the dimensions in the quote, test full opening–closing cycles, compare colors, and document the findings in a report. Afterward, a regular cleaning and maintenance schedule will keep blind surfaces clean, lifting mechanisms running smoothly, and reduce damage caused by fine dust, printer ink, and moisture in the workplace.
Acceptance inspection checklist for each window opening
- Verify dimensions: remeasure the actual coverage width and height with a laser measuring tool or steel tape measure; any discrepancies must be clearly recorded, especially for window openings with multiple sections.
- Inspect surfaces: examine polyester fabric, PVC coatings, aluminum slats, or mesh under light from the side to detect scratches, holes, peeling edges, adhesive residue, and color discrepancies.
- Check accessories: confirm that the roller tube, bottom rail, brackets, end caps, pull cords, pulleys, vertical blind track, cord locks, and anchoring screws are all installed and secure.
- Test operation: raise–lower the blinds or rotate the slats for at least three cycles. The blinds must move straight, make no unusual scraping sounds, remain in place without slipping, and stop at the correct position.
- Check coverage: when closed, the blind edges must limit light gaps as required; mesh blinds must maintain the agreed level of visibility and must not be installed backward.
- Check safety: pull cords must not obstruct walkways, screw heads must not protrude, and bottom rails must not hit desks; controllers and sensors must respond correctly, if present.
For offices with multiple floors or areas, assign a code to each blind according to the floor plan. The acceptance report must record the window opening code, material type, dimensions, accessory condition, operational test results, photos of existing conditions, and items requiring attention. Do not sign off solely because the blinds have been hung; request that visible defects be resolved and test again after adjustments.
Clean correctly according to the material
Before wiping, turn off the motor or disconnect the controller’s power supply, position the blinds for easy handling, and use a soft-bristled brush or a vacuum with a brush attachment to remove dry dust. Work from the roller tube down to the bottom rail and from one end of the track to the other, avoiding jerking the cords or applying pressure to the brackets. Clean outside working hours to prevent dust from spreading onto keyboards, printers, and files.
- PVC-coated polyester roller blinds: use a microfiber cloth wrung damp with clean water and wipe in one direction. Fresh printer ink stains can be gently blotted with a damp cloth; do not scrub vigorously or use alcohol or cleaning agents without first testing on a hidden area.
- Fiberglass roller blinds: vacuum gently, then wipe with an almost-dry soft cloth. Do not fold the fabric edges, as this can break the fiber structure or create permanent creases.
- Vertical blinds: hold each slat near the top and wipe from top to bottom with a damp cloth. Do not twist the slats while drawing them sideways; check the hanging hooks and carriers if the slats are misaligned.
- Aluminum Venetian blinds: rotate the slats in the same direction and use a microfiber cloth to wipe along each slat. Do not use a high-pressure water hose, as water can enter the mechanism housing and cause components to oxidize.
- PVC blinds: wipe each side with a diluted neutral cleaning solution, then dry immediately. Avoid harsh solvents, abrasive scrubbers, and direct heat from a hair dryer.
Coffee stains, oils from hands, and fine dust should be removed the same day. For dried ink stains, take photos, test the solution on a hidden area, and stop if the underlying color changes. Do not roll up blinds while the surface is still damp; moisture trapped inside the roll can cause odors, mold, or coated surfaces to stick together.
Maintenance schedule and signs that need attention
The staff member in charge can quickly check pull cords, bottom rails, fabric edges, and dust buildup each week. Every month, clean the surfaces, vacuum the blind housings, and check screws, brackets, and tracks. After about six months, or when unusual signs appear, thoroughly inspect the lifting mechanisms, pulleys, carriers, motors, switches, and sensors. The actual frequency should increase in areas near major roads, construction sites, printers, or frequently opened doors.
| Sign | Possible causes | Initial action |
|---|---|---|
| Roller blind tilts or rubs at the edge | Misaligned roller tube, loose brackets, uneven fabric winding | Stop pulling, check the brackets at both ends, and document the issue for adjustment |
| Vertical blind slats do not rotate fully | Jammed carriers, twisted slats, tangled control cords | Straighten the slats without forcing them; check the track |
| Lift cord is hard to pull or squeaks | Dust inside the mechanism housing, worn pulleys, or misaligned cord | Stop continued use and request an accessory inspection |
| Motor does not respond | Loss of power, faulty switch, controller, or sensor | Check the power supply safely; do not open the electrical box yourself |
Handover documentation and care plan
The documentation should include an acceptance report, a coded window layout, warranty documents, operating instructions, material information, post-installation photos, and a recommended maintenance schedule. Businesses should also record the number of window treatment sets, mechanism types, motor locations, control codes, and the person responsible for each floor. When cords, carriers, bottom rails, or motors need replacing, this information helps identify the correct replacement parts instead of dismantling the entire system.
If you discover a defect during the warranty period, include the window code, a video of the operating cycle, close-up photos, and when the issue occurred. If a review is needed after acceptance, you can send a defect list, photos of the window treatment edges, and the cleaning history to receive guidance on identifying the correct cause. Recording each item helps make office window treatment maintenance clear, minimize operational disruptions, and maintain the workplace’s professional image.
Related projects
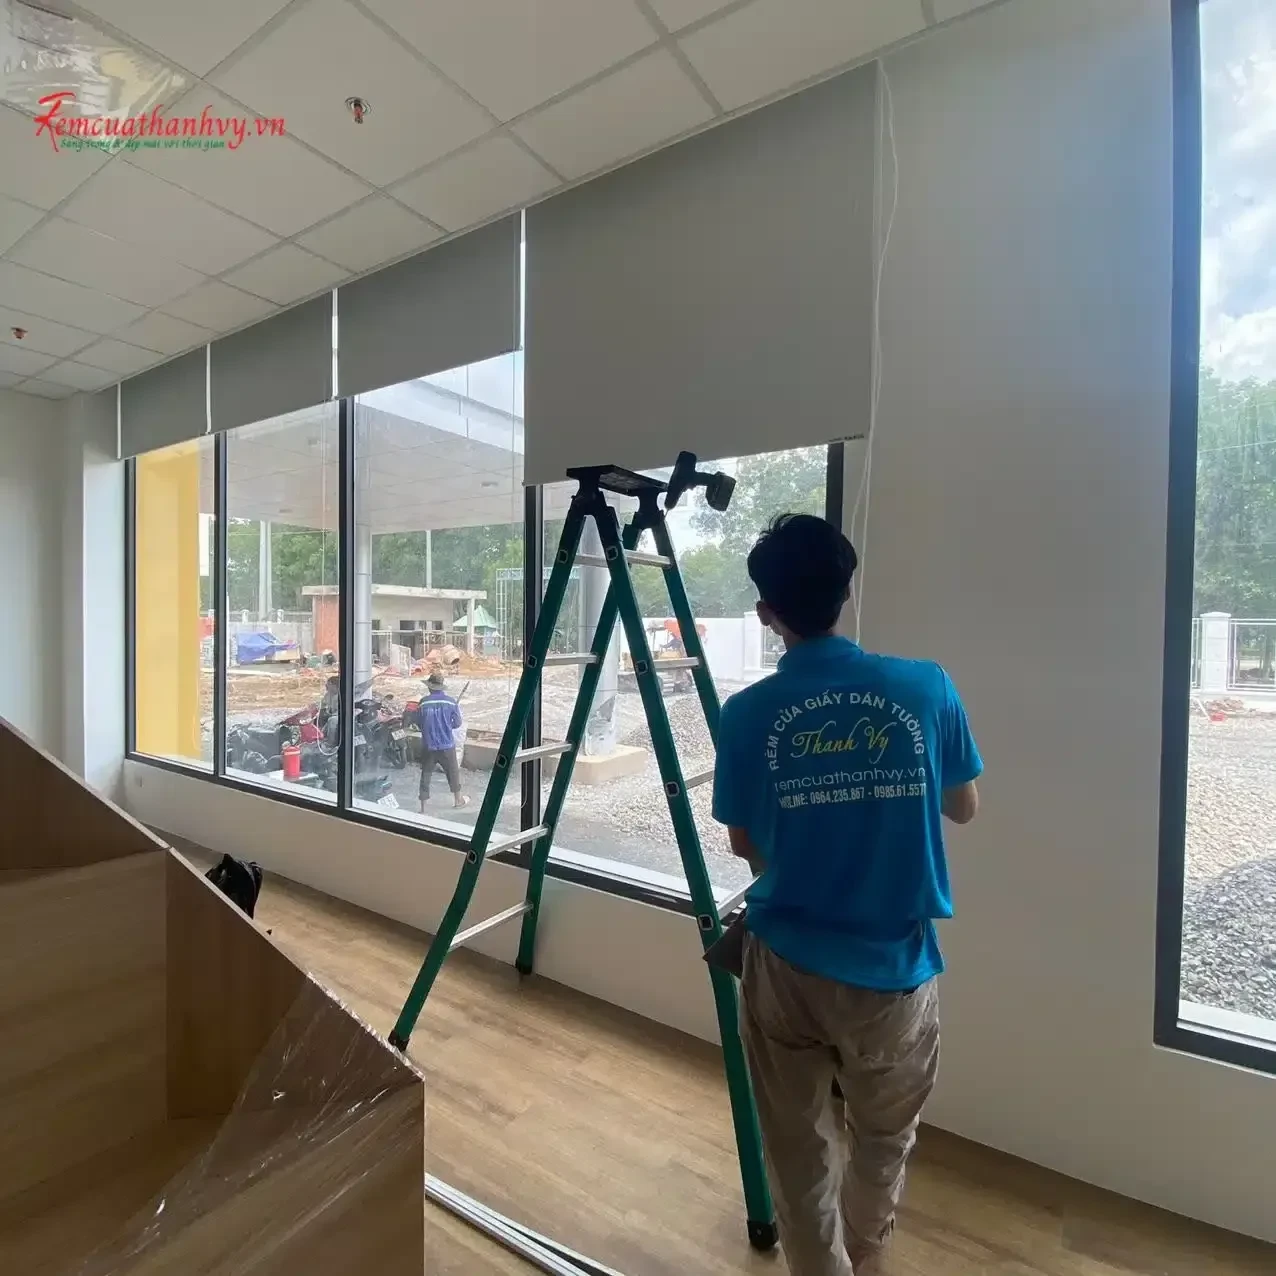
Blackout Roller Blinds for An Thanh Office, Ben Luc, Long An
The installation of blackout roller blinds at a modern office in An Thanh, Ben Luc, [...]
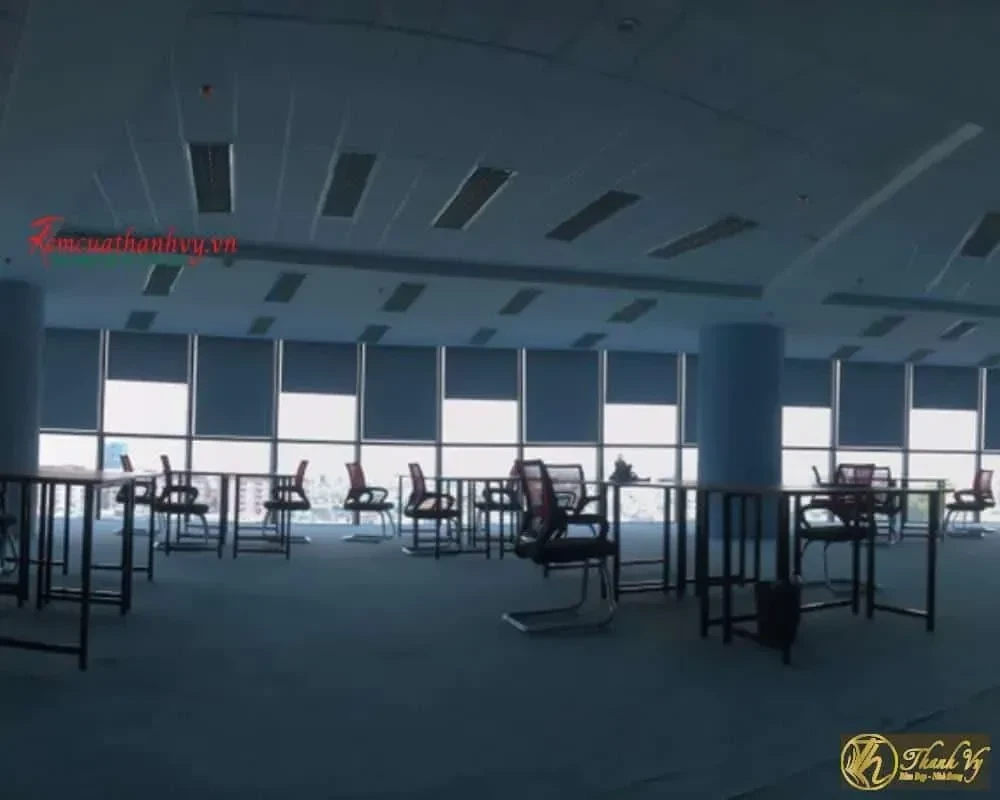
High-Rise Office Roller Blinds in District 11: Professional Day-Night & Blackout Solutions
This project is a typical example of a roller blind solution for a modern office [...]
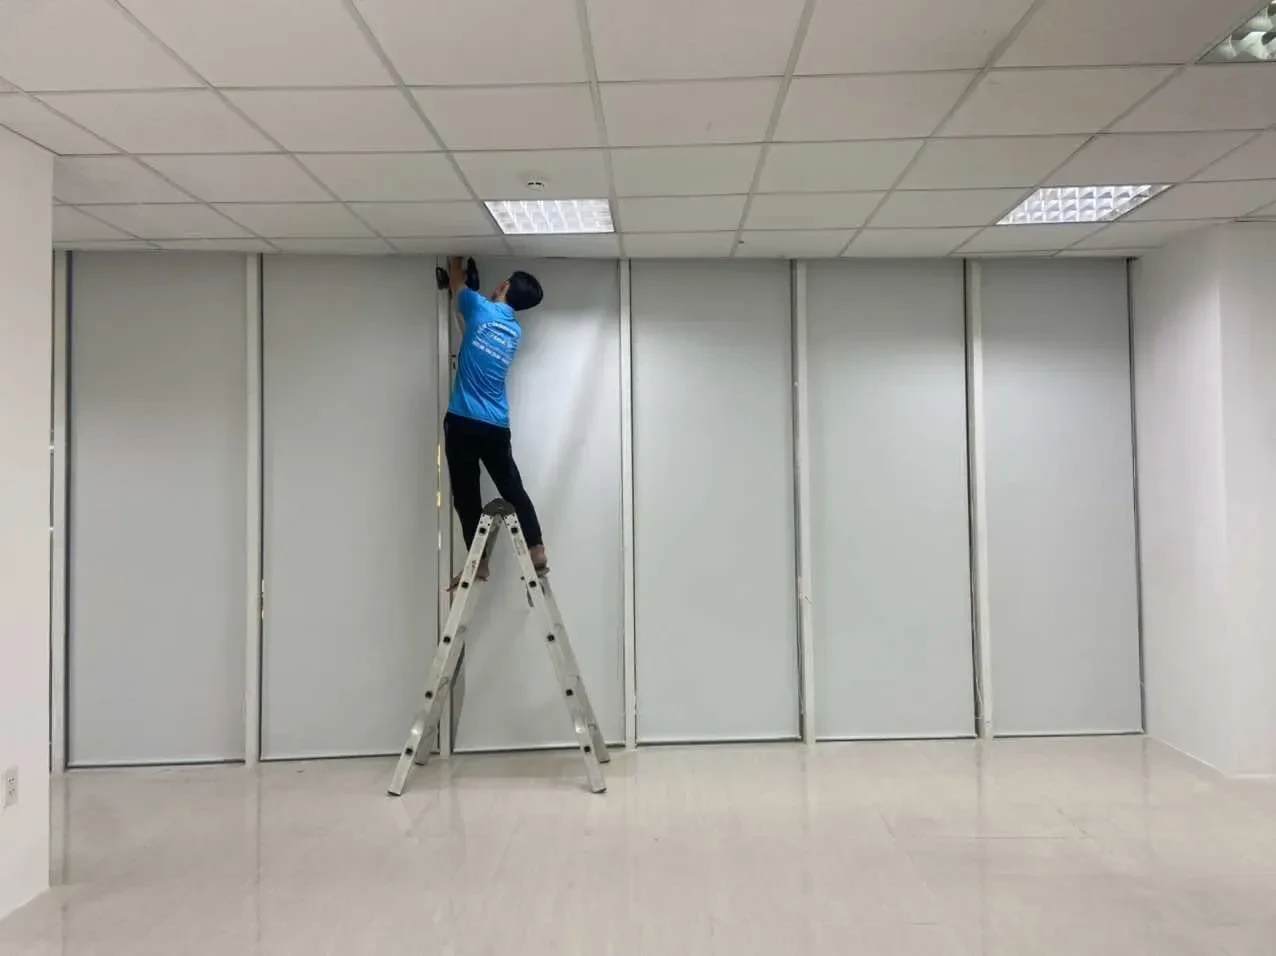
Office Roller Blinds in District 11 – Le Dai Hanh Street
This project involved installing roller blinds on an upper floor of a modern office building [...]
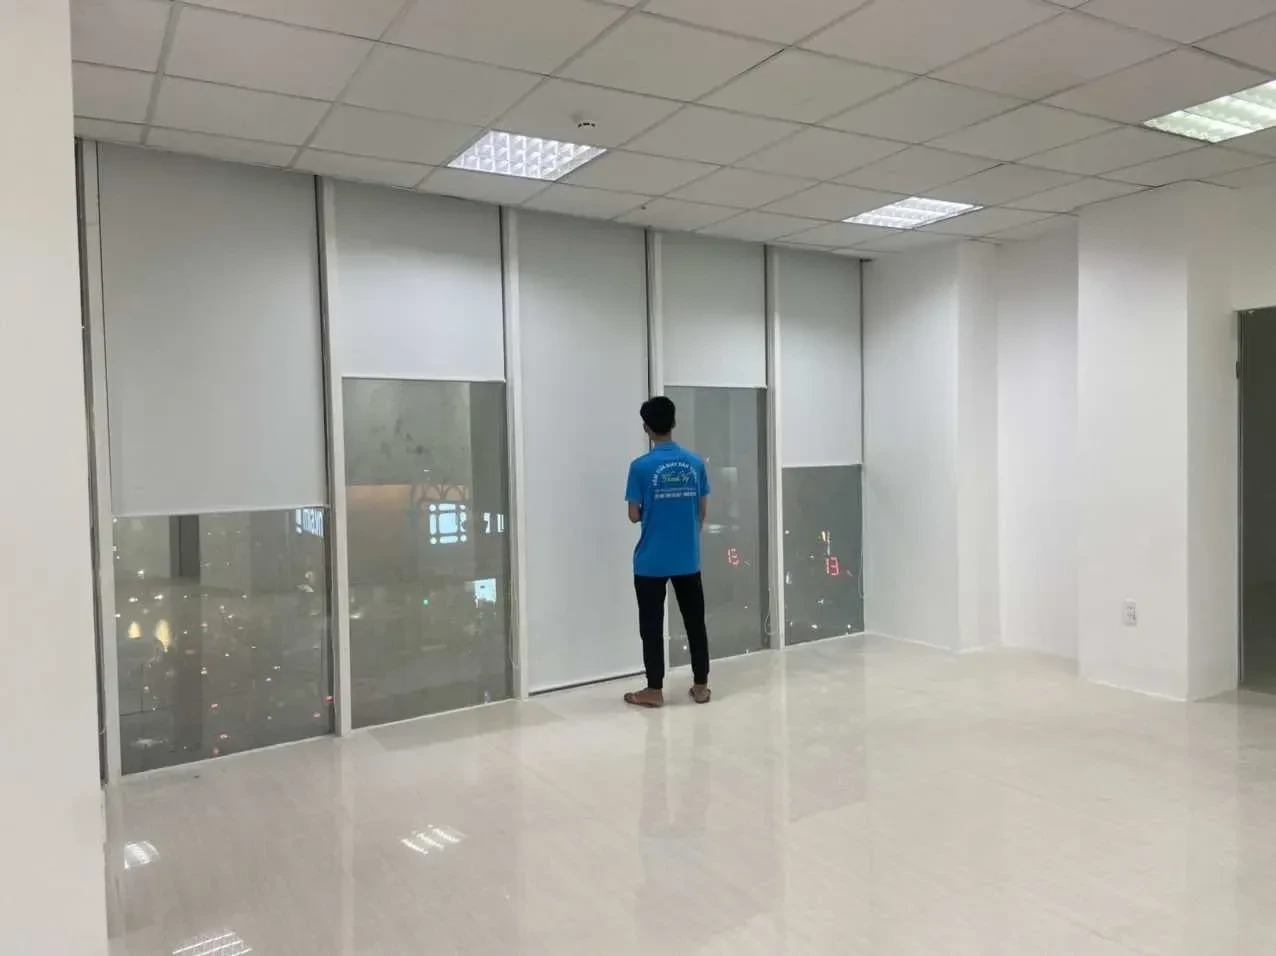
High-Rise Office Roller Blinds – Tan Binh District
This project involved installing roller blinds for a modern office at 594 Cong Hoa, Tan [...]
Double-Layer Blackout Curtains at the MAXEU Office – Van Phuc Urban Area
The blackout curtain installation at MAXEU interior design company, 189 Nguyen Thi Nhung, Van Phuc [...]
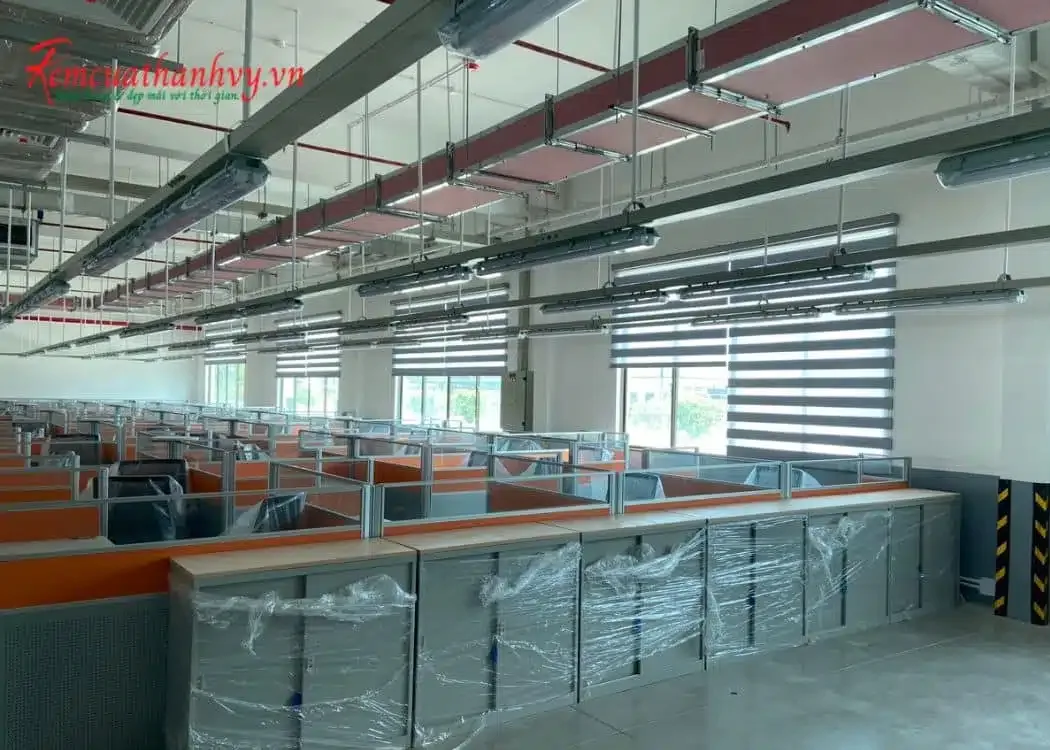
Zebra Office Blinds EAGLE NICE Duc Hoa, Long An
This project involved installing a zebra roller blind system (horizontal-striped blinds) for the EAGLE NICE [...]
Related services
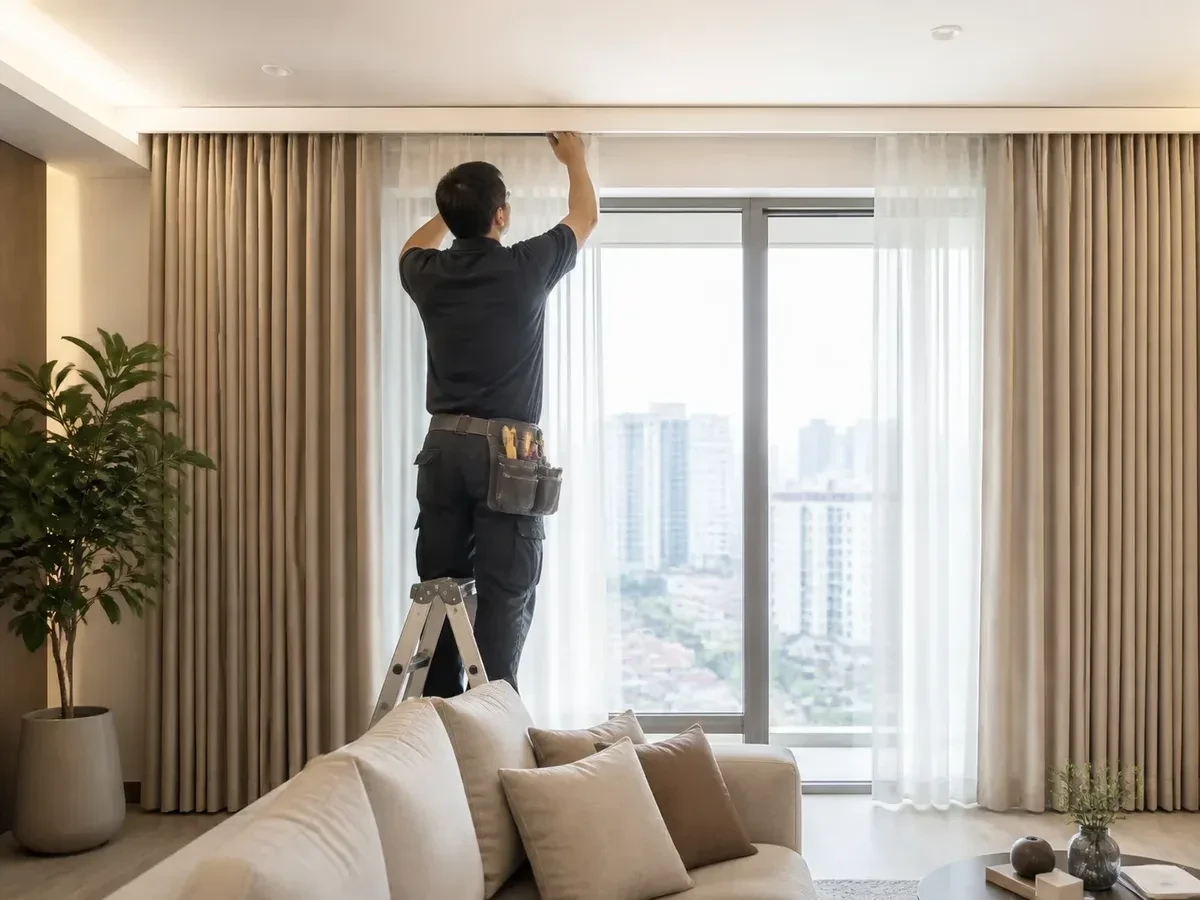
Motorized Curtain Installation in Ho Chi Minh City: Site Surveys and Technical Advice
Motorized curtain installation in Ho Chi Minh City, including curtain recess surveys, power supply checks, [...]
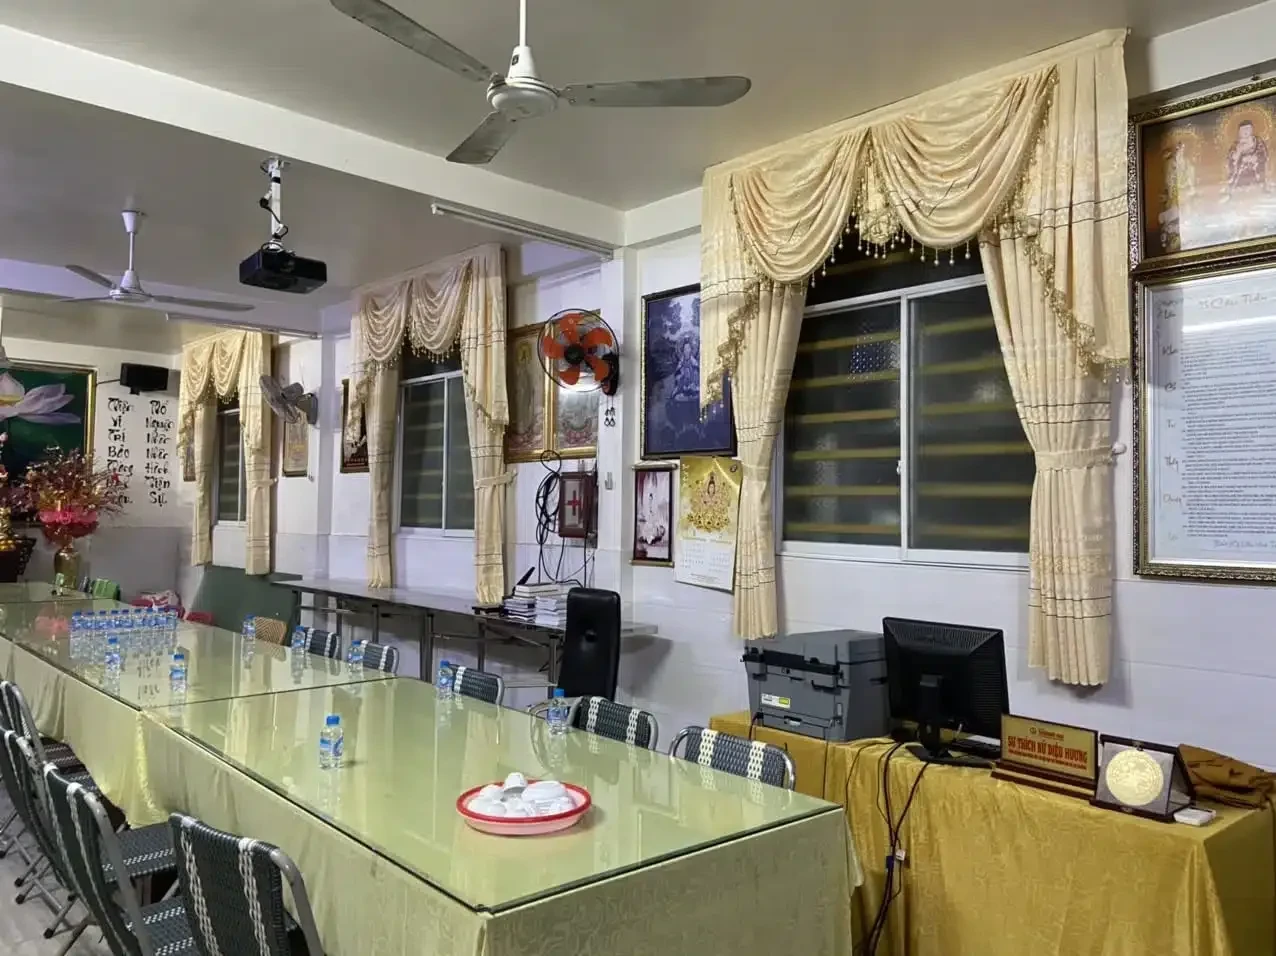
Auditorium and Meeting Room Curtains: Light Control for Presentations and Large Openings
A guide to choosing auditorium curtains for stages, large openings, and glass walls, covering light [...]
Showroom and Store Window Treatments: Keep Displays Bright and Sunlight in Check
Showroom window treatment services in Ho Chi Minh City, focused on balancing display lighting, limiting [...]
Related reviews
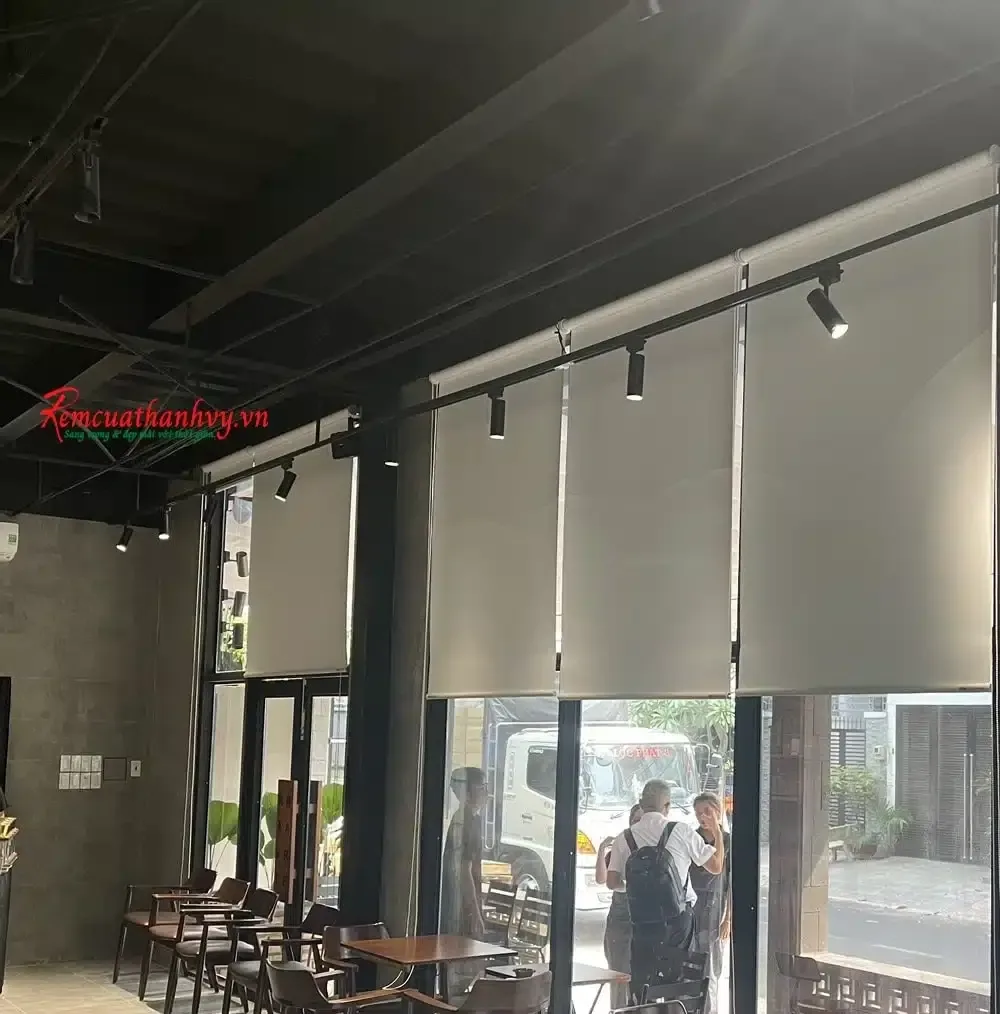
Binh Tan Curtains: What 11 Completed Projects Reveal About the Types of Curtains to Choose—and Avoid
This is drawn from 11 curtain projects we actually completed in Bình Tân: which types [...]
Related posts

Curtain Price Quotes in District 8: How to Compare Configurations Correctly
A curtain price quote in District 8 is only reliable when you are comparing the [...]
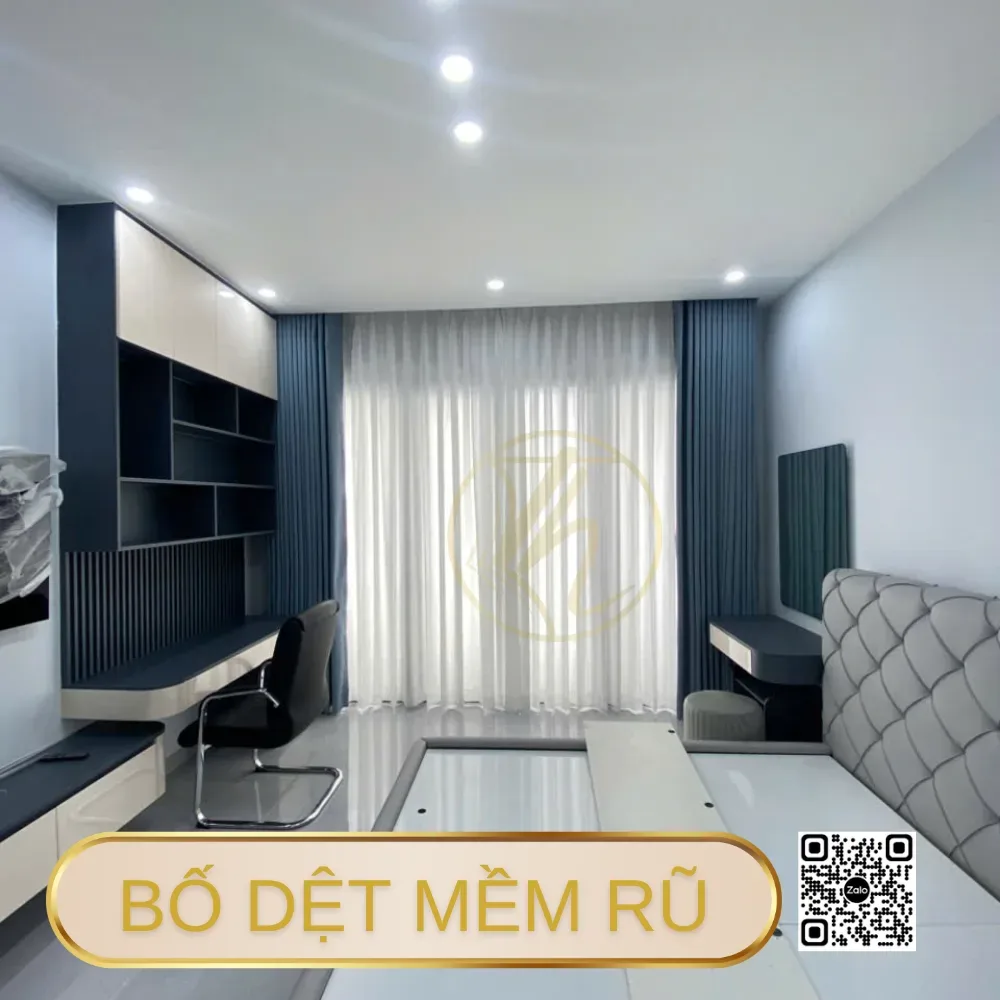
Curtain price quotes in Tan Phu: How to read and compare based on your needs
A curtain price quote in Tan Phu should be read as a complete configuration, not [...]
Binh Duong Curtain Installation: A Streamlined Survey and Installation Process
Binh Duong curtain installation is only effective when the survey, configuration, and mounting location are [...]
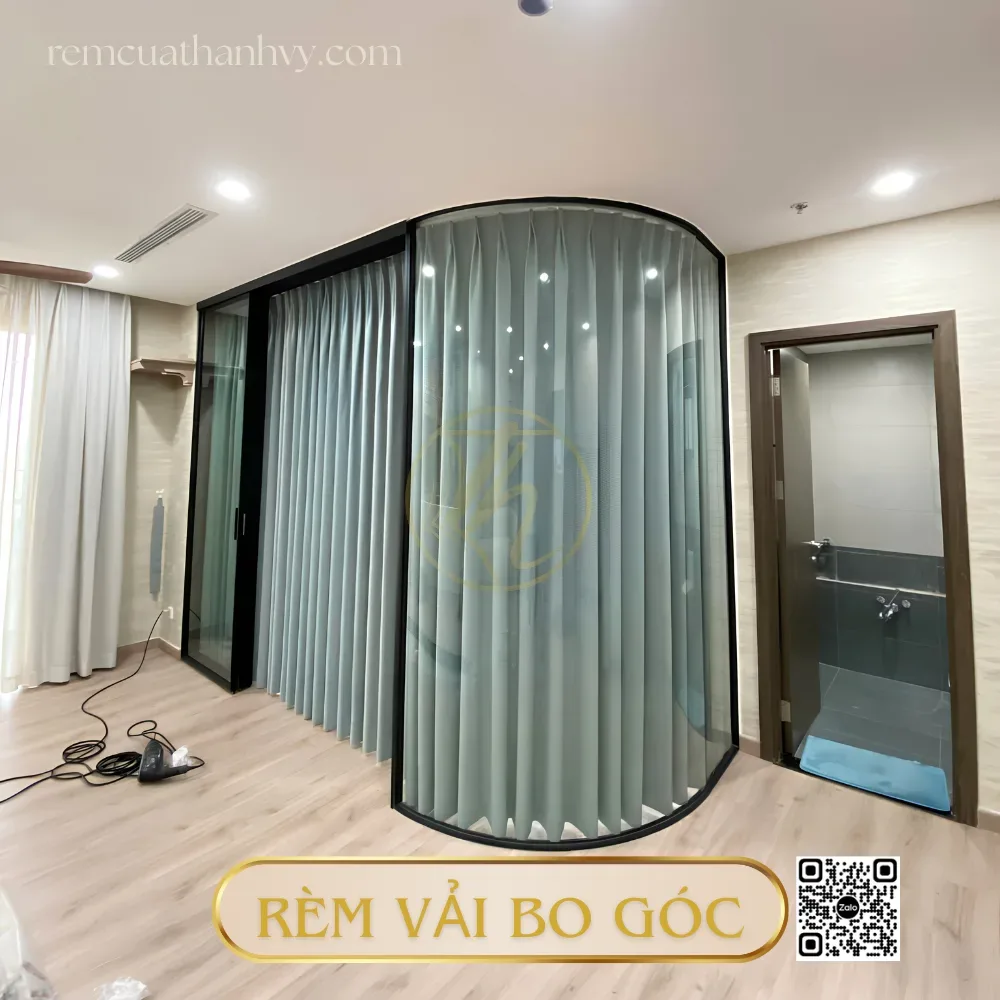
Curtain tailoring in Binh Tan: How to choose the right service
This article guides you on how to choose a reputable curtain tailoring service in Binh [...]
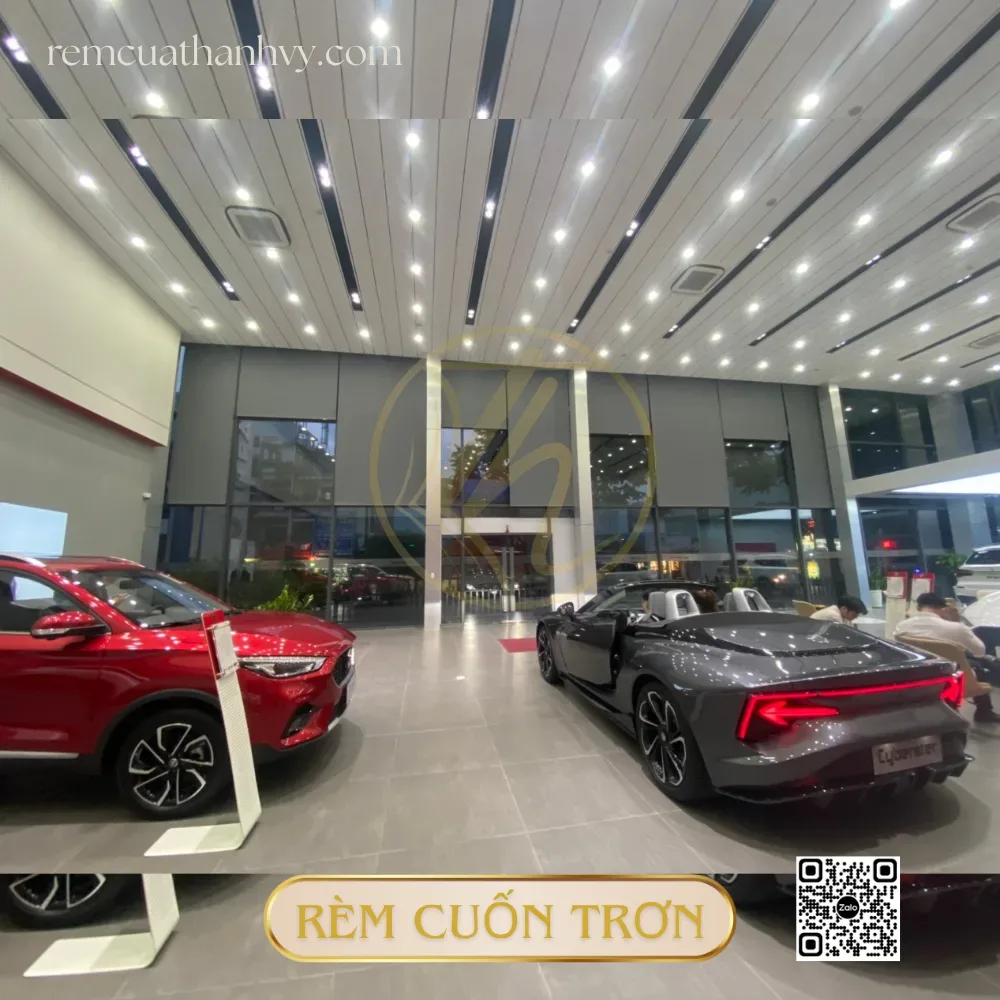
Roller Blinds in Tan Phu: How to Choose the Right One for Every Window
Roller blinds in Tan Phu should be selected based on lighting needs, obstructions, and installation [...]
Roman Shades in District 7: How to Choose and Measure Your Windows Correctly
This guide explains how to choose Roman shades in District 7 based on your window’s [...]
Wood Window Blinds: Tips for Choosing & Styling
A guide to choosing wood window blinds based on your windows, light, privacy, materials, and [...]
Wood Blinds for Offices: A Practical Solution
A guide to choosing office wood blinds based on the office environment, lighting, privacy, materials, [...]
No comments yet!