


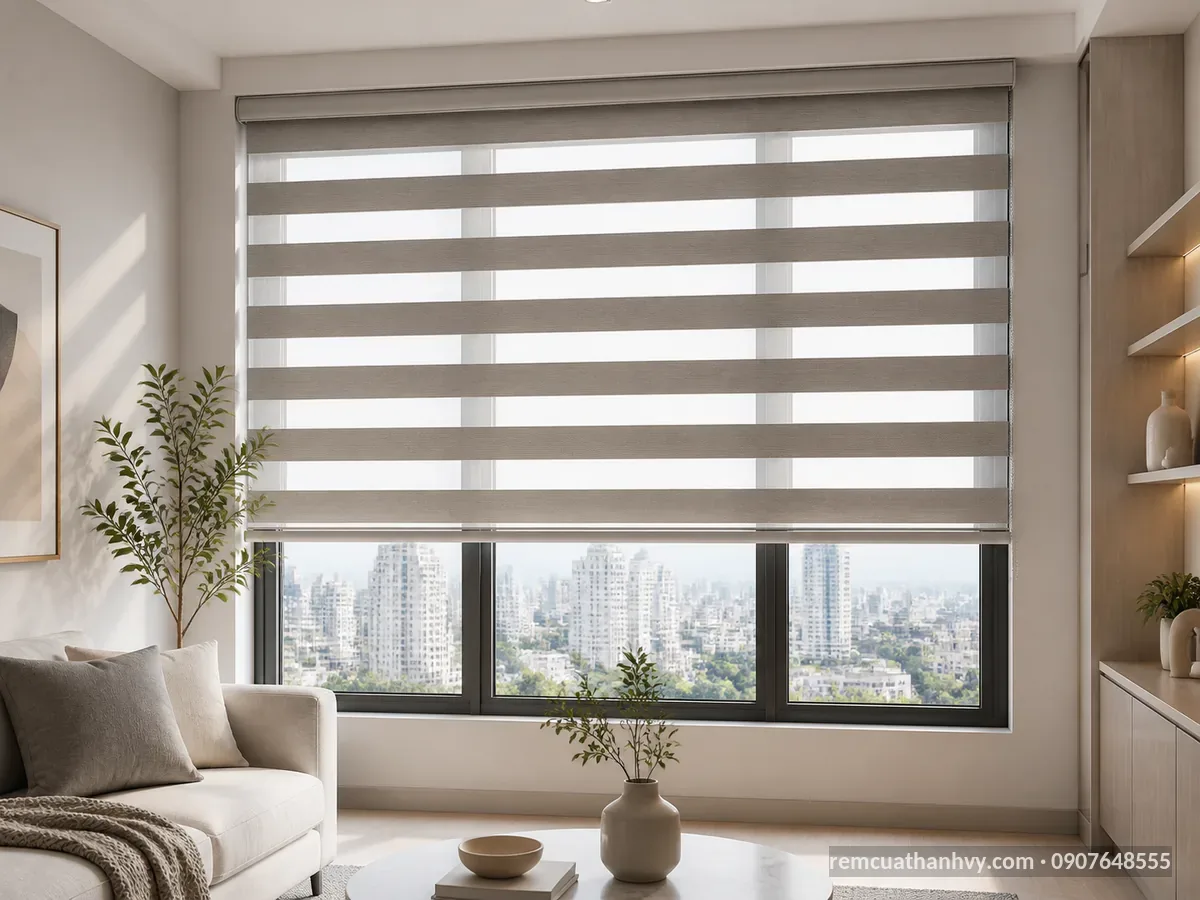
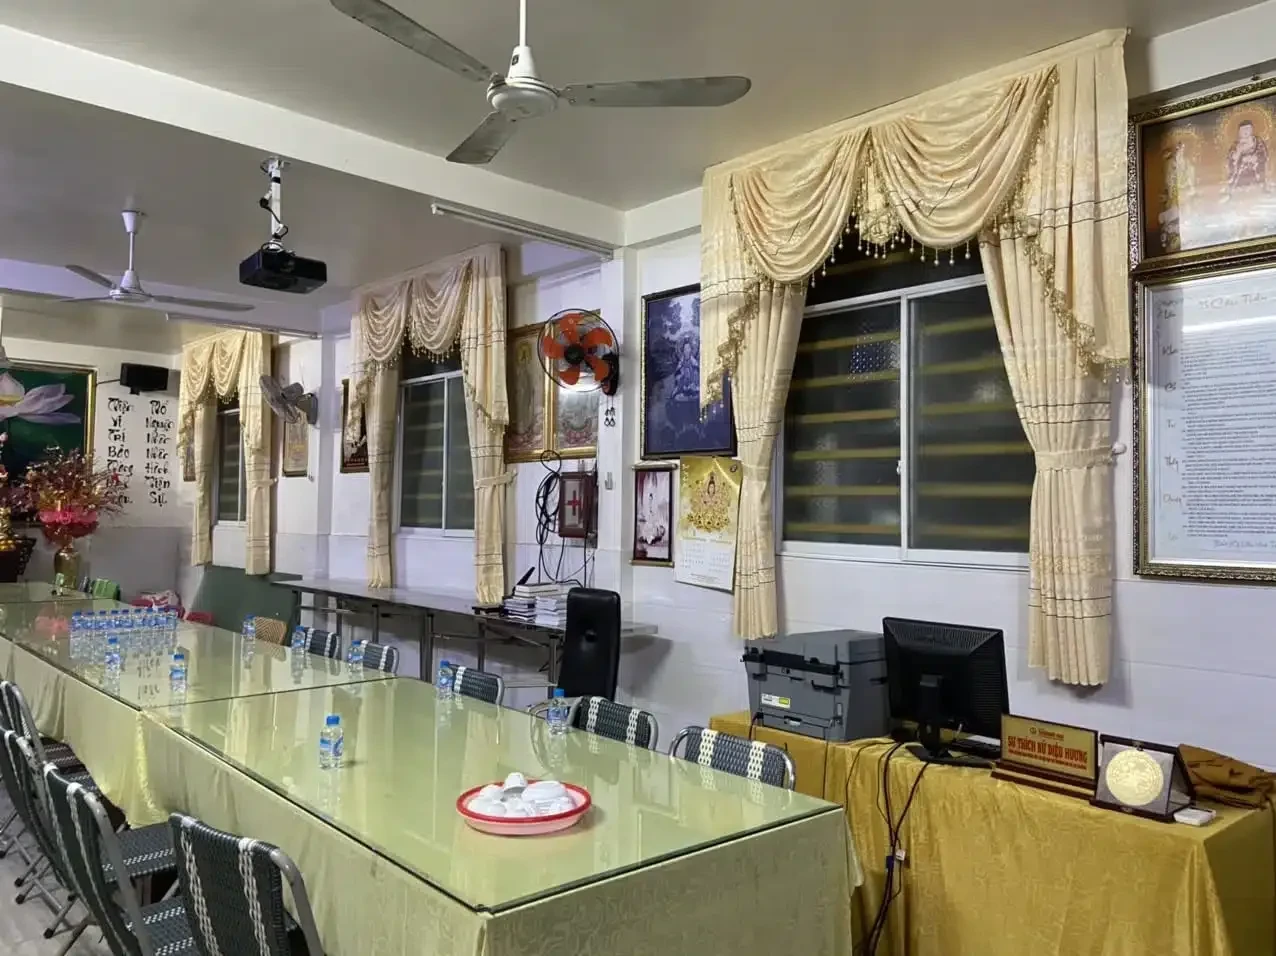


Motorized Curtain Installation in Ho Chi Minh City: Site Surveys and Technical Advice
When should you install automated curtains in Ho Chi Minh City?
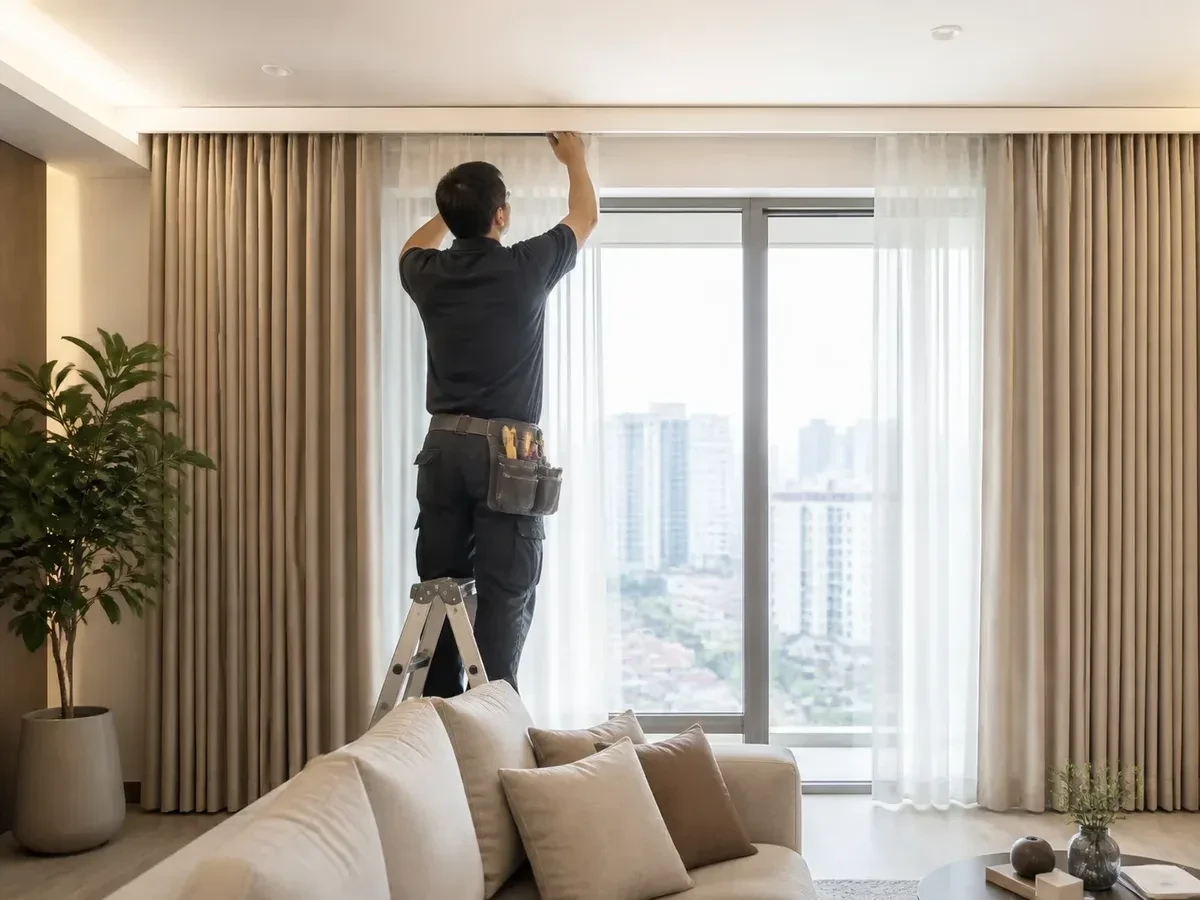
You should consider installing automated curtains when opening and closing curtains every day takes time, your glass doors or windows are large, or your curtains are in hard-to-reach places. In Ho Chi Minh City, this solution is particularly suitable for apartments with west-facing glazing, multistory townhouses, living rooms with high ceilings, bedrooms that need light control, and offices with multiple windows in a row. Before finalizing a design, schedule a site survey to check the curtain recess, electrical wiring, motor location, and actual curtain load.
Signs that your home is ready for automated curtains
If you use double-layer fabric curtains but have to pull them by hand several times a day, the curtains can be automated to open and close at the push of a button or on a preset schedule. For glass doors or windows wider than 2–3 meters, curtains are often heavy, and pulling force is distributed unevenly; a motor will help the track operate more smoothly if it is rated for the correct load. For tall windows that reach the ceiling, older adults, young children, and wheelchair users also benefit from not having to reach for a pull cord.
Another situation is a room with multiple windows facing the sun in the same direction. Automated curtains allow you to close all the curtains simultaneously, reducing repetitive tasks and limiting direct sunlight on wood floors, sofas, TV screens, or furnishings near the windows. If you are often away from home, scheduling the curtains to close at noon also helps keep the space cooler without your having to be there to operate them manually.
Properties in Ho Chi Minh City that are often suitable
Apartments are frequently surveyed for automated curtain installation because they have large balcony doors, concrete or drywall ceilings, and high aesthetic requirements. Townhouses are also suitable, especially stairways, skylights, double-height living rooms, or windows on upper floors. For villas, showrooms, and offices, the large number of curtain sets makes centralized control more useful than pulling each set individually.
Bedrooms benefit from automated curtains when you need a dark space at night or want the curtains to open gently in the morning. Living rooms can prioritize fabric curtains, roller shades, or zebra shades, depending on the glass area and interior style. Tall glass doors or windows, corner windows, and curved windows require a survey of the direction of travel, track junctions, and clearances to avoid interference with handles, adjacent walls, or inward-opening doors.
A quick check before requesting a site survey
Take photos of the entire window or door area, close-ups of the ceiling, and the areas on both sides of the frame so the installer can understand the existing conditions. Note the overall width, floor-to-ceiling height, number of fabric layers, type of track currently used, and curtain opening direction. If there is a recessed ceiling curtain pocket, measure its depth and width separately rather than just measuring the window opening.
Recessed ceiling curtain pockets are typically about 10–20 cm deep relative to the ceiling plane. For single-layer curtains on a straight track, the pocket usually needs to be about 10 cm wide; a curved track requires about 20 cm. Double-layer curtains on straight tracks typically need about 20 cm, while curved tracks require about 30 cm. These are reference measurements for preparation, not a substitute for on-site measurements, as the ceiling structure, service enclosures, and fabric type can affect the space required.
The power supply should also be checked early. Motors typically use 220V mains power, so the outlet needs to be near the motor end, preferably high up and concealed behind the curtain or a service enclosure. Homes under construction can have conduits reserved inside the walls; occupied homes need a neat wiring plan that avoids exposed wires on walls or interference with the curtains’ travel path.
When should you schedule a site survey instead of buying a motor yourself?
An on-site survey is recommended for large curtains, curved tracks, two fabric layers, stepped ceilings, or high installation locations. Choosing a motor based solely on curtain width can easily overlook fabric weight, the number of hanging points, track straightness, and clearance for the motor body. A technician needs to measure with a laser measure or tape measure, inspect the screw-mounting surface, determine the opening direction, and verify the outlet location before recommending a configuration.
For further information, please contact Thanh Vy Curtains
We provide free consultation and on-site measuring at your home.
If you are unsure whether to choose WiFi or Zigbee control, specify the number of rooms, network quality, and your need to connect to an existing smart home system. A WiFi motor can connect directly to the router; a Zigbee model usually requires an additional Zigbee Gateway to coordinate devices. However, this decision should be made after determining the installation location, power supply, and number of curtain sets to be operated.
How to get started to avoid unexpected issues during installation
Send photos of the existing conditions, preliminary dimensions, and your usage preferences to the installer. Then request a written confirmation that includes the proposed curtain type, overall dimensions, required pocket clearance, 220V outlet location, direction of travel, and a solution if the wall or ceiling does not provide enough installation space. When these points are checked in advance, automated curtain installation will better meet your needs and reduce the need to break into or repair surfaces after the interior is finished.
You can start with one curtain set in the living room or at the balcony door to assess how quietly it operates, its opening and closing speed, and the controls. If the results meet your needs, the remaining rooms can be fitted consistently using the same track, power supply, and control device specifications. This is a practical approach for apartments, townhouses, and offices in Ho Chi Minh City when you do not want to invest in an entire system from the outset.
Choosing the right curtain type, materials, and automation motor
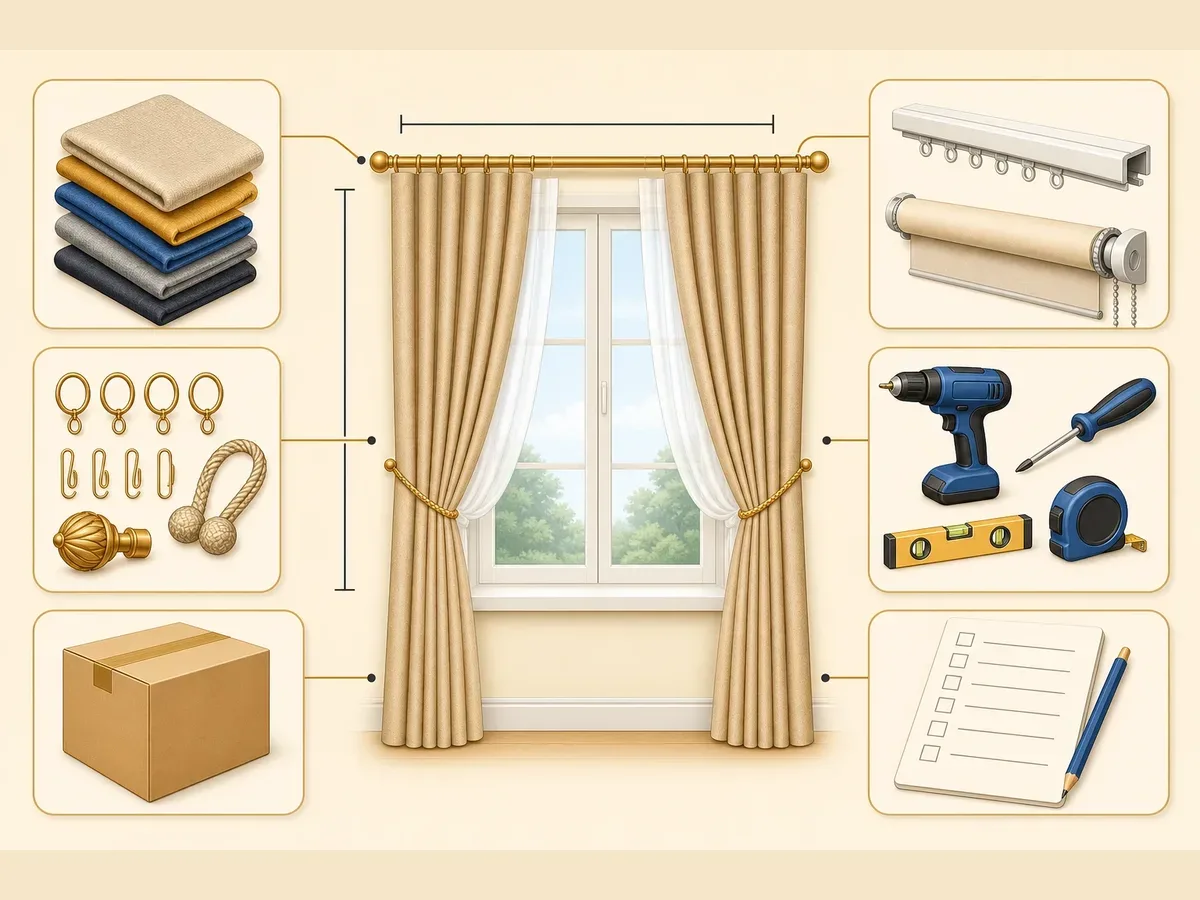
For automated curtain installation that meets your needs, the curtain style, materials, track structure, and motor type must be selected together. Do not choose a motor first and then try to force it to fit an existing curtain set. The practical approach is to determine the window or door dimensions, curtain panel weight, opening direction, power supply location, and control needs before finalizing the configuration. For each window or door, the survey results should clearly specify the curtain type, number of layers, coverage width, hanging height, track type, estimated load, and connection protocol.
Quick Selection Matrix Based on Existing Window and Door Conditions
| Existing Conditions and Needs | Suitable Window Treatment | Materials to Consider | Recommended Motor |
|---|---|---|---|
| Living room glass doors requiring soft light | Double-layer curtains on a straight track | A polyester sheer layer and an acrylic-coated polyester light-blocking layer | Track-mounted curtain motor with WiFi or Zigbee control |
| Bedroom prioritizing darkness and heat reduction | Light-blocking curtains or roller shades | Blackout fabric, plastic-coated polyester, or silver-coated fabric | High-pulling-force motor with electronic travel limits |
| Small windows requiring a compact design and adjustable light | Zebra shades | Polyester fibers woven into alternating light-filtering and light-blocking bands | Tubular motor for the shade roller, with remote or WiFi control |
| Curved windows, curved glass walls, or connecting corners | Curtains on a curved track or separate roller shades for each section | Soft fabric that holds its shape well; powder-coated aluminum for the track | Motor compatible with curved tracks; bending radius must be checked |
| Existing window treatments to be automated | Keep the existing type if its structure is still in good condition | Reassess the fabric, rings, wheels, roller tube, and bottom bar | Select a conversion kit based on the existing pulling mechanism |
Choose Window Treatments Based on How They Will Be Used
Curtains suit wide openings, living rooms, and spaces that need a soft look. Single-layer curtains use sheers or lightweight fabric to filter light; double-layer curtains combine sheers with a light-blocking layer on two separate tracks. When installing automated window treatments for curtains, account for the weight of the fabric, lining, and curtain heading, as well as wheel friction. A center-opening style generally suits wide main doors; a one-way draw suits doors offset against a wall or balcony doors with access on one side.
Roller shades have a compact structure consisting of a roller tube, fabric, bottom bar, brackets, and a tubular motor. This type suits single windows, small glass panels, or locations requiring a close fit to the frame. Sunscreen fabric reduces glare while preserving the view; blackout fabric blocks more light. Check the tube diameter, tube width, fabric load, and clearance between the shade edge and the door handle. For very wide openings, dividing the coverage into two shades is recommended to reduce sagging and the load on the motor.
Zebra shades use alternating light-filtering and light-blocking fabric bands. By rotating or pulling them, users can quickly switch between letting in light and providing privacy. The mechanism includes a roller tube, lift cord, bottom bar, and control box; the motor must be compatible with the tube diameter and shade weight. This type suits bedrooms, home offices, and medium-sized openings. Do not install a high-powered motor that does not meet the required specifications, as excessive pulling force can misalign the fabric bands or wear out the drive mechanism.
Materials Affect Load and Durability
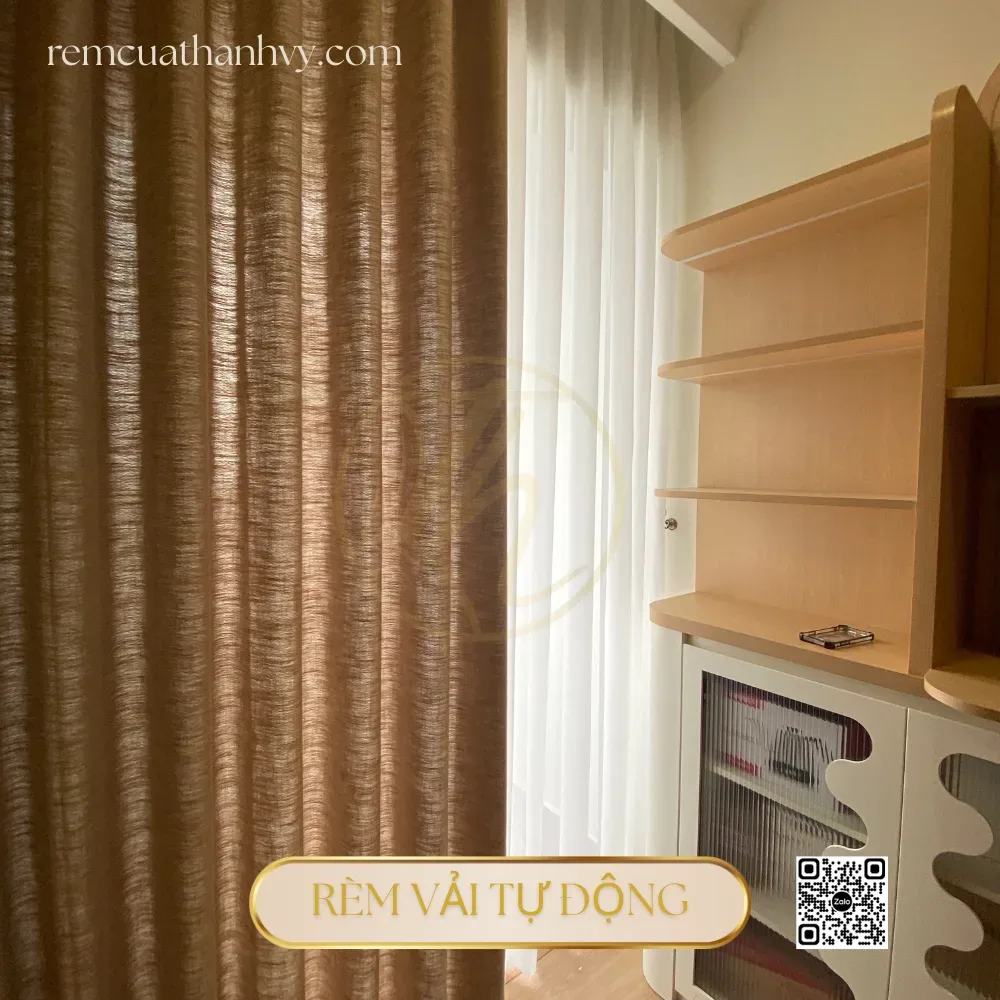
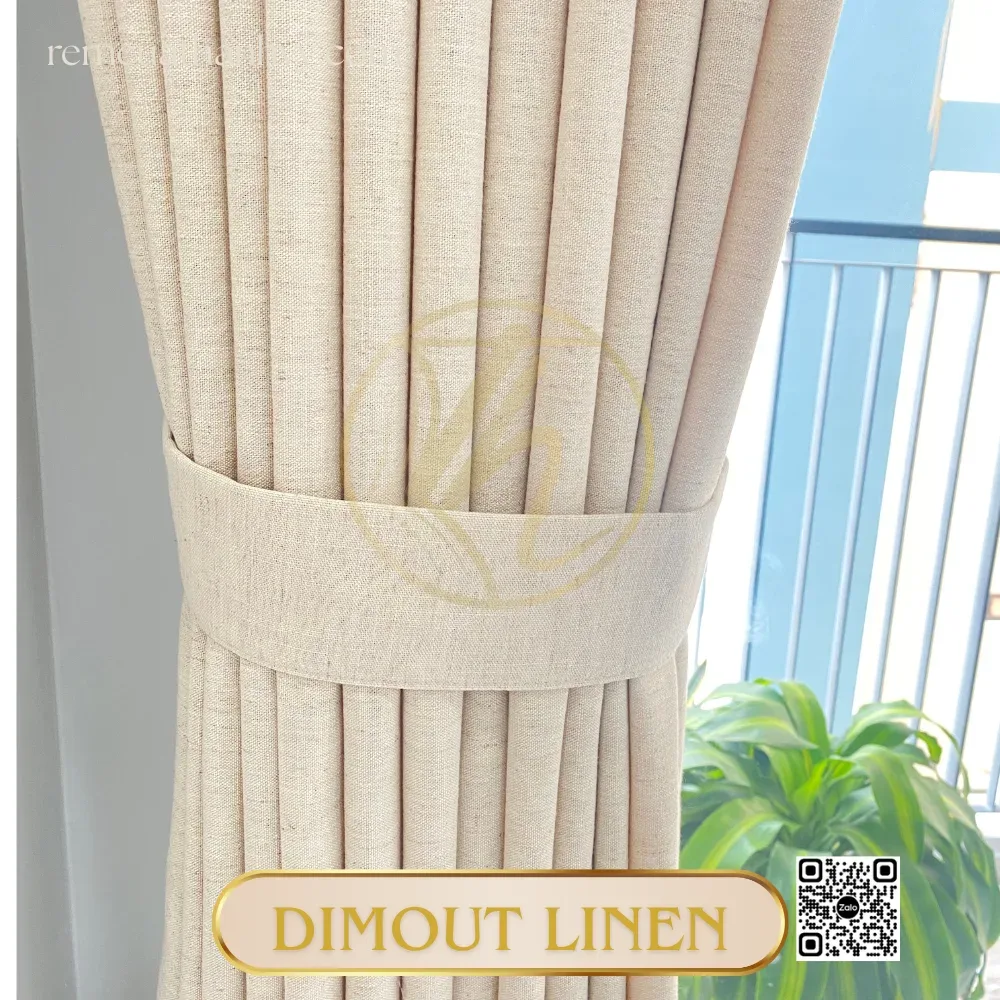
Polyester fabric is easy to clean, dimensionally stable, and available in various light-blocking levels. Cotton or linen fabric provides a natural texture but may shrink, wrinkle, and become heavier when a lining is added. Multilayer blackout fabric blocks light well but requires a track and motor with suitable load capacities. Sunscreen fabric has a mesh structure that reduces direct sunlight but does not create complete darkness. During the site assessment, weigh fabric samples, measure the fabric width, check the grain direction, and determine whether pleated headings, grommet headings, or attached rings are needed.
Powder-coated aluminum tracks are generally lightweight, resistant to deformation, and suitable for straight or joined track configurations. Curved tracks require checks of the bending radius, joints, wheels, and smoothness during test runs. For double-layer curtains, the two tracks must be spaced far enough apart to prevent the fabrics from rubbing against each other when opening and closing. Track ends, pulleys, hanging hooks, rollers, and ceiling brackets all affect noise levels. Replacing only the motor while ignoring these components often fails to resolve stiff or jerky movement.
Choosing a WiFi or Zigbee Motor
A WiFi motor connects directly to the home router and suits small apartments or systems with only a few devices. Users can generally control it through an app, scheduled timers, or a voice assistant after setup. However, the motor location needs a stable signal; concrete walls, metal cabinets, and long distances can cause intermittent connectivity. When advising on automated window treatment installation using WiFi, check the compatible frequency band, signal coverage at the opening, and router location.
A Zigbee motor communicates with a Zigbee Gateway before connecting to the home network. The gateway is a central device that must be placed where suitable power and network connections are available. Zigbee offers the advantage of easy expansion to multiple window treatments, sensors, and switches within the same ecosystem; individual device traffic is also lighter than when each motor connects directly to WiFi. In exchange, the system requires an additional gateway, and compatibility between the motor, gateway, app, and smart home platform must be checked.
| Criteria | WiFi | Zigbee |
|---|---|---|
| Central Device | No separate gateway required | Zigbee Gateway required |
| Suitable For | A few window treatments and a stable WiFi network | Multiple window treatments and sensor devices |
| Items to Check | Signal at the motor location and router frequency band | Gateway standard and mesh network distances |
| Scalability | Depends on router load | Convenient within a unified ecosystem |
Match the Motor to the Window Treatment Dimensions and Weight
A motor cannot be selected based solely on the opening width. Determine the fabric weight, number of layers, track length, number of hanging points, wheel friction, and opening and closing frequency. A long track, heavy curtains, or a one-way draw creates a different load than a short track with sheer curtains. The site assessment record should include finished coverage dimensions, cut fabric dimensions, curtain stacking position, power cord length, switch type, and a manual operation plan for power outages.
For curtains, the track motor needs a quiet drive mechanism, soft start, accurate travel stops, and support for adjusting the opening direction to the left, right, or center. For roller shades and zebra shades, the tubular motor must fit inside the tube without increasing its diameter enough to make the shade touch the housing or window frame. For curved curtains, testing must be performed directly on the curved track; load specifications on paper cannot replace actual pulling-force checks.
Decide on the Configuration Before Ordering
Before finalizing automated window treatment installation, request a separate configuration sheet for each opening: window treatment type, material, color, number of layers, heading style, coverage dimensions, track type, motor, connection protocol, accessories, power supply, and control method. If there are multiple rooms, they do not all need the same type of window treatment; the living room can use double-layer curtains, bedrooms can use blackout fabric, and small windows can use zebra shades or roller shades.
The site assessor should bring fabric samples, a laser measuring tool, a steel tape measure, a voltage meter, a voltage tester pen, track samples, and motor equipment for on-site comparison. For finished homes, inspect the curtain recess, wall trim, outlets, drywall ceiling, built-in cabinets, and door swing direction. For homes under construction, finalize the positions of track mounting bases, conduits, power cables, and switch rough-ins before applying wall putty and paint. This information helps produce a configuration proposal that matches actual conditions and avoids motor changes after the curtains have been sewn.
Send a full view of the opening, a close-up of the ceiling, width and height measurements, and a description of the number of existing curtain layers for an initial configuration assessment. If you need automated window treatment installation in Ho Chi Minh City, you can schedule a site assessment to check the window treatment type, materials, tracks, and WiFi or Zigbee options before confirming your order.
Know the cost before you decide
Send estimated dimensions and a few photos of the space, and Thanh Vy Curtains will prepare a quote for exactly the items you need.
Request a quote Call 0985 615 577 Message on ZaloTechnical Requirements to Check Before Installing Motorized Curtains
Before installing motorized curtains, check the curtain recess, ceiling structure, electrical wiring, motor position, and connectivity together. A ceiling recess that is just a few centimeters too small or an outlet positioned too far away can prevent the track from fitting, leave the power cord exposed, or overload the motor. An on-site technical survey helps compare actual dimensions with the configuration of fabric curtains, zebra blinds, or roller shades before finalizing the plan.
Measure the Recessed Ceiling Curtain Pocket and Track Setback
For a recessed ceiling curtain pocket, measure three dimensions separately: the clear width, the depth from the ceiling edge to the bottom of the recess, and the height of the section concealing the track. Do not rely on old drawings if the ceiling has undergone multiple rounds of painting, skim coating, or drywall cladding. Use a laser measure to take measurements at both ends and the center of the recess; if the measurements differ, use the smallest as the basis for positioning the track.
The ceiling recess is usually about 10–20 cm deep relative to the ceiling plane. The required depth also depends on the number of fabric layers and the track shape:
| Configuration | Straight Track | Curved Track | Points to Check |
|---|---|---|---|
| Single-layer curtains | Minimum of approximately 10 cm | Minimum of approximately 20 cm | Turning clearance for the motor body and connector |
| Double-layer curtains | Minimum of approximately 20 cm | Minimum of approximately 30 cm | The two tracks do not rub against each other during operation |
These specifications are references for an initial assessment of existing conditions, not fixed dimensions that apply to every brand. Curved tracks need additional space for the bend radius, gliders, and fabric returning into the corner. For double-layer curtains, leave enough space between the front and rear tracks to prevent the sheer layer from getting caught in the light-blocking layer. The technician should also check the squareness of corners, beveled recess edges, and sections that intersect with beams.
If the recess is shallower than required, consider a surface-mounted track, a decorative curtain box, or an adjusted hanging position. Do not force the motor into a narrow space by cutting off its protective cover or turning the motor body in the wrong direction. These changes affect heat dissipation, maintenance access, and opening and closing travel. When installing motorized curtains for a curved opening, the measurement sheet must include the bend radius, the number of changes in direction, and the length of each track section.
Check the Mounting Surface, Load Capacity, and Obstructions
The track must be secured to a sufficiently sturdy substrate, not just a thin sheet of drywall. Identify ceiling framing, concrete, load-bearing wood, or reinforcement bars before drilling. For drywall ceilings, check screw spacing, anchor type, and the load capacity for the entire assembly of tracks, motors, connectors, gliders, and curtain fabric. Ceilings showing signs of sagging, hairline cracking, or water damage must be repaired first.
Measure the distance from the track to door panels, handles, insect screen housings, safety bars, and fixed furniture. When the curtains are open, the fabric must have room to stack neatly without covering handles or obstructing walkways. When the curtains are closed, the fabric edges must cover the glass adequately without touching the floor and getting dirty, catching on a robot vacuum, or getting stuck on the sill. Also check whether the curtains open to the left, to the right, or from the center so that the motor and stop position are on the correct side.
For glass doors extending close to the ceiling, measure the vertical alignment of the aluminum frame and the flatness of the surface above it. A tilted frame section can prevent the track from running parallel, causing rubbing noises or uneven fabric hanging. The technician should photograph the positions of beams, air-conditioning pipes, recessed lights, and smoke detectors to avoid drilling into concealed services.
Plan the 220V Power Supply for the Motor
Curtain motors typically use a 220V mains power supply, so the power supply location must be determined before finalizing the track length. The outlet should be installed high up, near the motor end, on either the left or right side of the curtain assembly depending on the installation direction. This position keeps the power cord short, concealed inside a box or service recess, and prevents it from hanging down beside the door. Do not place the outlet directly behind the fabric’s travel path or where it could be splashed with water during glass cleaning.
Newly built homes should have a dedicated wiring conduit from the electrical panel to the high-mounted outlet. The wiring must have a cross-sectional area and protective devices appropriate for the building’s electrical design; connections must be made by a qualified professional. Mark the outlet height, conduit route, junction boxes, and protective switch location on the drawings so the curtain installers do not drill into them after the ceiling is finished.
Finished homes can use an existing outlet if its distance, electrical load capacity, and safety meet the requirements. If new wiring is needed, options include cable raceways matching the wall color, a curtain box that conceals the wiring, or concealed in-wall wiring installed by an electrician. Do not use temporary extension cords laid on the floor. Before installing motorized curtains, check the voltage, grounding if required by the model, plug condition, and the ability to disconnect power for maintenance.
Choose the Motor Position and Check Its Travel
The motor must be positioned at the end of the track according to the agreed opening direction, with enough clearance to remove the cover, connect power, and perform a reset. For center-opening tracks, check that the two motors or drive assemblies have sufficient clearance, the signal wires are not stretched tight, and the two curtain panels meet at the center of the opening. For one-way opening tracks, measure the fabric stack-back length so the motor is not pressed against the wall.
Test the movement by hand before connecting power to detect binding at the gliders, track joints, pulleys, belt, and curved sections. Then run the motor without a load if the manufacturer permits it, before hanging the fabric to check the actual load. Squealing, strong vibration, sudden stops, or jerky fabric movement are signs that the track and load need adjustment; do not immediately try to resolve them by increasing the pulling force.
Check WiFi, Zigbee, and Control Range
WiFi motors connect directly to the router, so check the signal strength at the installation location, network name, compatible frequency band, and the ability to provide the password to the app. If the curtain recess is far from the router, behind a concrete wall, or on another floor, an unstable signal can delay opening and closing commands. Test with a phone right at the motor location, not just in the middle of the room.
Zigbee motors do not connect independently to the router; they require a Zigbee Gateway as a hub. During the survey, determine the gateway location, its distance from the motors, its power supply, and the hub’s network connection. For apartments with multiple rooms, also account for intermediate Zigbee devices if the wall structure weakens the signal. Do not place the gateway inside a metal cabinet, close to a source of interference, or somewhere difficult to access when it needs to be restarted.
If the property has multiple curtains, make a list of room names, motor codes, opening directions, and control groups. This helps avoid pairing living room curtains with bedroom curtains during the initial setup. Also agree on a manual control option using a remote, wall button, or button on the motor body in case WiFi is lost or the app malfunctions. Smart connectivity should only be configured after the track is securely installed and its mechanical travel is operating reliably.
One team from drawings to installation
Thanh Vy Curtains surveys, designs and installs based on your actual site. Send us the dimensions and current condition, and we will advise the right solution.
Request a quote Call 0985 615 577 Message on ZaloInspection sequence before installation handoff
- Remeasure the width, height, and depth of the recess and clearly record differences between measurement points.
- Mark the ceiling framing, beams, utility pipes, lights, and track screw locations.
- Check the 220V outlet, wiring route, protective devices, and distance to the motor.
- Confirm the fabric type, number of layers, opening direction, estimated weight, and fabric stack-back space.
- Check the WiFi signal or Zigbee Gateway location if using smart controls.
- Prepare a measurement record with photos of existing conditions, elevations, notes on obstructions, and proposed solutions.
Once the items above have been confirmed, installation typically follows five steps: securing the track, attaching the motor, connecting the electrical wiring, hanging the curtains, and connecting the app. Each step must be checked before moving on to the next; in particular, do not hang the fabric if the track is not level or the power wiring has not been completed. If actual specifications differ from the design, pause to adjust the configuration rather than install based on estimated measurements.
To have automatic curtain installation options screened, you can send a full-view photo of the opening, a close-up photo of the ceiling, width and height measurements, recess depth, and the location of the existing outlet. During the on-site survey, request a clear record of the track dimensions, power supply point, control protocol type, and items that need to be addressed before installation day.
Advice on choosing automatic curtains for living rooms, bedrooms, and glass doors
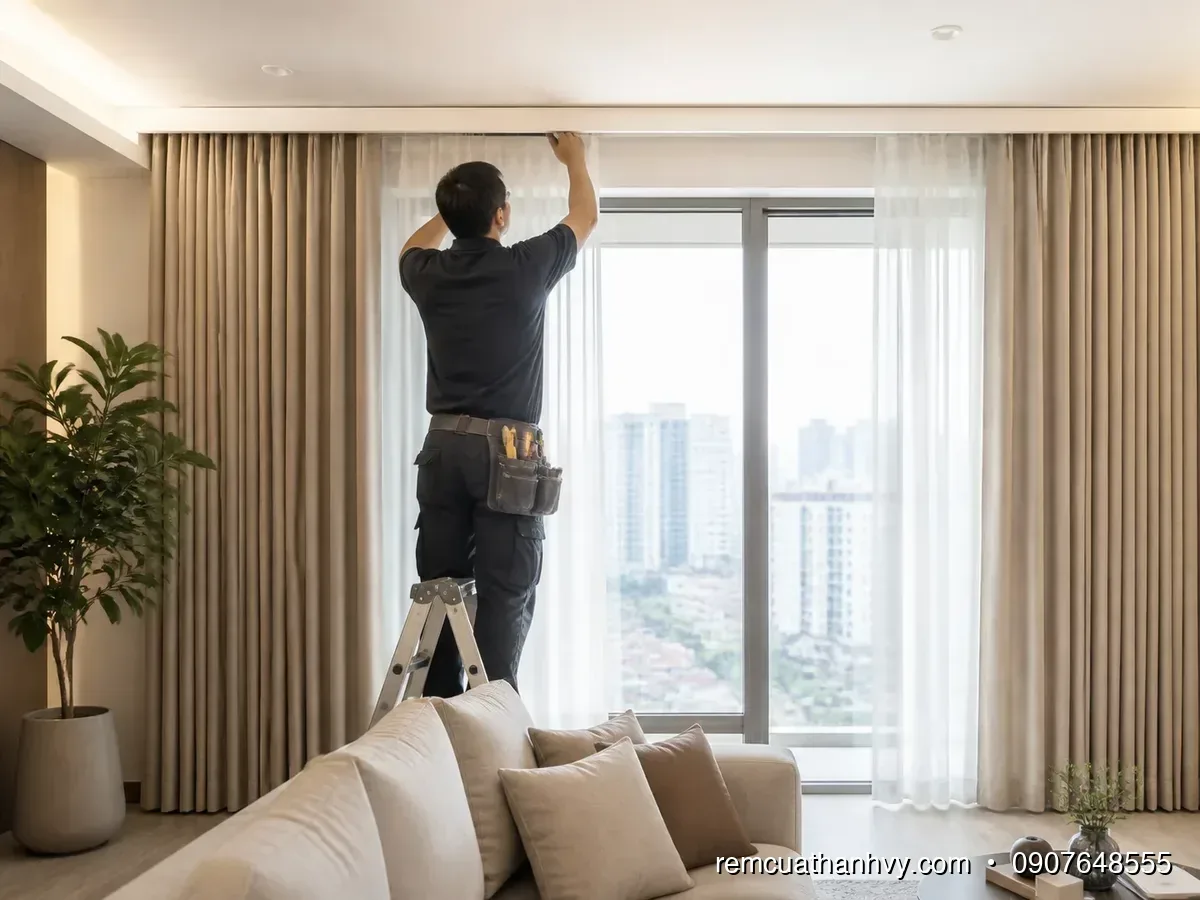
Choosing automatic curtains should start with the function of each space, not just fabric color or style. Living rooms need light management and a visual focal point; bedrooms prioritize light blocking and quiet operation; large glass doors require suitable tracks, motors, and section layouts. When advising on automatic curtain installation, check the opening dimensions, sun exposure, furniture clearance, handle locations, and power supply before finalizing a model.
Living rooms: prioritize openness, aesthetics, and zone-based control
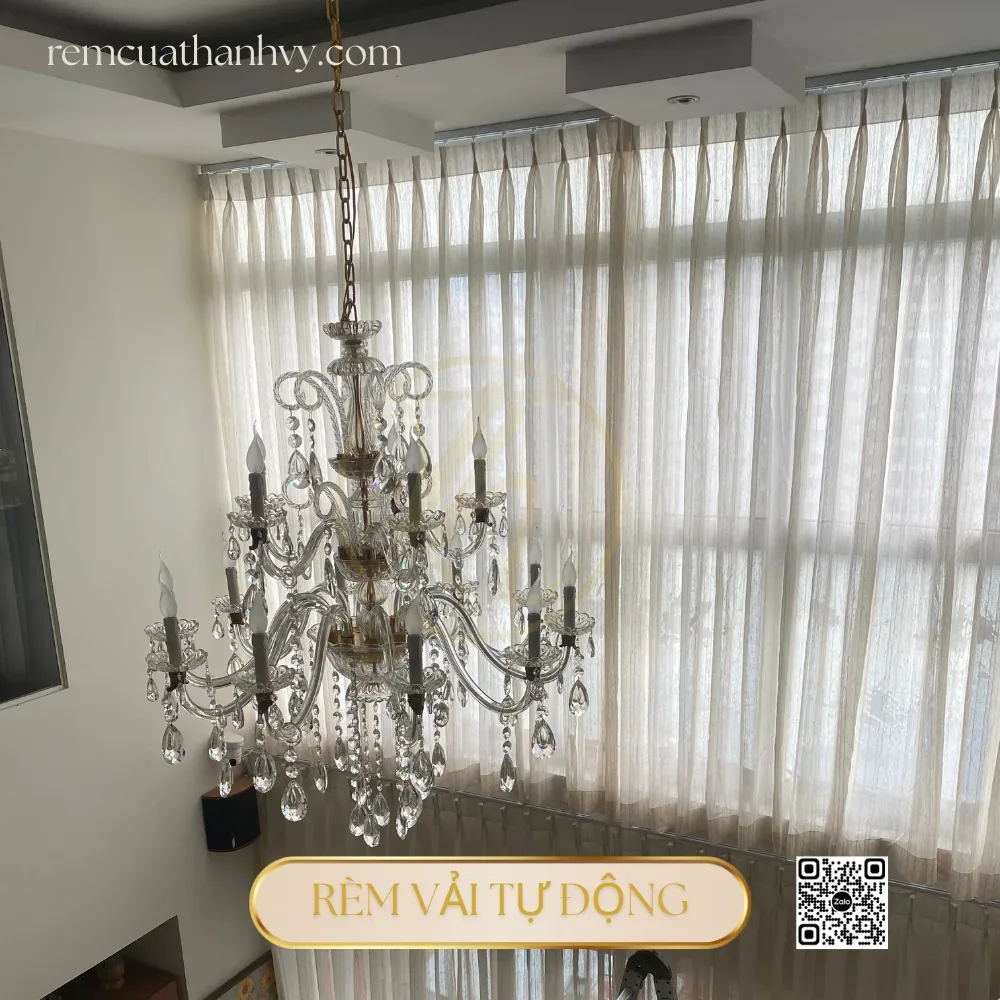
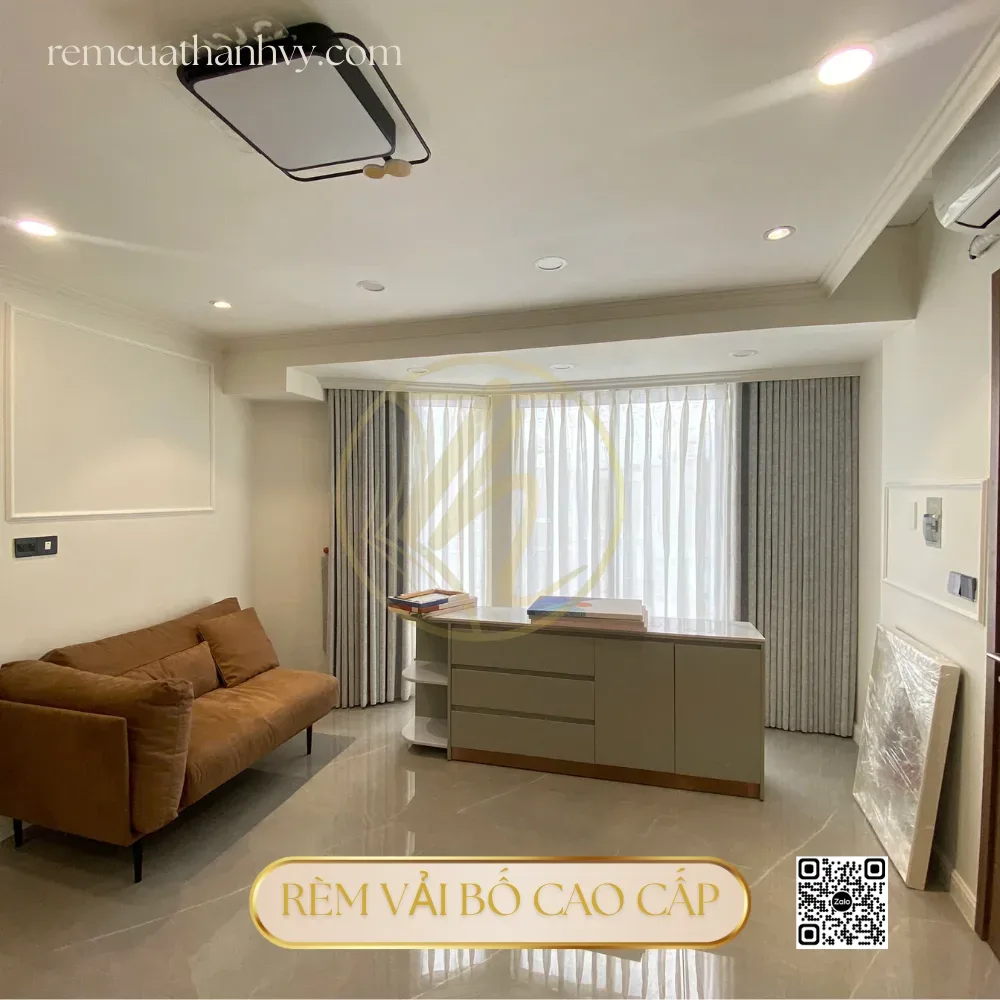
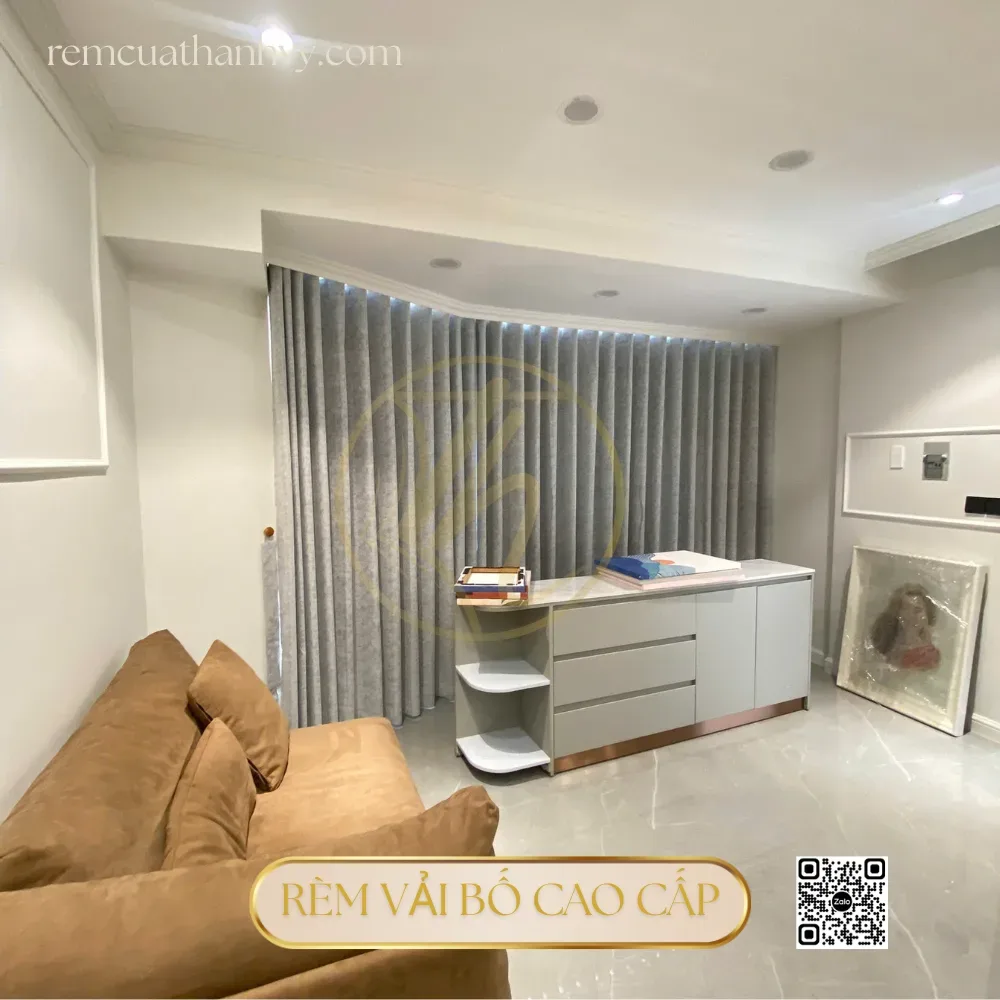
For living rooms with balcony doors, sliding doors, or glass panels extending to the ceiling, double-layer fabric curtains often add softness to the space. The sheer layer diffuses daylight, while the blackout layer or heavy fabric helps reduce glare when watching TV. For wide openings, consider a motor that draws the curtains in both directions and divide the curtains into two panels to reduce the load on the track and keep the fabric from bunching unevenly on one side.
When measuring in the living room, record the overall width, height from the floor to the ceiling edge, distance from the track to the wall, and projection of the curtain box separately. Sofas, cabinets, shelving, decorative lights, or inward-opening doors can affect how the fabric hangs. For corner openings, L-shaped openings, or corner-joined tracks, the technician must check the bend radius, track junctions, and travel direction before choosing a motor.
Zebra shades suit living room windows that need flexible light adjustment through alternating fabric bands. For this type, check the overall width, gaps on either side of the frame, and roller housing location to avoid hitting the handle. For glass doors facing the street, screen roller shades help reduce reflections while preserving the view; light transmission should be selected based on sun exposure, screens in the room, and privacy needs.
Bedrooms: focus on light blocking, quiet operation, and ease of use
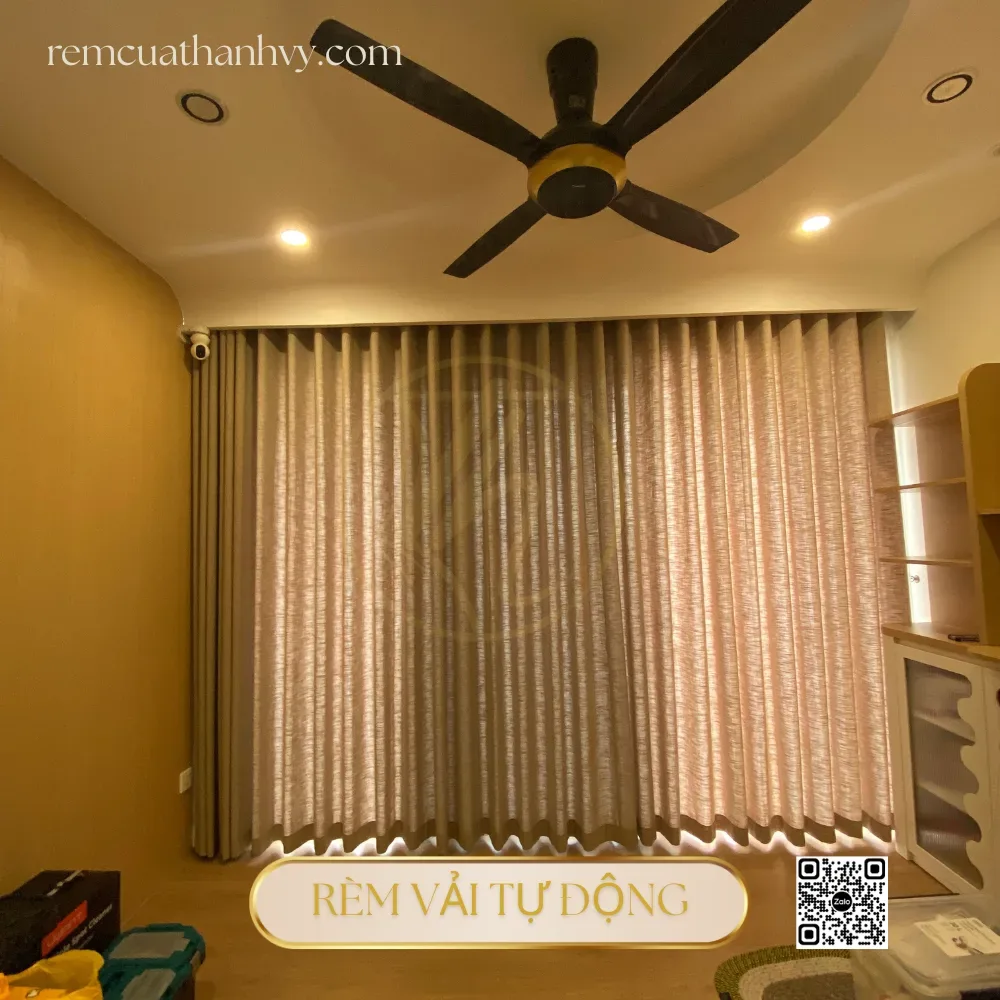
Bedrooms are generally well suited to blackout fabric curtains, blackout roller shades, or a double-layer configuration with the light-blocking layer on the outside. If the window is near a bed, vanity, or nightstand, leave clearance so the fabric does not brush against the furniture. For small windows, a compact roller shade motor can optimize space; for wide openings, horizontally traveling fabric curtains often create a lighter feel and take up less of the frame height.
When advising on automatic curtain installation for bedrooms, ask when users typically close the curtains, how dark the room needs to be, and whether they usually control them with a remote, switch, or phone. Quiet motor operation, consistent speed, and the ability to stop in the correct position matter more than choosing excess power. Also check the headboard, desk, outlets, and walkways to determine the most convenient side for the motor.
For blackout roller shades, carefully check the flatness of the glass, the squareness of the frame, and light gaps along both edges. If the window frame is not deep enough, an outside mount may block light better than an inside mount. For fabric curtains, the technician should determine the sewing style, number of pleats, center overlap, and distance between the curtain hem and the floor so the fabric hangs evenly after the motor completes its travel.
Large glass doors: choose a configuration based on span and direction of movement
Full-height glass doors, office glass partitions, or double-height doors need to be assessed based on their actual span rather than area alone. Wide, heavy doors can use load-bearing aluminum tracks, motors that draw two panels, or multiple sections. Corner doors require curved tracks or a corner-joining solution; multi-panel folding doors require checking the curtain stack-back direction so it does not obstruct hinges, door closers, or the opening path.
For concealed ceiling curtain recesses, the depth typically ranges from 10–20 cm depending on the ceiling configuration and track type. Single-layer curtains on a straight track typically need a recess about 10 cm wide; double-layer curtains on straight tracks need about 20 cm. Curved tracks and double-layer configurations may require about 20 cm and 30 cm, respectively. These are reference measurements for site surveys, not a substitute for actual measurements for each track set.
The motor power supply should be near the end of the track, concealed behind molding, a utility enclosure, or the ceiling edge, while still leaving room for maintenance access. WiFi systems connect directly to the router and suit apartments with stable networks and few devices; Zigbee requires a central Gateway and is suitable when you want to bring multiple curtains, sensors, and smart home devices into one system.
Quick selection table based on existing conditions
| Space | Typically suitable option | Points to measure and confirm |
|---|---|---|
| Living room with balcony doors | Double-layer fabric curtains, bidirectional motor | Track width, fabric stack-back direction, sofa projection |
| Bedroom window | Blackout curtains or blackout roller shades | Light leakage, gaps on both sides, motor noise |
| Large glass partition | Load-bearing track, sections divided according to span | Fabric load, power supply point, curtain stack-back location |
| Corner or L-shaped opening | Corner-joined track or curved track | Bend radius, track junctions, travel direction |
To finalize the right configuration, you can send full-view photos of each room, close-up photos of the ceiling, width and height measurements, recess depth, sun exposure, and the location of existing outlets. During the survey, request a clear record of the curtain type, fabric material, track style, number of sections, motor location, and control protocol. This approach helps keep the automatic curtain installation plan aligned with usage needs, the layout, and what can realistically be completed.
The Site Survey, Consultation, and Installation Process for Motorized Curtains

The motorized curtain installation process should begin with an on-site survey, not with choosing a motor based on sample photos. The technician needs to cross-check the window opening dimensions, ceiling height, wall flatness, curtain recess location, wiring route, and how each room is used. The proposed solution is then documented with measurements, track type, motor position, power supply point, and control method. Following this sequence helps minimize drilling errors, insufficient clearances, or choosing a drive unit with inadequate load capacity.
1. Gathering Requirements and Preparing for the Survey
Before visiting the home, the installer needs to record the property type, number of windows, photos of existing conditions, and when the site can be accessed. Customers should provide the window width, intended height, current curtain style, whether they want the curtains to open to the left, right, or from the center, and whether they want button, remote, or phone control. For renovation projects, customers need to specify whether there are fabric curtains, roller blinds, zebra blinds, or existing track systems so the technician can prepare a laser measuring tool, wire detector, concrete drill, anchors, and suitable track samples.
The survey form should assign a code to each window opening rather than simply noting “living room” or “bedroom.” For example, the living room balcony door, the window beside the sofa, and the fixed glass panel need to be listed as three separate locations because the opening direction, fabric length, and motor load may differ. Photos of the front, side, suspended ceiling, utility enclosure, and outlet near the window help the installation team plan accessories before arriving, avoiding an additional measurement visit.
2. Measuring and Checking Existing Conditions On-Site
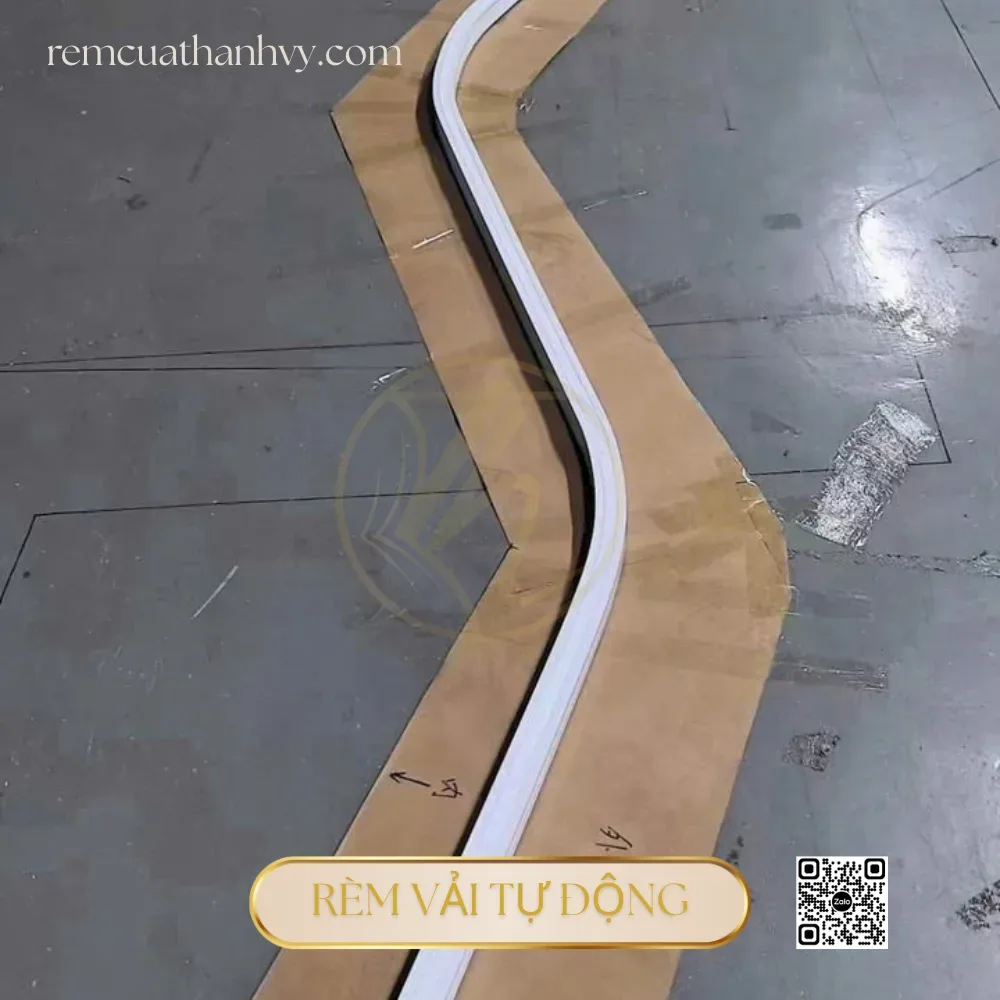
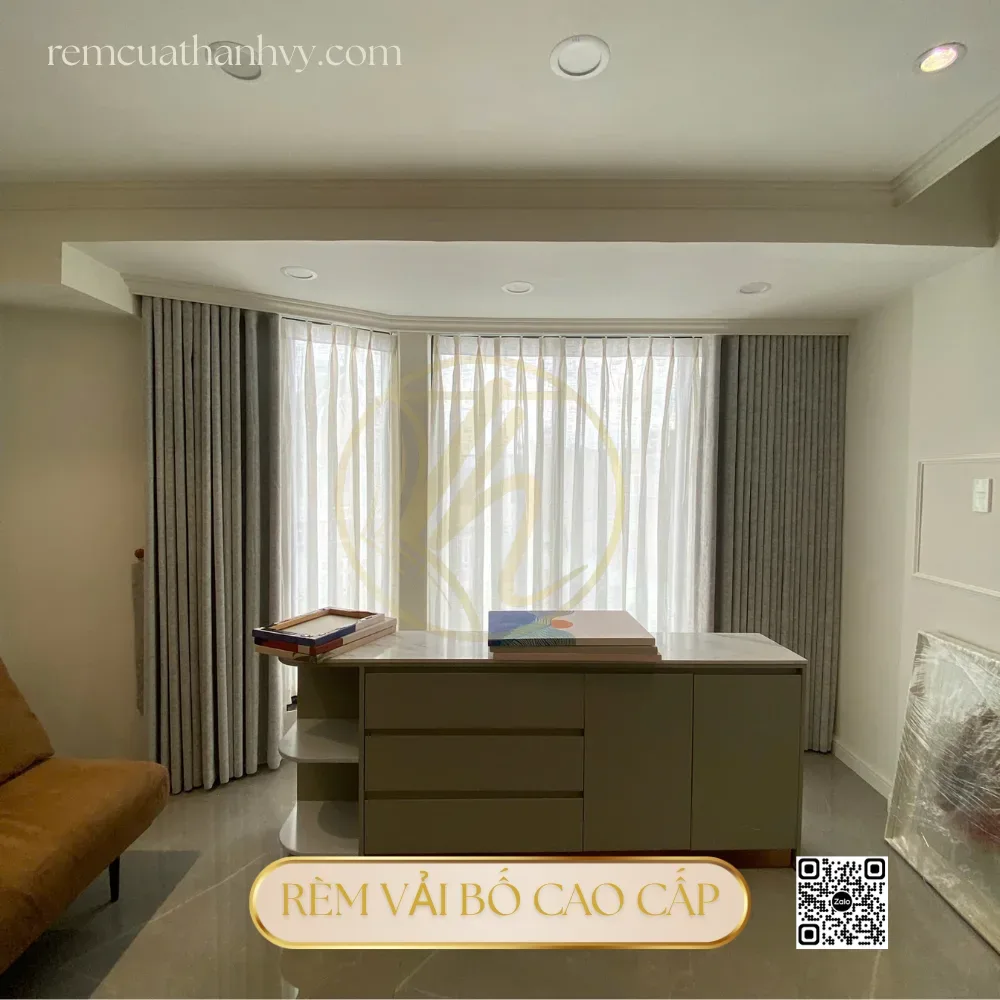
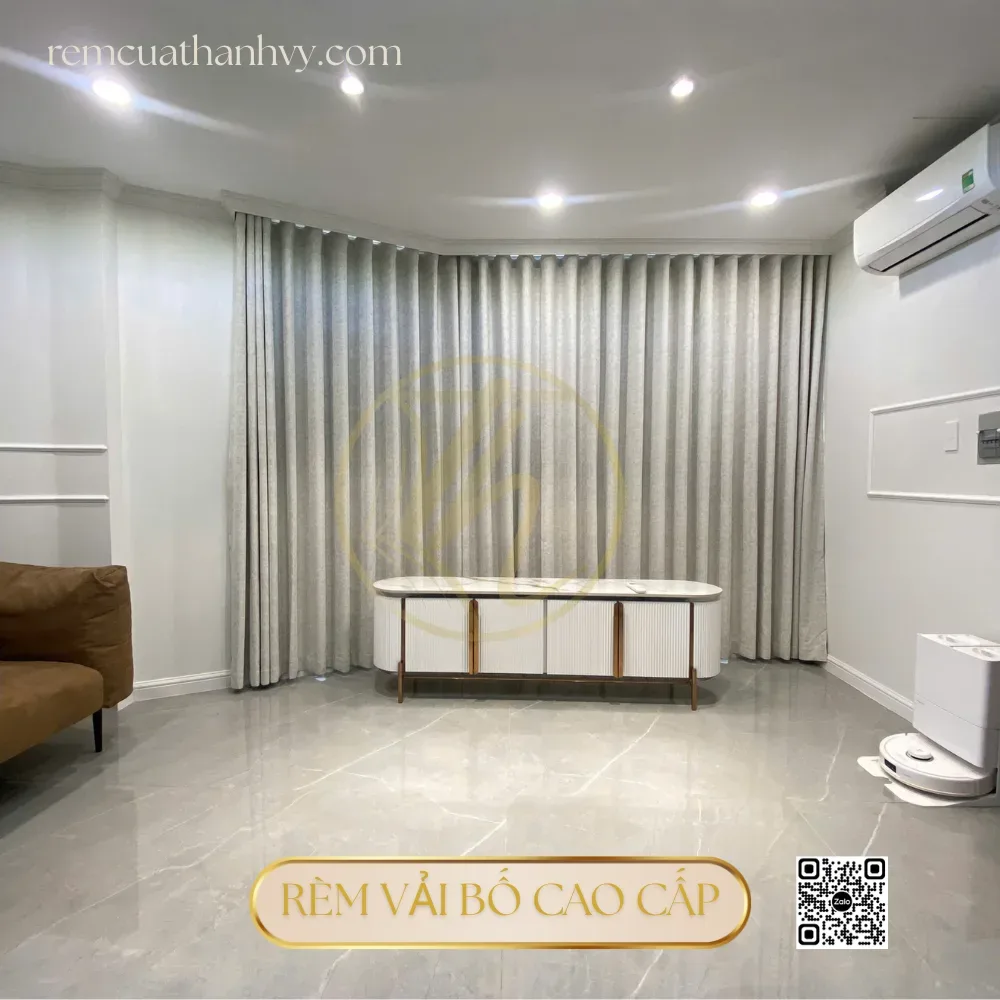
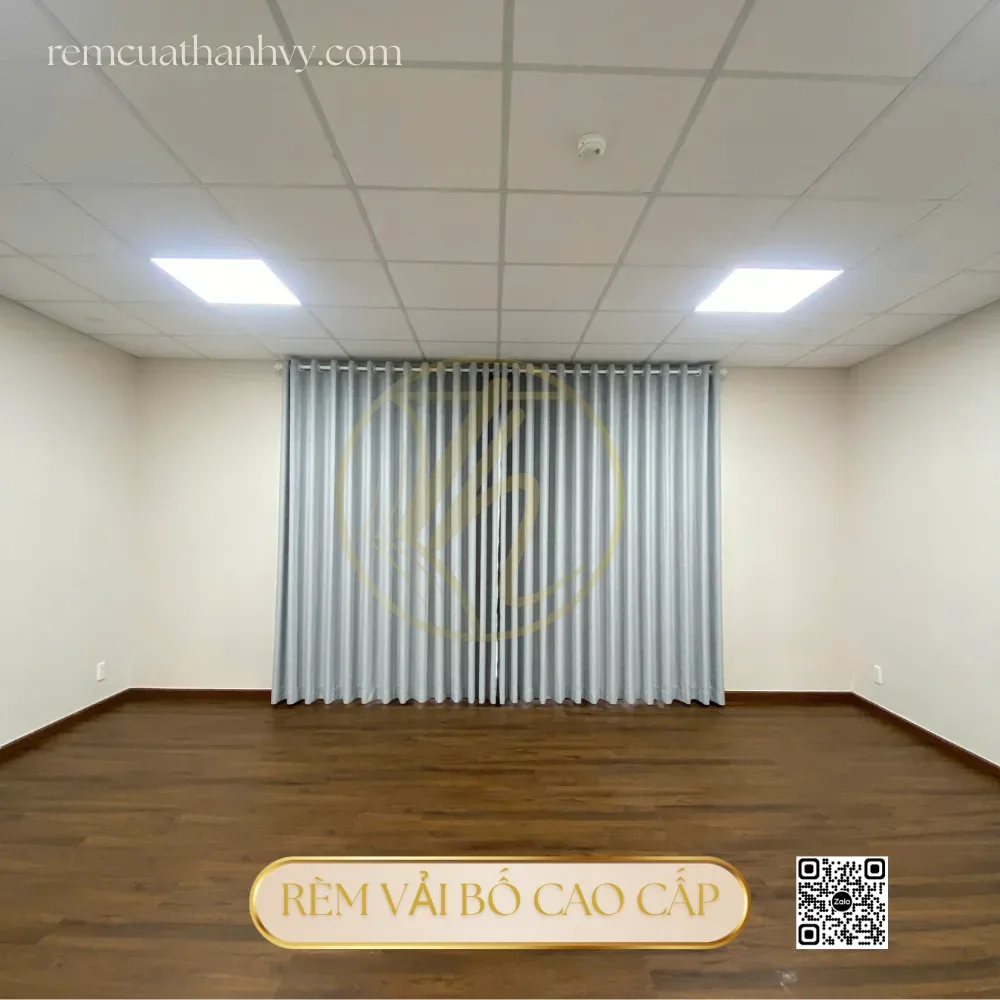
On-site, the technician measures both the clear opening dimensions and the overall dimensions. Measurements to record include the opening width, height from the floor to the ceiling edge, distance from the wall to the glass, depth of the recessed ceiling curtain pocket, curtain box height, window sill thickness, and the space needed for the door or window sash to open. Each dimension should be measured at least at both ends and the middle of the track to detect any unevenness in the wall or ceiling. If using a curved track, the bend radius, tangent points, and clearance around door handles need to be measured.
Recessed ceiling curtain pockets are typically about 10–20 cm deep relative to the ceiling plane, but the final dimensions must be based on the track, number of fabric layers, and motor position. Single-layer curtains on a straight track typically need a pocket about 10 cm wide; a curved track needs about 20 cm. For double-layer curtains, a straight track typically needs about 20 cm and a curved track about 30 cm. These are initial reference dimensions, not a substitute for the finalized drawing after checking the actual track sample.
In addition to taking measurements, the installer checks the screw-mounting substrate. For drywall ceilings, concealed framing must be located or reinforcing members added; for concrete walls, drill bits, anchors, and screws must be selected for the appropriate load; for aluminum-framed glazing, drilling into sealed chambers or drainage channels must be avoided. For openings close to a wall corner, space must be left for the curtain return and for operation so the curtains do not rub against handles, door trim, cove lighting, or built-in cabinets.
The electrical routing is also checked during the survey. A motor using 220V mains power needs a power supply point near the end of the track, preferably a high-mounted outlet or a utility enclosure concealed behind the curtains. In new homes, wiring conduit can be concealed in the walls, wiring left ready for connection, and a maintenance switch installed. In finished homes, small cable raceways can be used, wires routed inside the curtain box, or a section of the ceiling opened, but the location, raceway color, and surface restoration method must be agreed upon before installation.
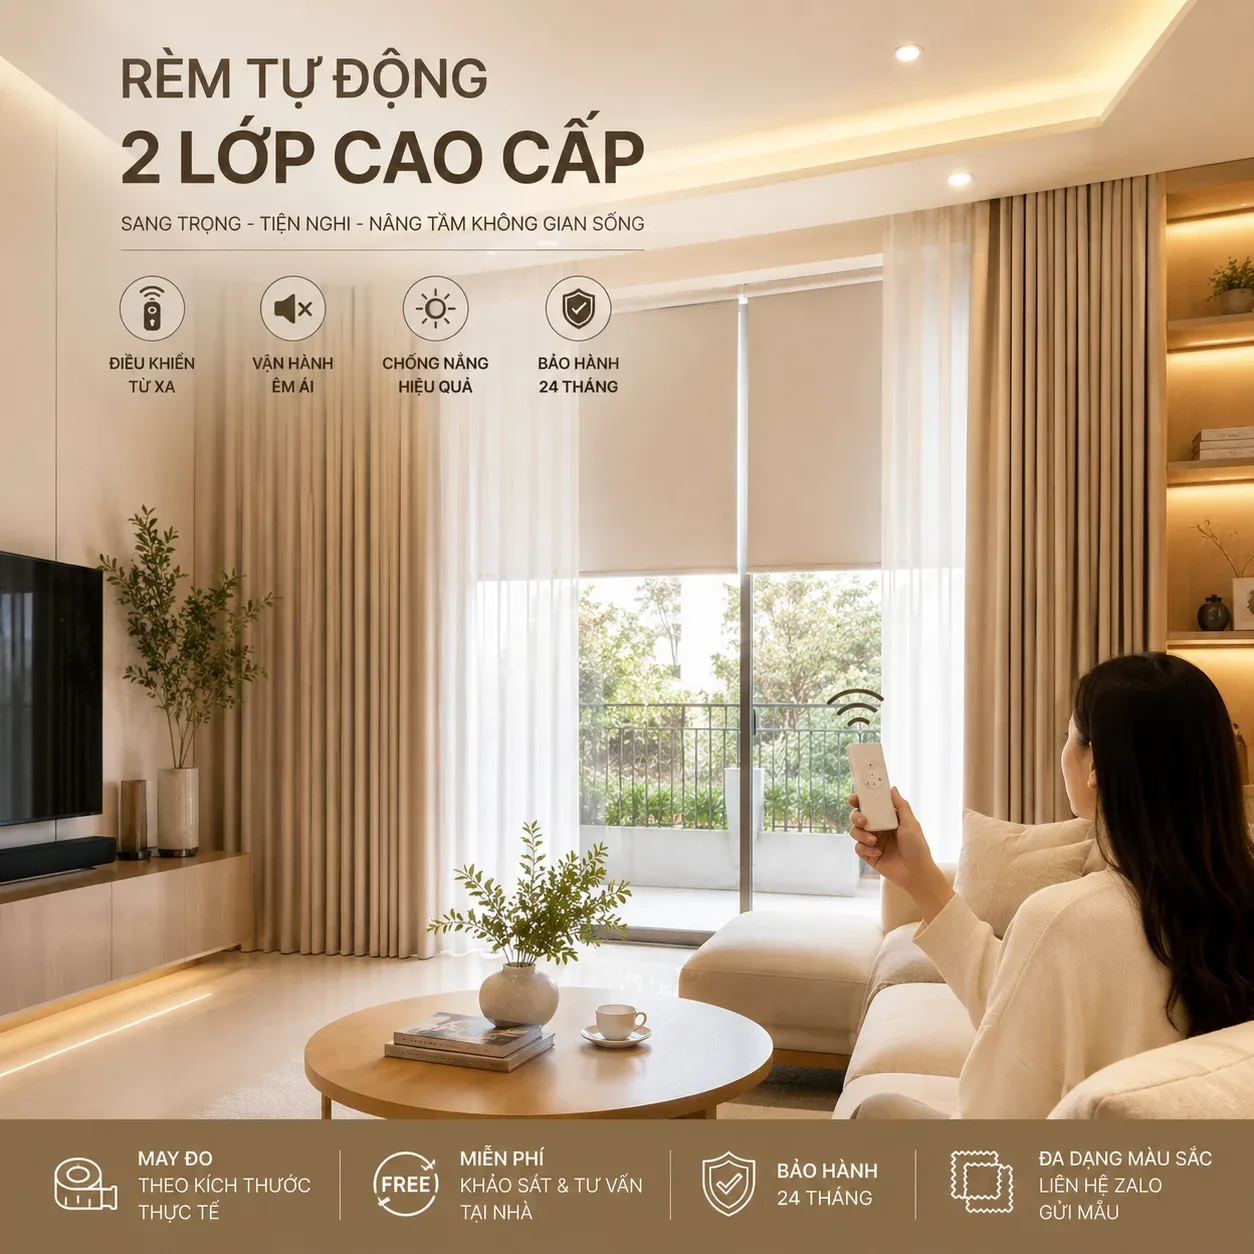
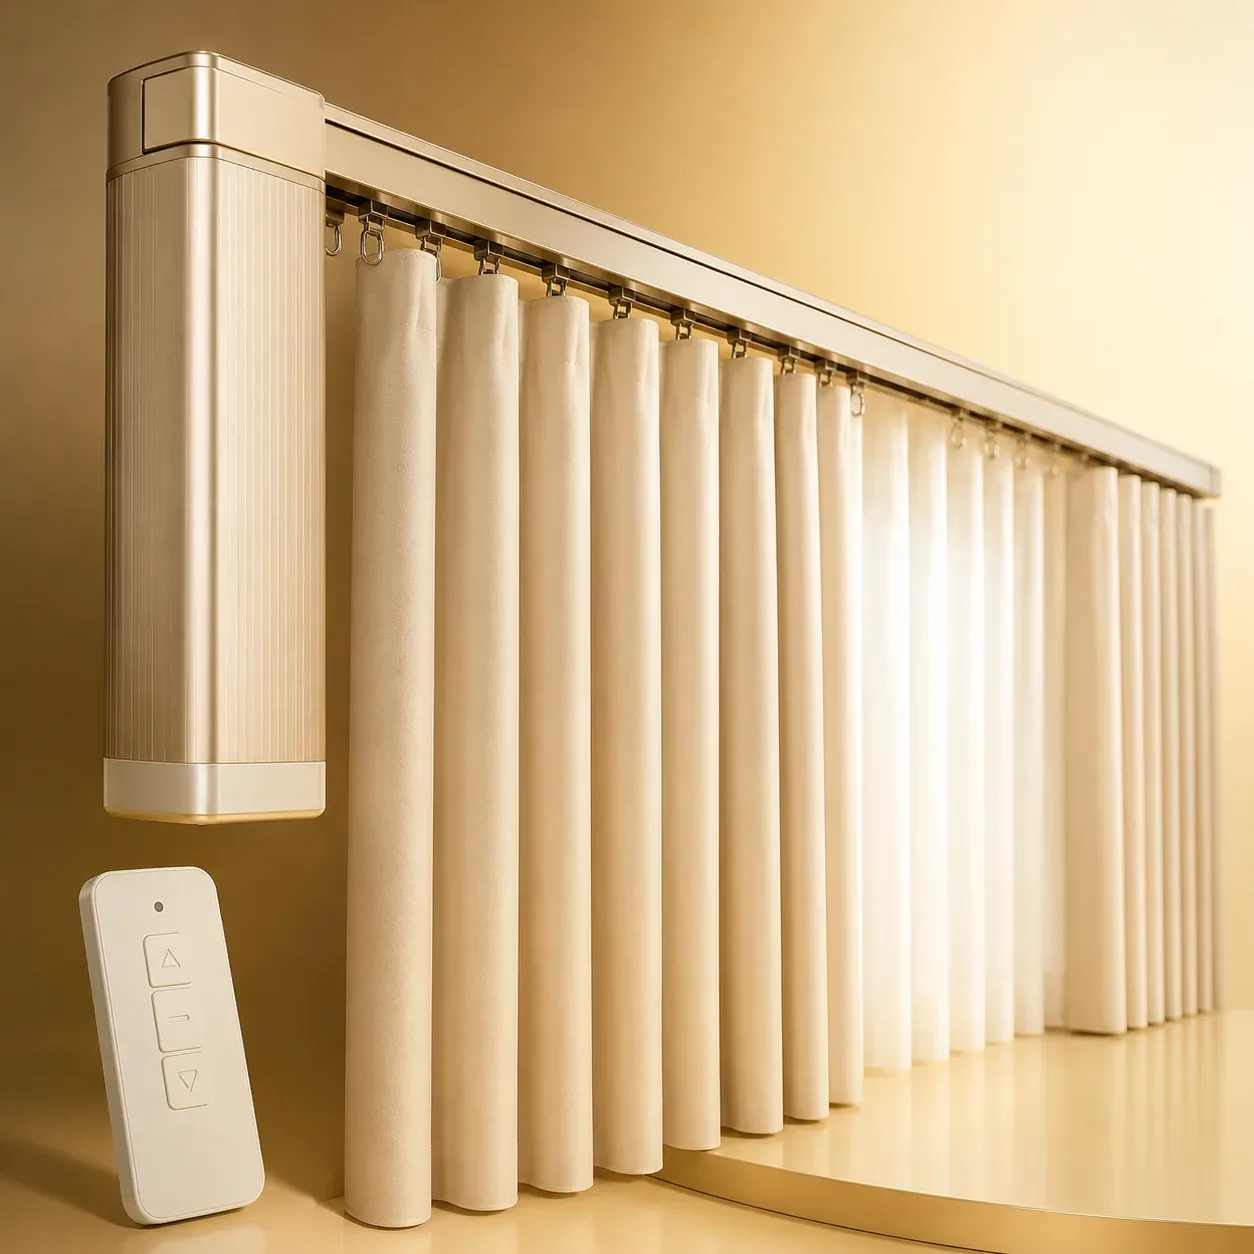
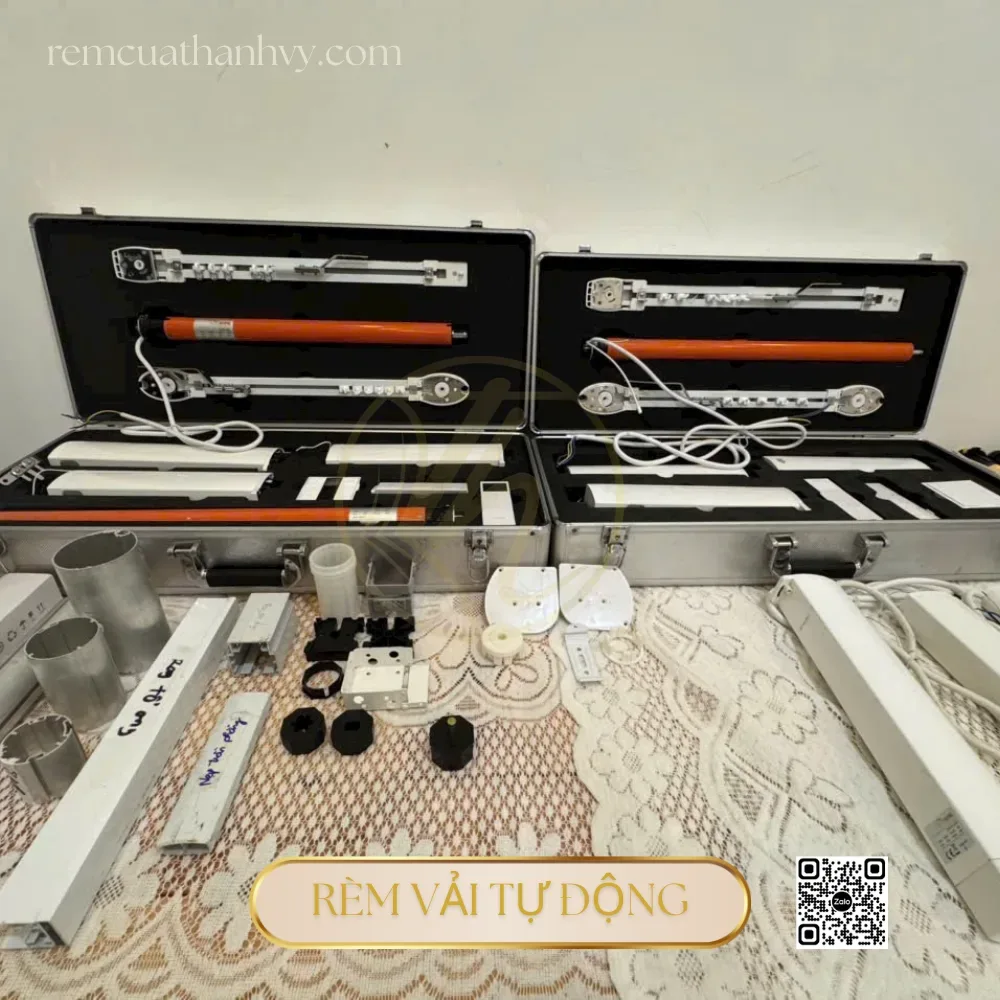
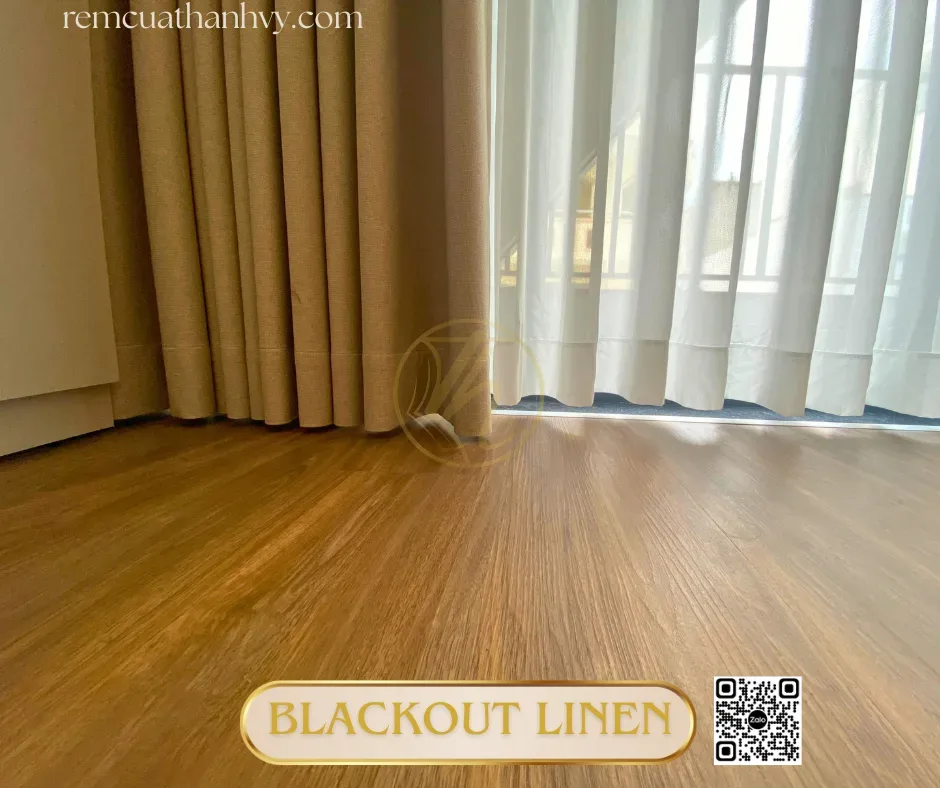
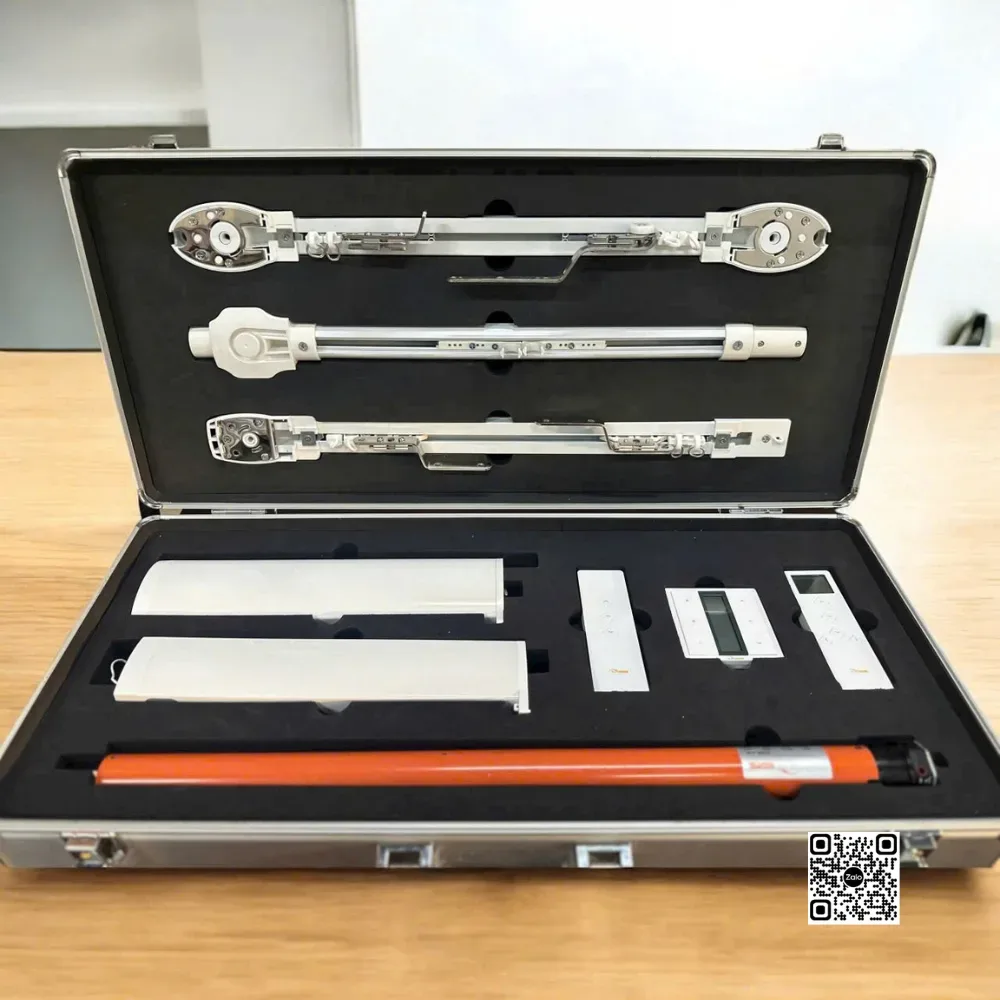
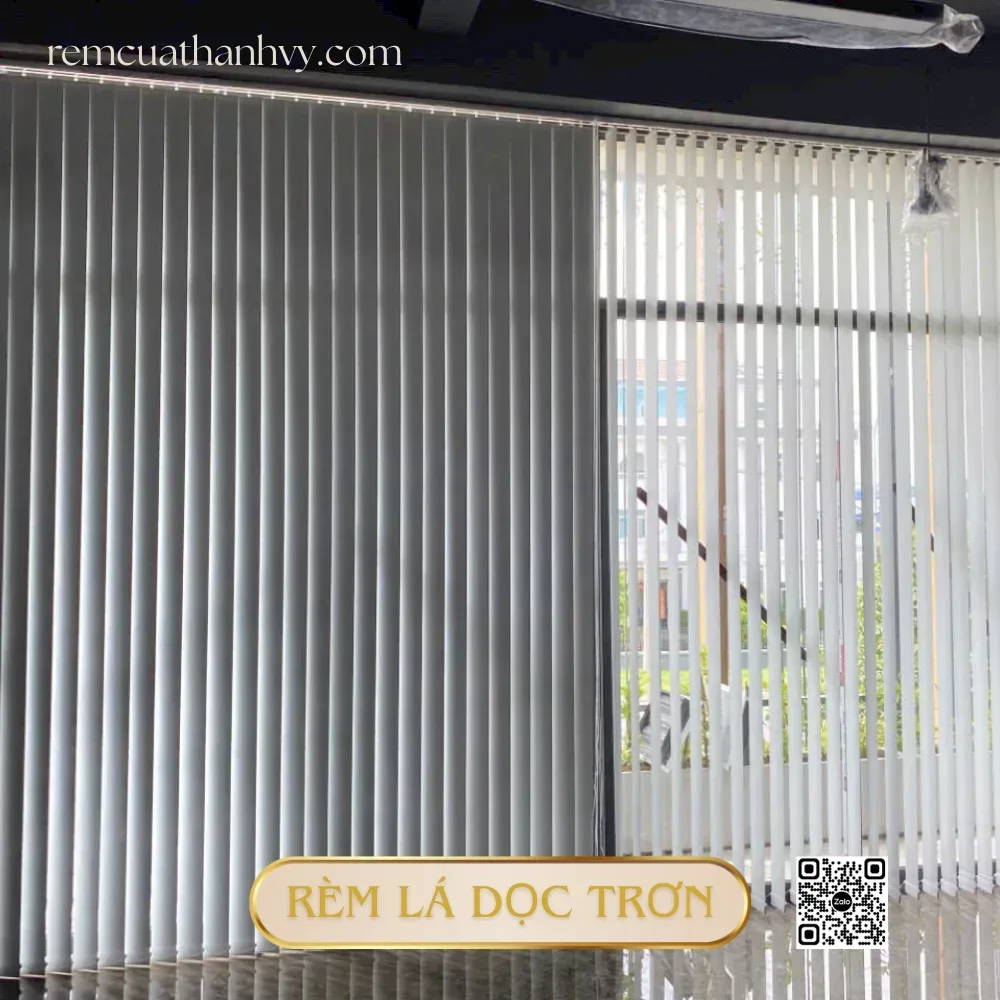
3. Recommending a Configuration Based on Measurements and Usage
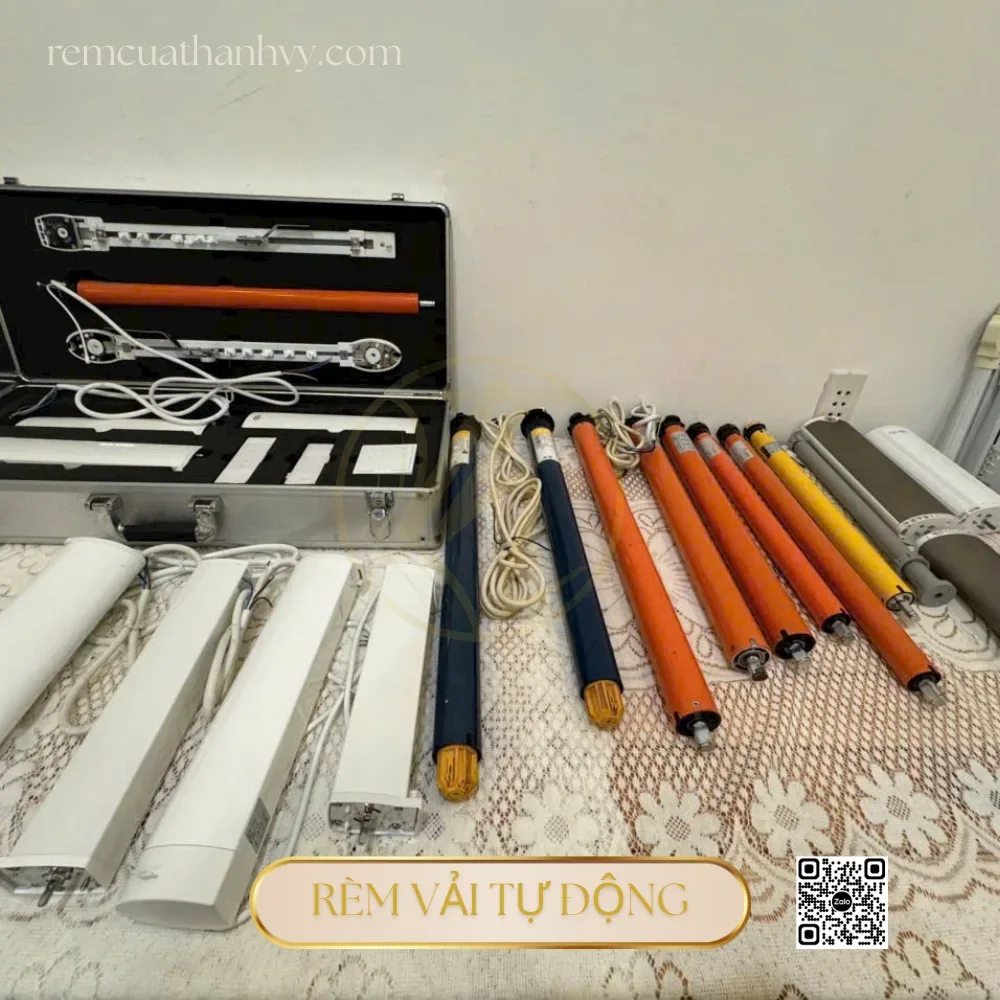
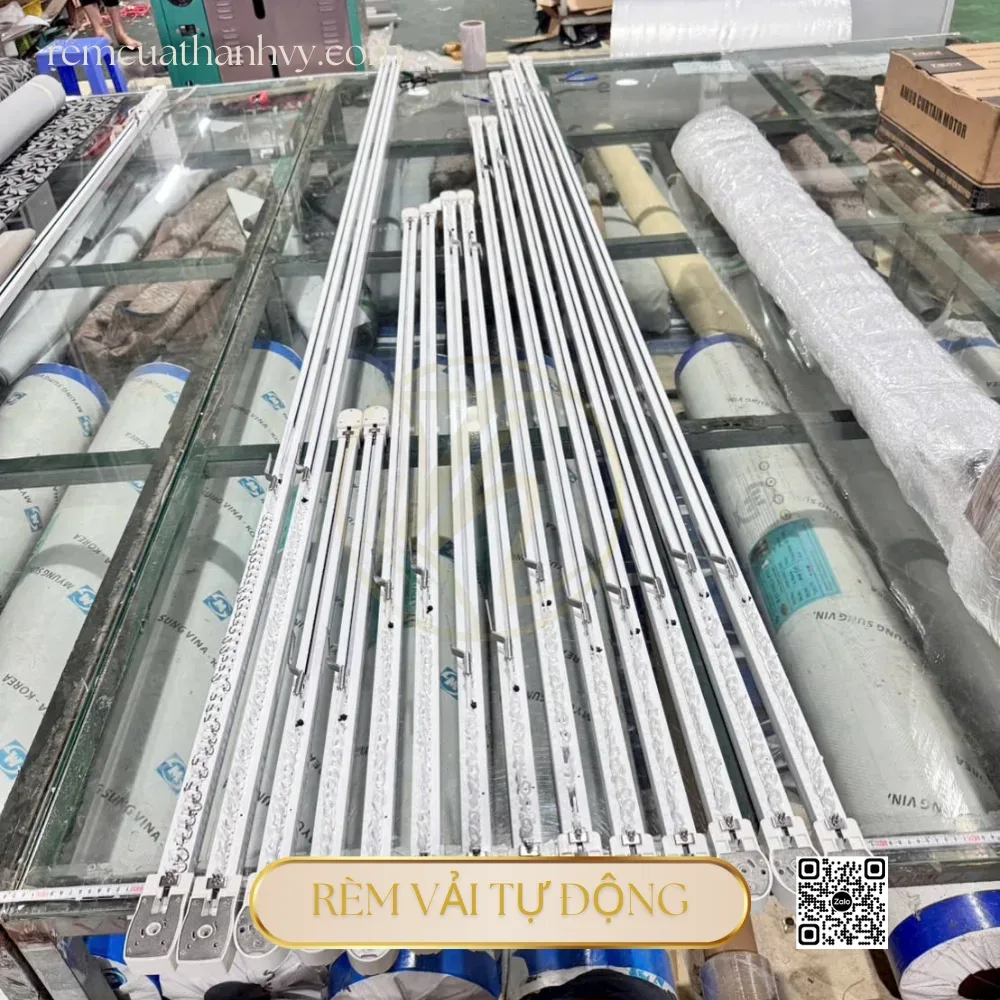
After measuring, the technician prepares a plan for each opening: fabric type, sewing style, number of layers, track length, stacking direction, pulley type, drive belt, hangers, brackets, and estimated load. For double-layer fabric curtains, the sheer and light-blocking layers need to be calculated separately; for roller blinds, the tube diameter, bottom bar, and roll-up clearance need to be checked; for zebra blinds, the squareness of the frame and the upward and downward travel need to be assessed. For wide openings, the plan may use separate motors or divide the opening into sections to reduce the load and keep the fabric folds balanced.
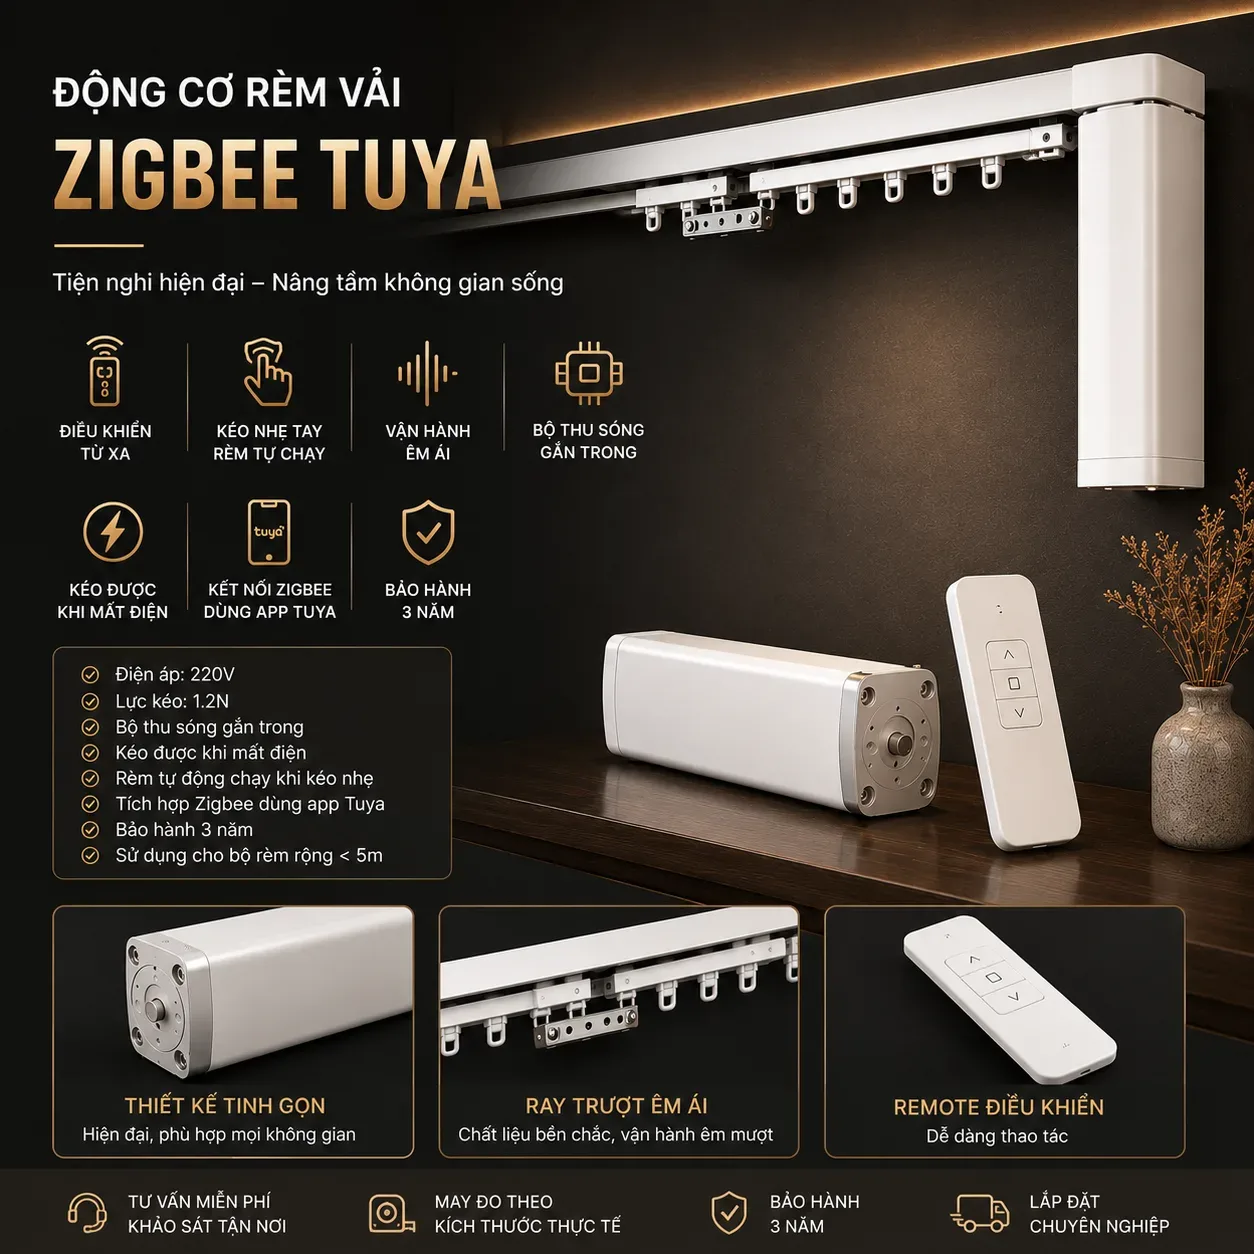
The motor is selected based on track length, fabric weight, number of opening and closing cycles, and installation location. Selection should not rely solely on the power rating listed in the catalog before the weight of the finished curtains is known. For rooms with multiple windows, control groups need to be agreed upon: individual windows, individual rooms, or the entire floor. WiFi connects directly to the router, while Zigbee requires a Zigbee Gateway as a hub; the choice depends on signal coverage, the number of devices, and the existing smart home ecosystem.
At this stage, the customer receives a configuration sheet and a preliminary drawing showing track length, mounting height, motor position, opening direction, power supply point, control type, and any items that cannot yet be finalized. Any changes to the fabric, sewing style, curtain box, or section layout need to be recorded before production. This provides a basis for checking that delivered items meet the specifications, rather than relying on guesswork on installation day.
4. Finalizing Samples and Confirming Site Readiness and the Installation Schedule
Before installation day, the installation team makes a final confirmation of the track width, hanging height, outlet location, material delivery route, and completion status of the ceiling, walls, and floor. If painting, flooring, or interior fit-out work is still underway, the work sequence needs to be agreed upon to prevent mortar dust from soiling the fabric. Fabric samples, track colors, covers, remotes, switches, and gateways are checked against the configuration sheet.
Curtains are usually sewn and checked for size before delivery. On-site, accessories are sorted by opening, including tracks, motors, mounting brackets, screws, power cords, controllers, and labeled fabric. Packing by window code helps reduce the risk of hanging the wrong curtains or installing them with the wrong opening direction, especially when an apartment has multiple sets in the same color.
5. Installation in five technical steps
Step 1 – Install the track: The installer marks the track centerline according to the drawing, checks the distance from the track edge to the wall, and drills the anchor points. The track must be straight, the joints tight, and the mounting brackets evenly distributed according to the load. For curved tracks, the bend must have the correct radius, without kinks or binding points. After tightening the screws, the installer uses a spirit level to check the elevation before attaching the motor.
Step 2 – Attach the motor: The motor is inserted into the end of the track and locked into the drive coupling correctly, then the gears, pulleys, and belt are checked. The motor end needs clearance for removal and maintenance and must not be pressed against the wall or obstructed by a service enclosure. If using a center-opening curtain system, the two drive carriers must be balanced, and the travel paths of the two panels must not overlap.
Step 3 – Connect the electrical wiring: The 220V power supply is wired according to the diagram for the specific model, with insulated connectors and wiring secured neatly inside an enclosure or raceway. The installer checks the terminals, power switch, and power shutoff capability before applying the load. Temporary connections with exposed twisted wires should not be used, and the power supply unit should not touch the fabric. In finished homes, wiring must be concealed according to the approved plan, without changing outlet locations without authorization.
Step 4 – Hang the curtains: The fabric is attached hook by hook to the rollers, ball carriers, or sliders, depending on the track type. The installer checks the fabric heading, folds, floor contact, bottom bar, and coverage beyond the glass edges. The curtains must not catch on handles, window sills, or cabinet doors. After hanging, the motor is run without a load and then with a load at low speed to detect noise, misaligned folds, or friction points.
Step 5 – Connect and configure: The controller is paired with a remote, switch, or app. A WiFi motor is connected to the correct home network; a Zigbee system is added to the gateway before device groups are created. The installer sets the opening limit, closing limit, travel direction, speed, and reversal setting if the model supports it. Device names should reflect their locations, such as “living room balcony door,” so users do not have to guess when operating them.
6. Test, hand over, and document changes
After configuration, each unit is run through a complete opening and closing cycle using the button on the motor, the remote, and the app, if available. The technician checks temporary connection loss, switch response, noise, stopping accuracy at both ends of travel, and the condition of the fabric during movement. Any issues requiring adjustment, such as misaligned tracks, unevenly spaced hooks, fabric folds touching the floor, or exposed wiring, must be addressed before handover.
The handover documentation should include the motor model code, installation location, power supply diagram, configured account or gateway, travel limits, and included accessories. Any changes from the site survey drawing, such as relocating an outlet, shortening a track, or changing the stacking direction, must be clearly recorded. When automatic curtains are installed in multiple rooms, documentation for each window opening makes future maintenance and system expansion faster.
After handover, Thanh Vy Curtains stays with you
Talk directly with the Thanh Vy Curtains team to settle the right plan, from design to handover.
Request a quote Call 0985 615 577 Message on ZaloIf existing conditions do not meet the requirements, the installation team must stop at the verification stage rather than force the installation through. Issues such as insufficient curtain recess width, a ceiling without anchor points, an unsafe power supply, a track interfering with an opening door, or fabric exceeding the motor’s load capacity must be reported with photos and proposed solutions. Customers can request a site survey and a configuration sheet before approving installation so they can make decisions based on actual measurements.
To receive an automatic curtain installation plan suited to your window opening, send photos of the existing conditions, preliminary dimensions, and the power supply location. The technical team will review the floor plan, identify the items requiring on-site measurement, and then recommend suitable tracks, motors, wiring methods, and an installation schedule.
Schedule a technical site survey
If you are renovating a home or finishing an apartment, a site survey should be conducted before the ceiling is closed up and the final painting is done. Finalizing the recess depth, reinforcement points, 220V outlets, and wiring routes early helps the system operate reliably while keeping the ceiling and wall surfaces neat and clean after installation.
Get advice based on your floor plan
Options for upgrading existing curtains and integrating smart controls

Existing manual curtains can be upgraded to automatic curtains if the track, roller tube, and installation location remain sturdy enough to support an added motor. During the site survey, the technician will check the curtain type, overall width, fabric weight, overhead clearance, and 220V power supply. With a suitable layout, automatic curtain installation can be completed without replacing the entire existing curtain system.
Types of existing curtains that can typically be upgraded
| Existing curtain type | Components that can be retained | Conditions to check |
|---|---|---|
| Single-layer fabric curtains | Fabric, hanging rings, track | Straight track, sliding rollers that do not bind, fabric that is not too heavy |
| Double-layer fabric curtains | Fabric and part of the track system | Double tracks with sufficient travel clearance, brackets capable of supporting two motors if needed |
| Roller shades | Roller tube and fabric panel | Aluminum tube is not bent, end caps are intact, load is within the motor’s limits |
| Zebra shades | Cassette, roller tube, fabric bands | Roller rotates concentrically, pull cord is not slack, cassette has enough room for the drive unit |
Fabric curtains are typically upgraded by replacing the curtain motor and drive unit at the end of the track. For roller shades, the roller tube diameter must be checked against the motor head; if the tube is deformed or the fabric panel is misaligned at the edge, the tube assembly should be replaced before connecting power. For zebra shades, the top cassette must be checked because not every small compartment has enough clearance for a tubular motor.
Inspection process before retaining existing curtains
- Measure dimensions: record the overall width, curtain height, distance from the fabric edge to the wall, and curtain box depth.
- Check the operating mechanism: pull it several times to detect a misaligned track, jammed rollers, twisted pull cords, or a noisy roller tube.
- Assess the load: identify whether the fabric is sheer, light-blocking, velvet, or double-layered to select the appropriate pulling force.
- Check screw mounting points: inspect whether the wall, drywall ceiling, concrete, or wood is still sound; enlarged screw holes must be addressed with suitable anchors.
- Check the power supply: identify an outlet near the motor end, in-wall wiring, or a plan for routing wiring neatly inside a raceway.
If the existing track sags in the middle, the new motor will have to pull a heavier load and may stop midway through its travel. For drywall ceilings, the technician needs to locate the ceiling framing or add a mounting plate before attaching the brackets. If the curtains sit in a ceiling recess with insufficient clearance, options include switching to a smaller motor, relocating the drive end, or recommending track replacement rather than forcing the device into the compartment.
Smart control: WiFi or Zigbee?
| Criteria | WiFi Motor | Zigbee Motor |
|---|---|---|
| Connection | Connects directly to a WiFi router | Connects through a Zigbee Gateway before linking to the network |
| Additional equipment needed | Router with a compatible frequency band | Central Gateway and power supply for the Gateway |
| Suitable for | Small apartments with few curtains where quick setup is desired | Homes with multiple rooms, numerous sensors, and a smart home ecosystem |
| Considerations | Depends on WiFi coverage and router stability | The Gateway must be placed centrally, away from metal cabinets that block the signal |
WiFi motors are convenient for households automating just one to a few sets of curtains with an already stable network. Users can control them through an app, schedule curtains to open, or create commands based on their daily routines. Zigbee motors are better suited to setups involving many devices, such as switches, door sensors, light sensors, and curtains in multiple rooms. A Zigbee system requires a Zigbee Gateway to coordinate control.
When planning automated curtain installation for a finished home, prioritize motors with manual control buttons on the housing and the ability to operate without internet access. Losing internet does not mean losing power; in that situation, local schedules or wall switches may still work, depending on the motor model. If power is lost entirely, do not yank the fabric or force the roller shaft. Wait for power to return, or use a manual pull mechanism only if the manufacturer permits it.
Integration with home control systems
After pairing the motor with the app, you can name it by location, such as “living room left,” “bedroom glass door,” or “balcony curtain.” This naming approach helps prevent accidental activation when there are multiple sets of curtains. Technicians can group curtains, set opening percentages, configure sunrise–sunset schedules, or create a “movie time” scene that closes the blackout curtains. In homes with sensors, curtains can receive commands based on light levels, but limits should be set to prevent continuous opening and closing.
Before finalizing the upgrade, ask for the following to be clearly recorded in writing: which type of curtain the motor will be installed on, which components will be retained, which parts will be replaced, outlet locations, how to pair the app, device names, and warranty conditions. An on-site survey helps distinguish cases that only require replacing the motor from those requiring new tracks, roller tubes, brackets, or power cords. This is an important step in ensuring that automated curtain installation meets load requirements, operates smoothly, and preserves the appearance of the existing curtains.
If you want to check whether your current curtains can be upgraded, prepare a front-view photo, a photo of the track end or roller housing, overall dimensions, and the location of the outlet near the opening. This information helps the survey focus on load capacity, motor installation clearance, wiring, and control options suited to each room.
Schedule a survey: Send details of your curtains’ current condition and your control needs to receive advice on an upgrade plan before replacing components.
Request measurements and checks: Ask for an inspection of the tracks, roller shafts, screw mounting points, 220V power supply, and WiFi or Zigbee connectivity at the actual installation location.
Receive a plan: Clearly finalize which parts will be retained and replaced, how the system will operate without internet, and the acceptance criteria before installation begins.
Automated curtain installation quotes and commitments to confirm
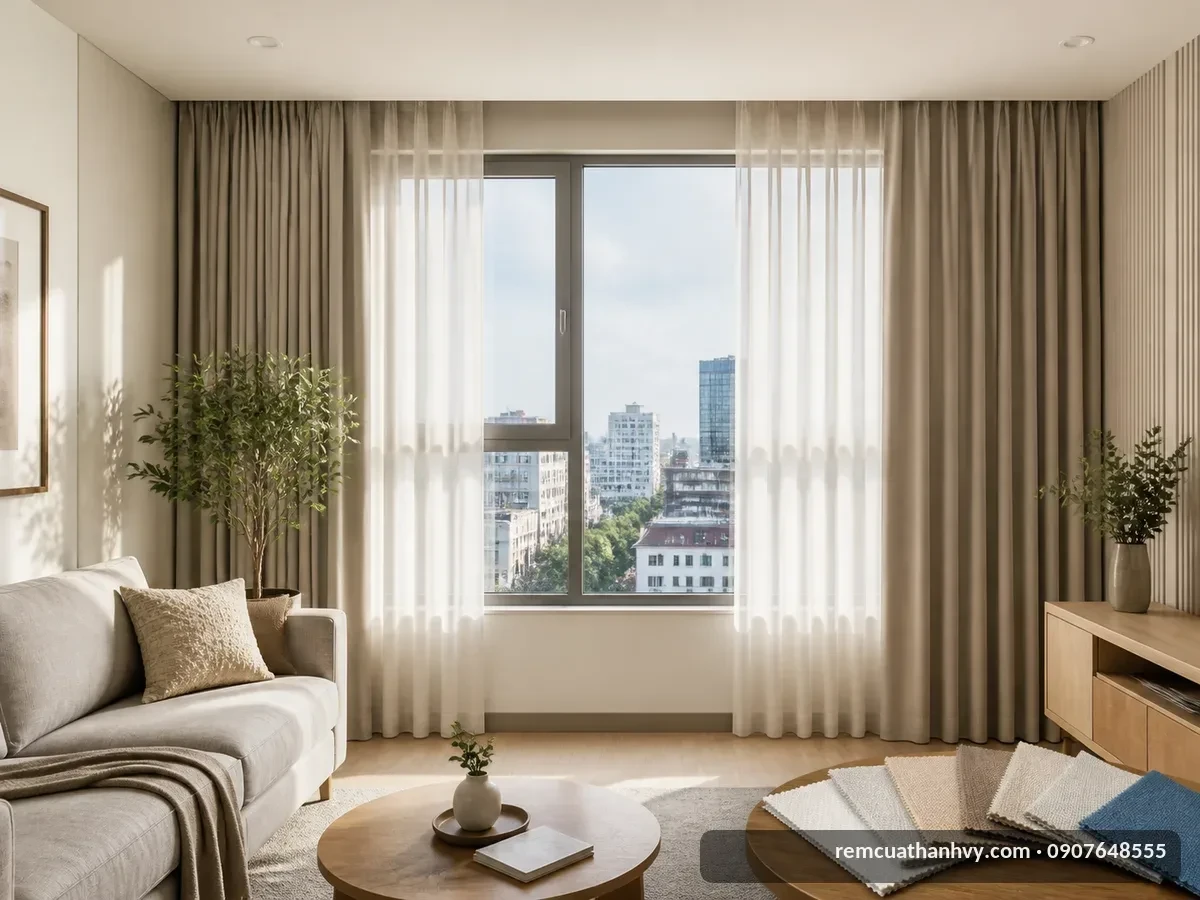
The cost of automated curtain installation can only be finalized accurately after measuring the opening and checking the curtain type, track length, motor location, and actual electrical wiring route. A reliable quote should clearly itemize the costs of curtains, tracks, motors, controllers, ancillary materials, labor, transportation, and any additional work. If you only receive a lump-sum figure by message without providing dimensions or photos of the current condition, you do not yet have enough information to compare quotes.
Quotes should be itemized according to the actual configuration
For fabric curtains, the installer usually needs to determine the fabric width, fullness ratio, pleating style, single or double tracks, and straight or curved tracks. Double-layer curtains include a sheer layer, a light-blocking layer, and a second track, and may require two motors or one motor driving two tracks, depending on the construction. For roller shades, the cost breakdown should clearly list the roller tube, aluminum shaft, bottom bar, light-blocking fabric, and tubular motor. Zebra blinds require checking the headrail type, fabric stripe dimensions, and raising and lowering mechanism.
For further information, please contact Thanh Vy Curtains
We provide free consultation and on-site measuring at your home.
The motor section must specify the brand, product code, pulling load capacity, operating speed, voltage, and control method. If WiFi is used, the quote should state which router the device connects to directly. If Zigbee is used, a compatible Zigbee Gateway and its placement within the home must be included. Controllers may include remotes, wall switches, smartphone apps, or smart home integration modules. Do not accept vague descriptions such as “smart motor” without a model number.
Ancillary materials must also be listed: hanging brackets, support brackets, concrete screws, anchors, power cords, conduit, connectors, cable covers, service enclosures, and corner fittings. For drywall ceilings, confirm whether mounting will be into the framing or use specialized anchors. For concrete walls, the installation team must plan for an appropriate drill and drill bits, along with dust control measures. If not listed in advance, these small items can easily become extra charges during installation.
How to check a quote before confirming
Ask for the quote to show the overall width, curtain height, number of curtain sets, number of fabric layers, track type, motor type, and number of control points. If an opening has multiple panels, is at a corner, or is part of a series of adjoining openings, each set should be listed separately rather than combined into one line. Curved tracks require a drawing or curve dimensions to determine fabrication feasibility. For recessed ceiling pockets, the quote should specify the track section inside the pocket, the curtain box, and the plan for future maintenance.
The fabric unit price should be accompanied by fabric weight information or a sample code, color, light-blocking level, pleating method, and edge finishing method. The installation unit price should clearly state whether it includes measuring, track installation, motor mounting, wiring, curtain hanging, app setup, and adjustment. If the site is on a high floor, has restricted working hours, or requires scaffolding or a lift, transportation charges and additional labor fees must be provided in writing in advance.
Before paying a deposit, cross-check three areas: scope of supply, implementation schedule, and payment terms. The confirmation form should specify the deposit amount, when the remaining balance is due, the deadline for approving fabric samples, the motor delivery date, and the estimated installation time. If dimensions change after confirmation, there must be a remeasurement procedure and a method for calculating the price difference. Do not transfer the full amount before the configuration, dimensions, and person responsible for the project have been confirmed.
Service commitments that should be put in writing
The first commitment is to supply the correct types. The motor delivered must match the approved model code; remotes, gateways, adapters, and accessories must be supplied in the correct quantities. The second commitment is to the correct dimensions: track width, fabric height, floor clearance, overlap position, and draw direction must be checked against the measurement sheet. If the fabric is custom-made, customers should approve the specifications before cutting to avoid disputes when returns are not possible.
The third commitment is electrical safety. A system using a 220V power supply needs an outlet or prewired connection point near the motor, with wiring neatly secured and kept away from areas where it could be pinched by the track or fabric. The quote must specify which party is responsible for electrical connections, especially when concealed wiring, conduit, or additional switches are needed. Do not connect the power yourself without knowing the wiring pinout and the requirements of the motor model.
The fourth commitment is a warranty for each component category, rather than a vague “system warranty.” Ask for clear warranty terms for the motor, power supply, remote, gateway, track, and stitching defects. The warranty document should specify eligible cases, response times, repair or replacement methods, and exclusions such as water intrusion, impact, unauthorized motor disassembly, or use of the wrong voltage. Anything not confirmed should not be assumed to be included.
The fifth commitment is troubleshooting after handover. When WiFi is unavailable, which remote or switch can operate the curtains? During a power outage, does the motor allow manual operation, or is a battery backup required? If the gateway loses its connection, are schedules and scene settings retained, or must they be configured again? These scenarios need to be documented in the handover report, especially for apartments with multiple curtains and a centralized control system.
Terms for additional work and cost approval
Reasonable additional work typically involves dimensional changes, fabric changes, extra wiring, ceiling reinforcement, uneven wall corrections, bending tracks to a new radius, or adding network equipment. Each additional item needs a description, quantity, unit price, and approval before work begins. Do not approve a “technical surcharge” without a specific reason. If site conditions differ from the survey photos, the installer should photograph the location again and explain the alternative approach.
Once automated curtain installation is complete, customers should test each set when closed, open, stopped midway, and operating simultaneously. Check for unusual noise, fabric tension, track travel, bottom bar straightness, light gaps on both sides, and the condition of the electrical wiring. Test the app, remote, switches, gateway, and controls when the network is unavailable. Sign off on acceptance only when the quantities, fabric colors, motor codes, accessories, and commitments match the quote.
To receive a realistic estimate, send an overall photo of the window, a close-up of the track location, width x height dimensions, ceiling type, number of curtain layers, and existing electrical connection points in advance. During an on-site survey, the installer can check using a laser measuring tool, spirit level, stud finder, electrical meter, and a sample of the corresponding motor. A complete survey sheet will help make the automated curtain installation quote more transparent, limit adjustments after signing, and clearly define each party’s responsibilities.
Acceptance inspection, operating instructions, and maintenance for automated curtain systems
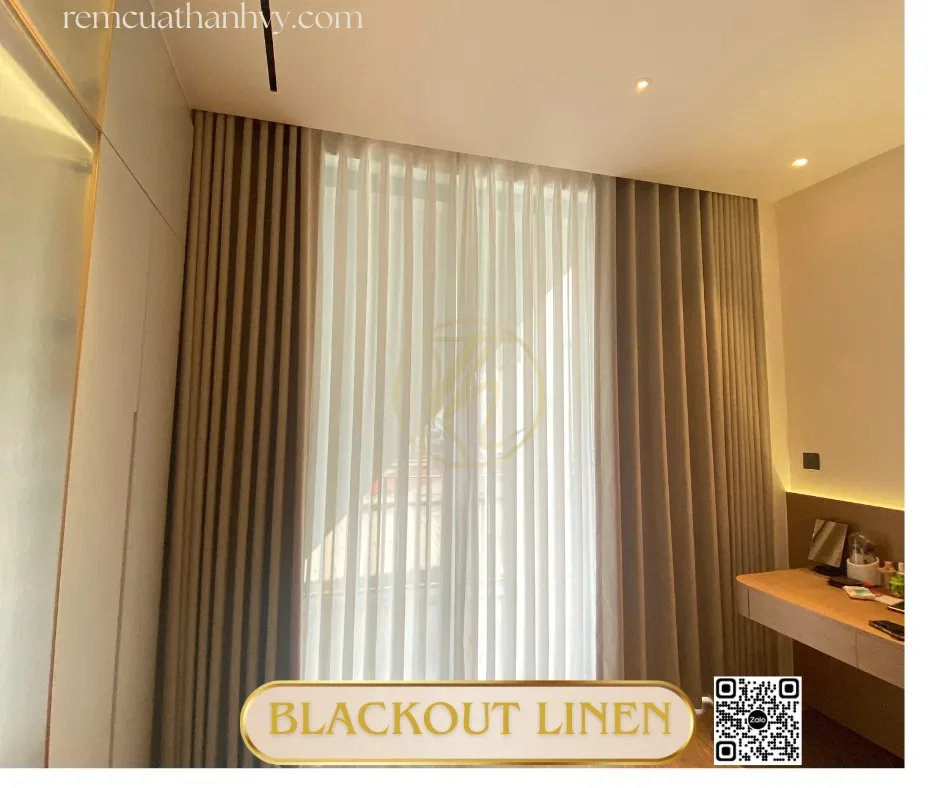
Acceptance inspection confirms that the system operates correctly before handover. For an automated curtain installation project, users should check the track, motor, power supply, curtain fabric, controls, and app one by one, rather than simply testing opening and closing once. The acceptance inspection form should clearly record the overall dimensions, motor position, controller type, included accessories, surface condition, and how any faults will be addressed.
On-site acceptance inspection checklist
- Check the track and brackets: the aluminum track is straight, joints are tight, and expansion anchors are firmly secured to the ceiling or wall; use a spirit level to confirm that the track is not tilted, causing the fabric to bunch up or the curtains to drift on their own.
- Check the motor: the motor is positioned at the correct end of the track, does not vibrate abnormally, and does not make loud noises when starting or stopping; the power cord is secured and not pinched between the track and ceiling.
- Check the travel: the curtains open fully to the agreed point, completely cover the window opening when closed, and the two panels meet evenly; fabric edges must not rub against the wall, windowsill, or handles.
- Check the fabric and accessories: all hanging hooks are present, pleats are evenly distributed, and curtain hems do not drag on the floor; weight bars, rollers, end stops, and rings are not missing or deformed.
- Check the power supply: the 220V outlet operates reliably, and the plug is easily accessible when power needs to be disconnected; wiring is neatly routed inside a raceway or service box, with no exposed sagging loops.
- Check the controls: the remote sends commands successfully from the actual operating location; the open, stop, close, and opening-percentage controls respond correctly, without reversed directions.
- Check the app: the device displays the correct room name, and the open/closed status updates accurately; if automatic schedules are used, test a short cycle to confirm the scheduled command.
For double-layer curtains, each layer must be inspected separately. The sheer layer must complete its full travel without catching on the light-blocking layer; when both motors operate simultaneously, there must be no collisions at the track ends or misaligned stopping points. For wide glass windows, test at least three consecutive cycles to detect abnormal motor heating, excessive track load, or fabric being pulled out of alignment.
The report should include photos of the motor position, outlet, track ends, and curtain surface after completion. The person receiving the handover signs to confirm the items checked and clearly records anything that still needs adjustment, such as realigning pleats, tightening brackets, or resetting travel limits. This documentation helps distinguish initial installation defects from issues that arise during use.
Daily operating instructions
When operating the curtains, use the configured remote, wall button, or app; do not pull forcefully on the fabric while the motor is running. If the model supports manual operation during a power outage, follow the specific manufacturer’s instructions and pull gently in short increments. Do not force the curtains if the fabric catches on a windowsill, furniture, or a door.
Know the cost before you decide
Send estimated dimensions and a few photos of the space, and Thanh Vy Curtains will prepare a quote for exactly the items you need.
Request a quote Call 0985 615 577 Message on ZaloDo not place potted plants, decorations, or hanging cords within the curtains’ path. In rooms with young children, the power cord and remote should be secured out of reach; do not let children hang from the weight bar or yank the fabric edges. If you notice rattling, the motor stopping midway, a burning smell, or a hot plug, stop using the system and disconnect the power before checking it.
Devices in the control app should be named by room to avoid sending commands to the wrong curtains. If you change the WiFi router, network password, or Zigbee Gateway, record the old configuration and pair the devices again according to the handover documentation. Do not remove devices from the smart home system yourself before saving the account information, as this may erase operating schedules and configured scenes.
System maintenance and cleaning schedule
Every month, use a dry microfiber cloth to wipe dust off the motor housing, the outside of the track, and the control unit. For fabric curtains, use a vacuum cleaner’s soft brush attachment on low suction, moving vertically along the folds; do not spray water, perfume, or cleaning solutions directly onto the motor, track, or fabric. Roller shades should be wiped from the roller tube down to the bottom, taking care not to bend the bottom bar.
Every three to six months, check the rollers, hanging hooks, end stops, bracket screws, and the level of the weight bar. If the track squeaks, do not apply thick oil or motorcycle grease yourself, as sticky substances can trap dust and jam the rollers. Note where the noise occurs and how the curtains travel, and send this information to the maintenance provider so they can select a lubricant suited to the track’s construction, if the model allows it.
After a long period without use, run one test opening and closing cycle at normal speed before enabling the automatic schedule. Check that the curtains are not sticking to the glass due to moisture, that there are no obstructions on the floor, and that the power outlet is not loose. Areas near balcony doors need an additional check after heavy rain to ensure water does not enter the motor, junction box, or power supply.
Handover documents to keep
The documentation should include the acceptance report, a diagram showing the motor and power outlet locations, remote control instructions, the app account, Gateway information if applicable, the model number, replacement accessories, and the recommended maintenance schedule. Users should also save a video of the pairing procedure, photos of the wiring after installation, and the travel limit settings. These serve as a reference for resolving issues quickly when warranty service or motor replacement is needed.
Before signing off on the automatic curtain installation service, ask the installer to provide hands-on instructions at least once on local operation, emergency stopping, handling power outages, proper cleaning, and whom to contact when the system reports an error. If you need to reconfirm the accepted items or schedule a periodic inspection, you can send photos of the current condition and the handover form to receive advice tailored to the actual configuration.
Related projects
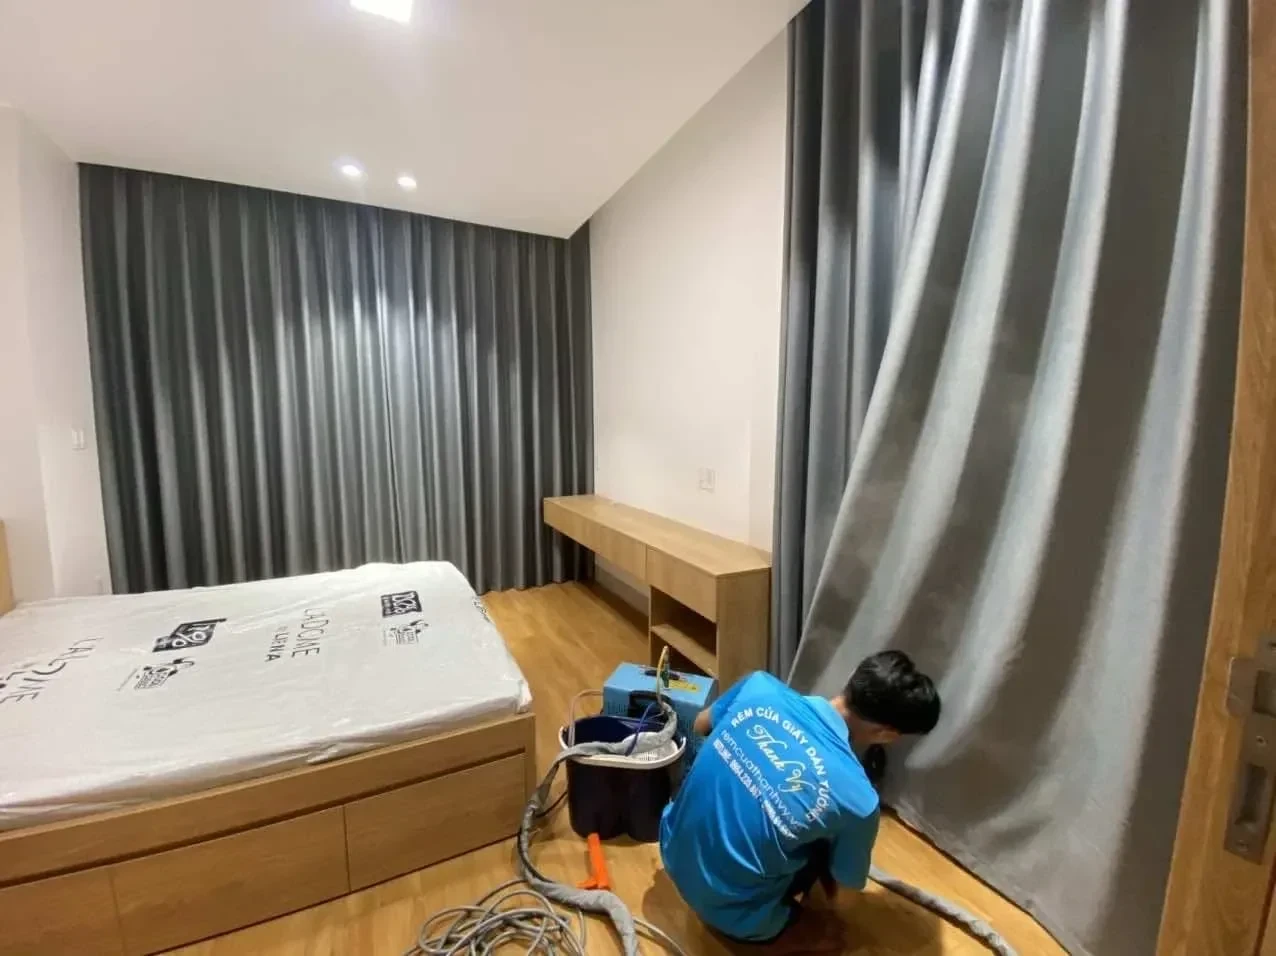
2-Layer Wave-Fold Fabric Curtains for Ho Tram Villa Bedroom
In 2024, Thanh Vy Curtains completed a 2-layer wave-fold fabric curtain project for the master [...]
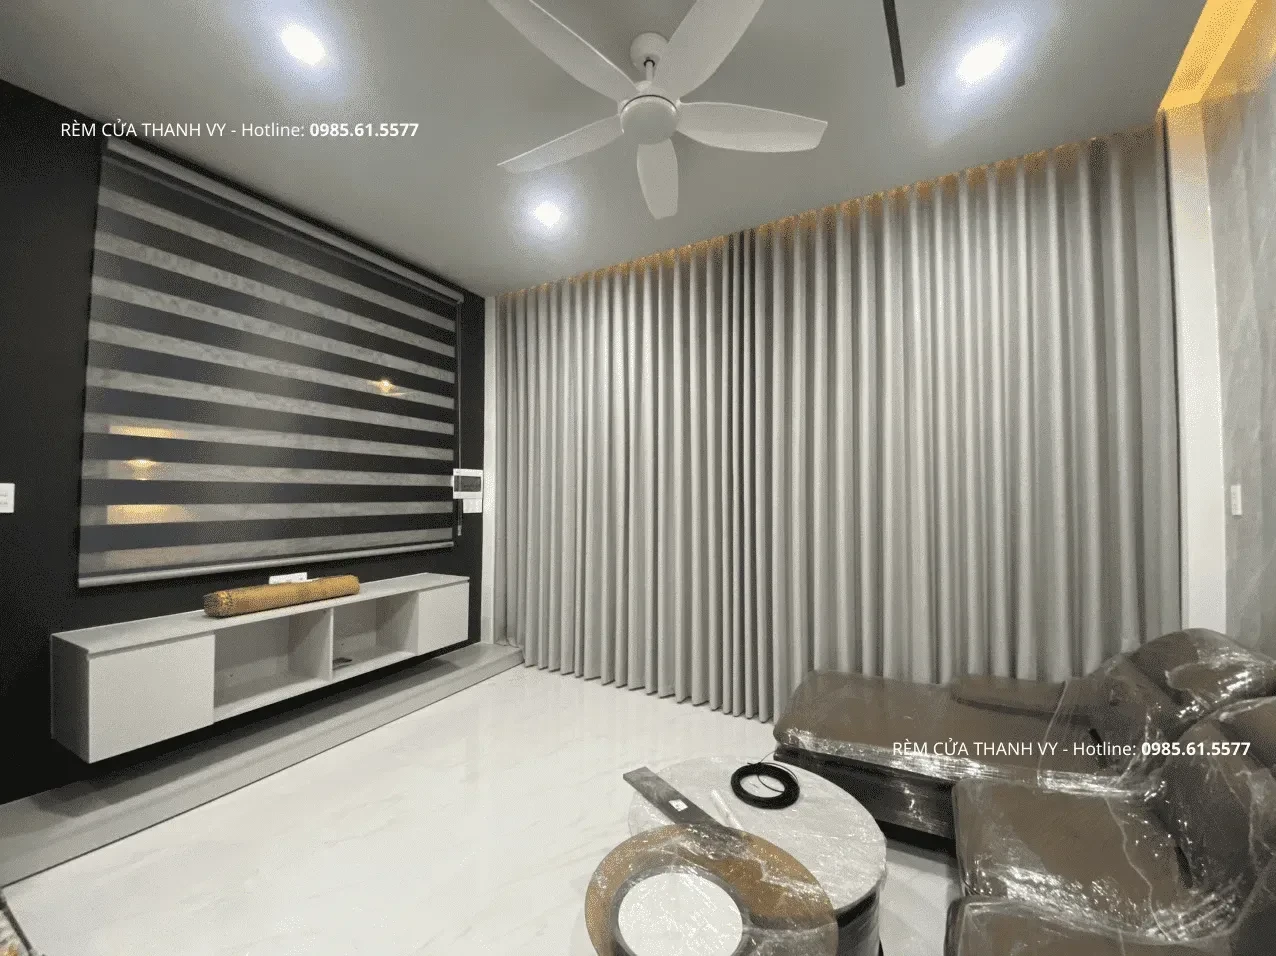
2-Layer Fabric Curtains + Horizontal Striped Roller Blinds – Duc Hoa Apartment, Long An
This project was carried out in a modern apartment in Duc Hoa, Long An – [...]
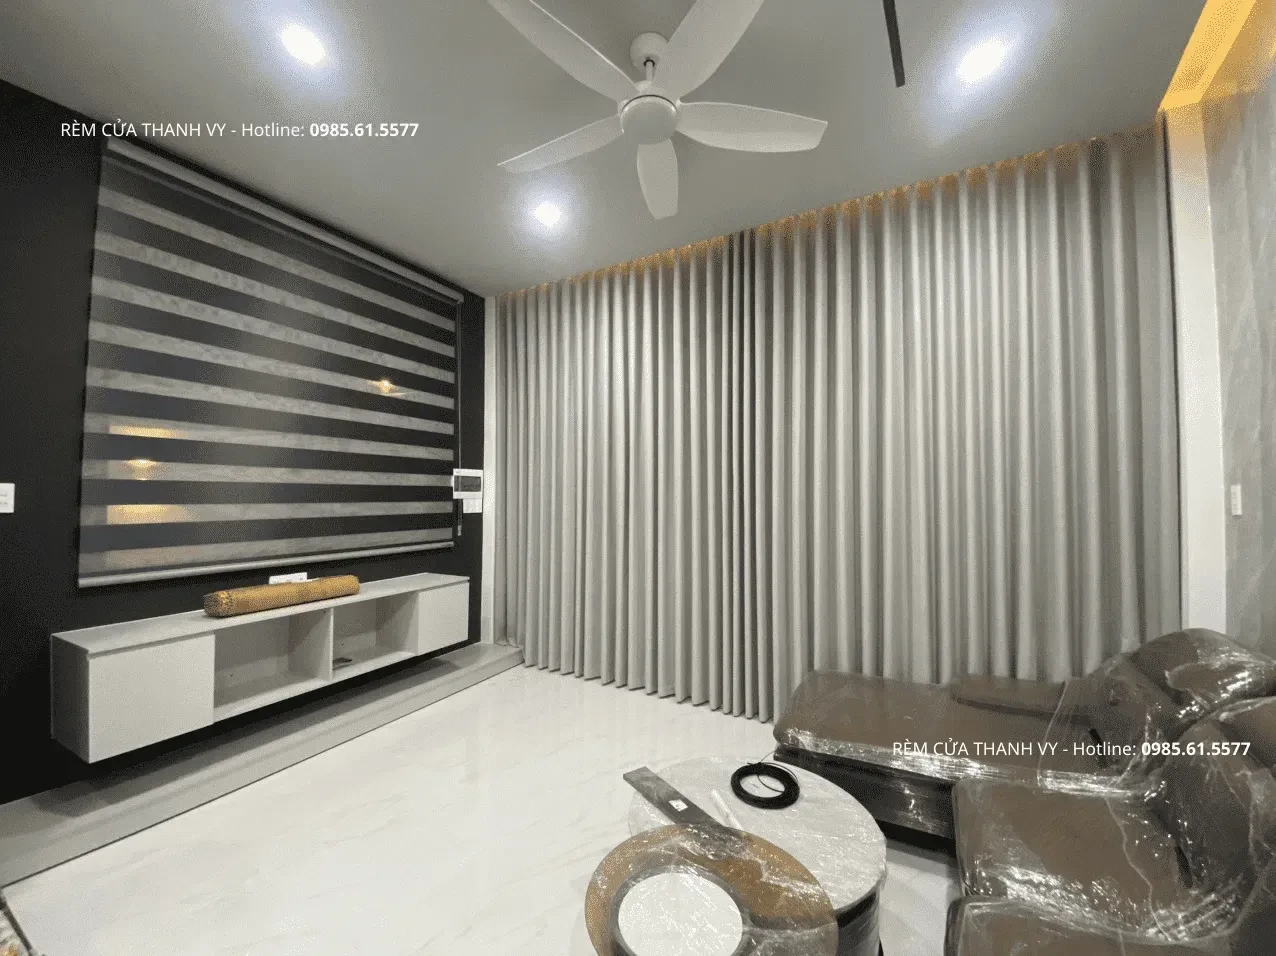
Fabric Curtains Combined with Zebra Blinds – Hiep Binh Chanh, Thu Duc
This project in Hiep Binh Chanh, Thu Duc, features a modern townhouse living room with [...]
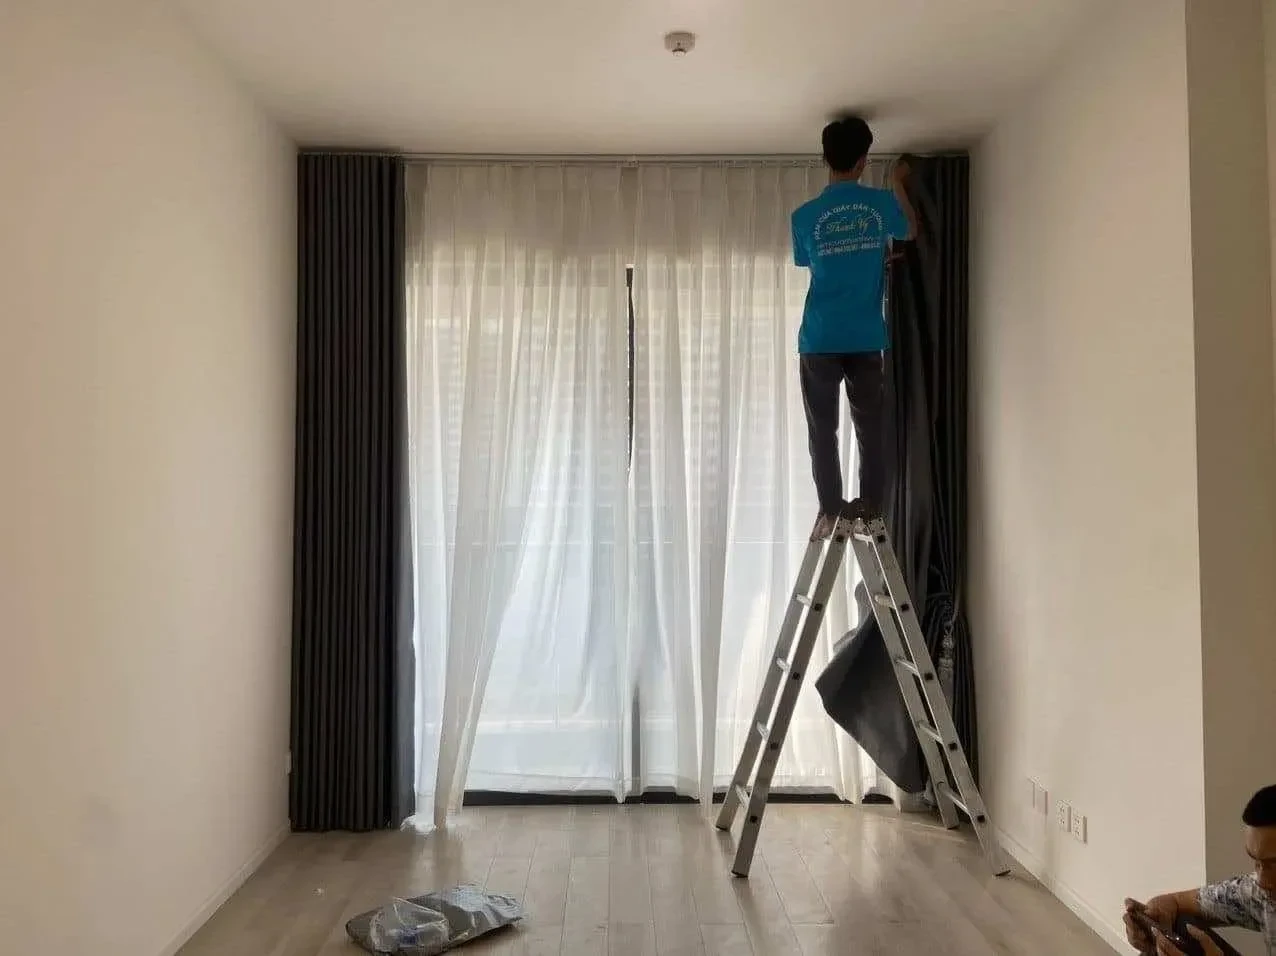
Black-and-White Double-Layer Curtains for a Masteri Centre Point Apartment in District 9
This project involved installing a double-layer curtain system for a high-rise apartment at Masteri Centre [...]
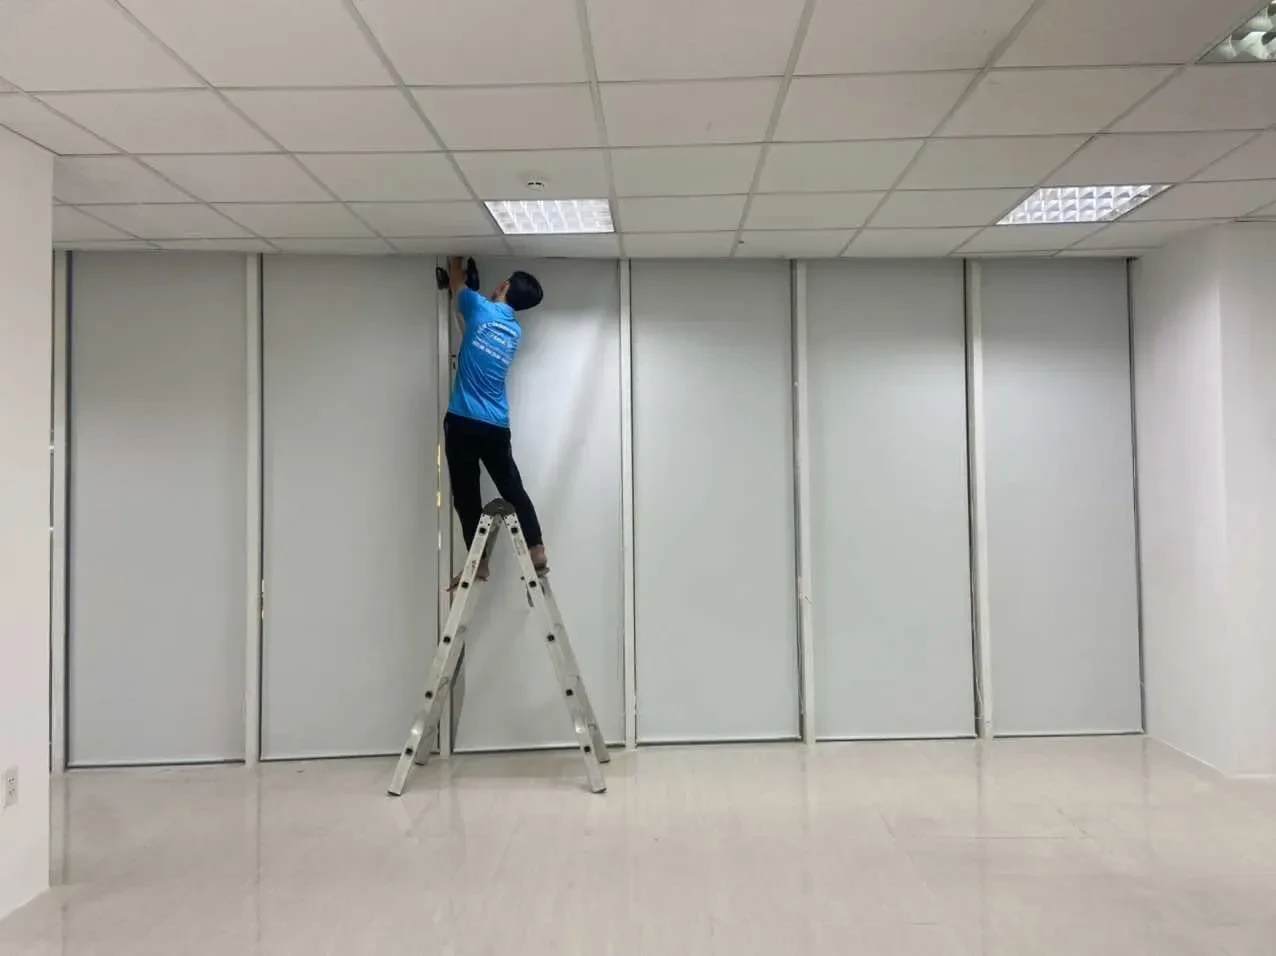
Office Roller Blinds in District 11 – Le Dai Hanh Street
This project involved installing roller blinds on an upper floor of a modern office building [...]
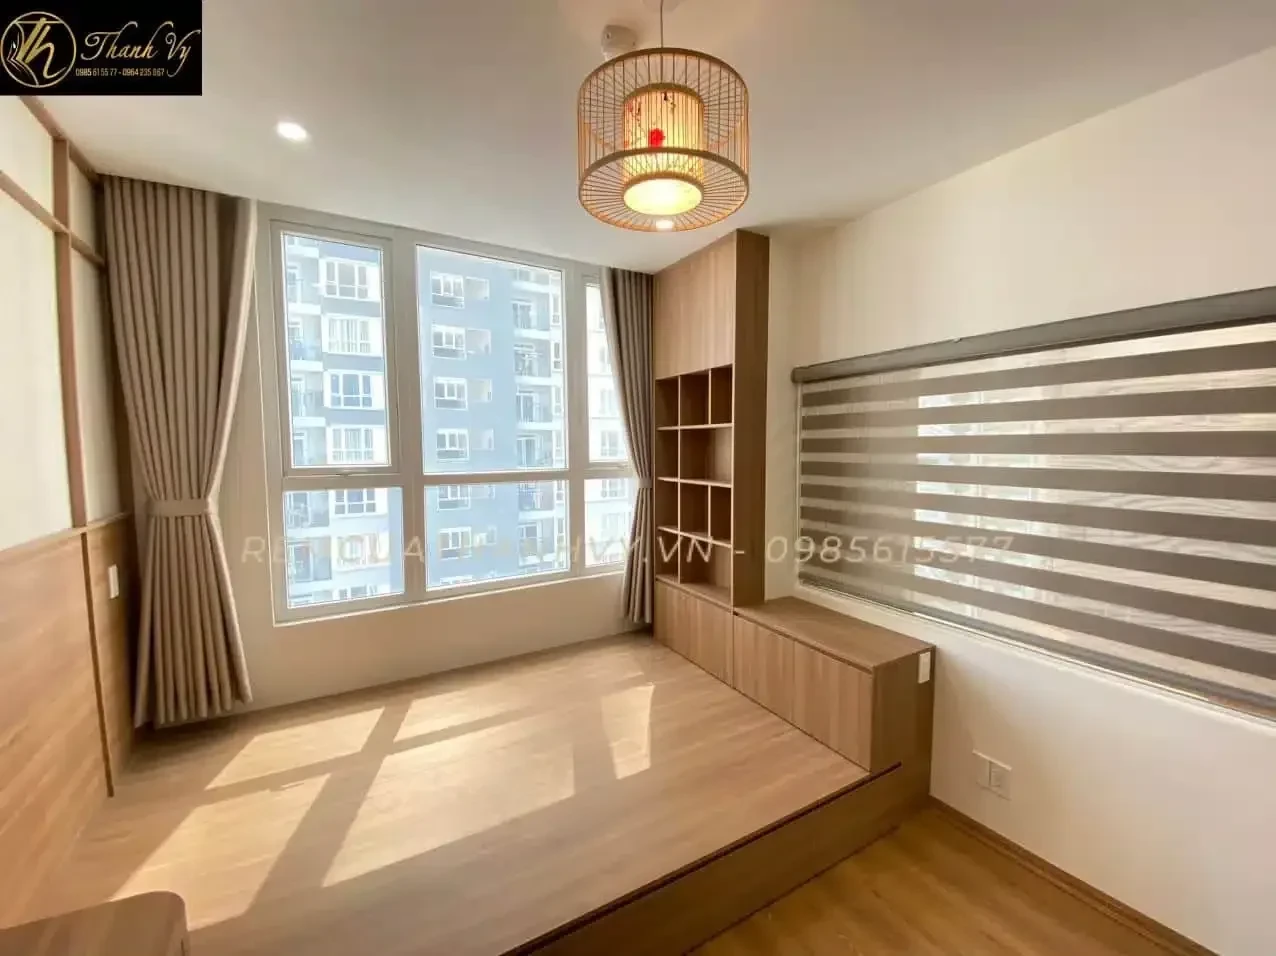
Blue Roman Shade Blinds for The Western Capital Apartment, District 6
This project at The Western Capital apartment complex (District 6) is a typical example of [...]
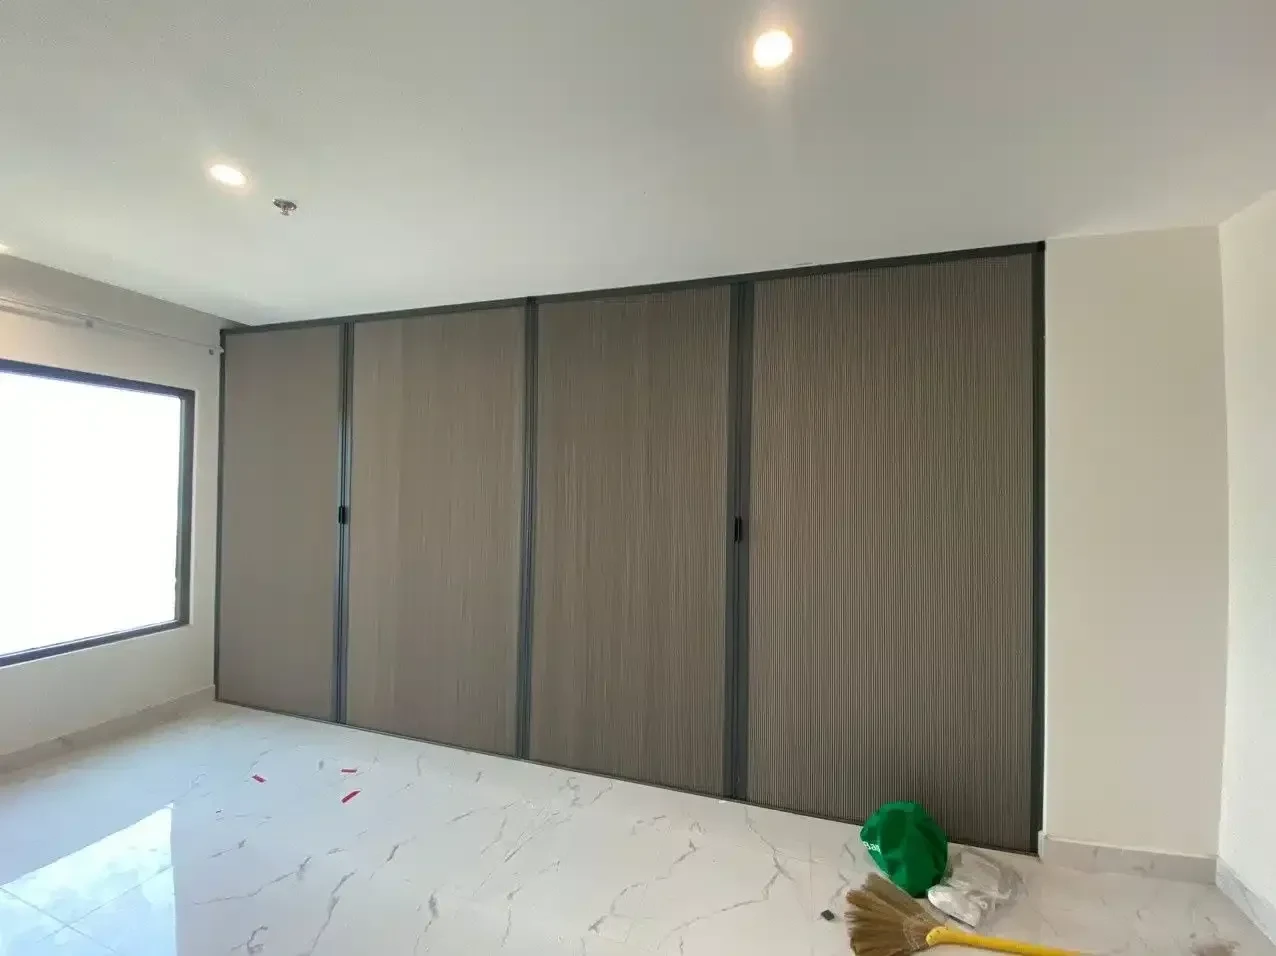
Glass Partition with Roller Blinds at Vinhomes Grand Park – BS-16 Apartment
This project at Vinhomes Grand Park, in the BS-16 tower, was a luxury apartment interior [...]
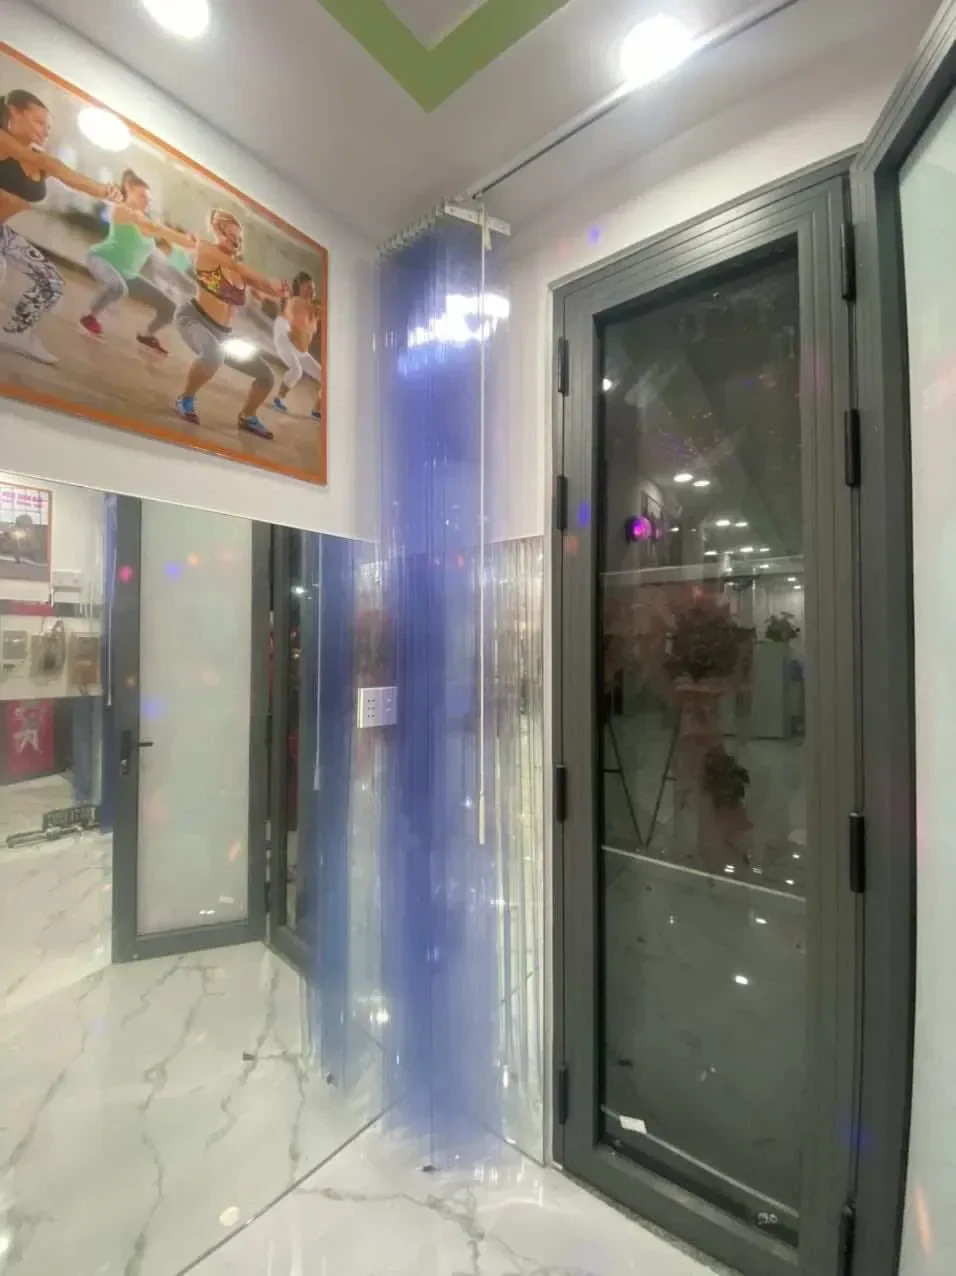
PVC Curtains in Bình Tân District – Ngọc Liên Club
Ngọc Liên Club, a modern fitness and yoga space in Bình Tân District, required a [...]
Related services
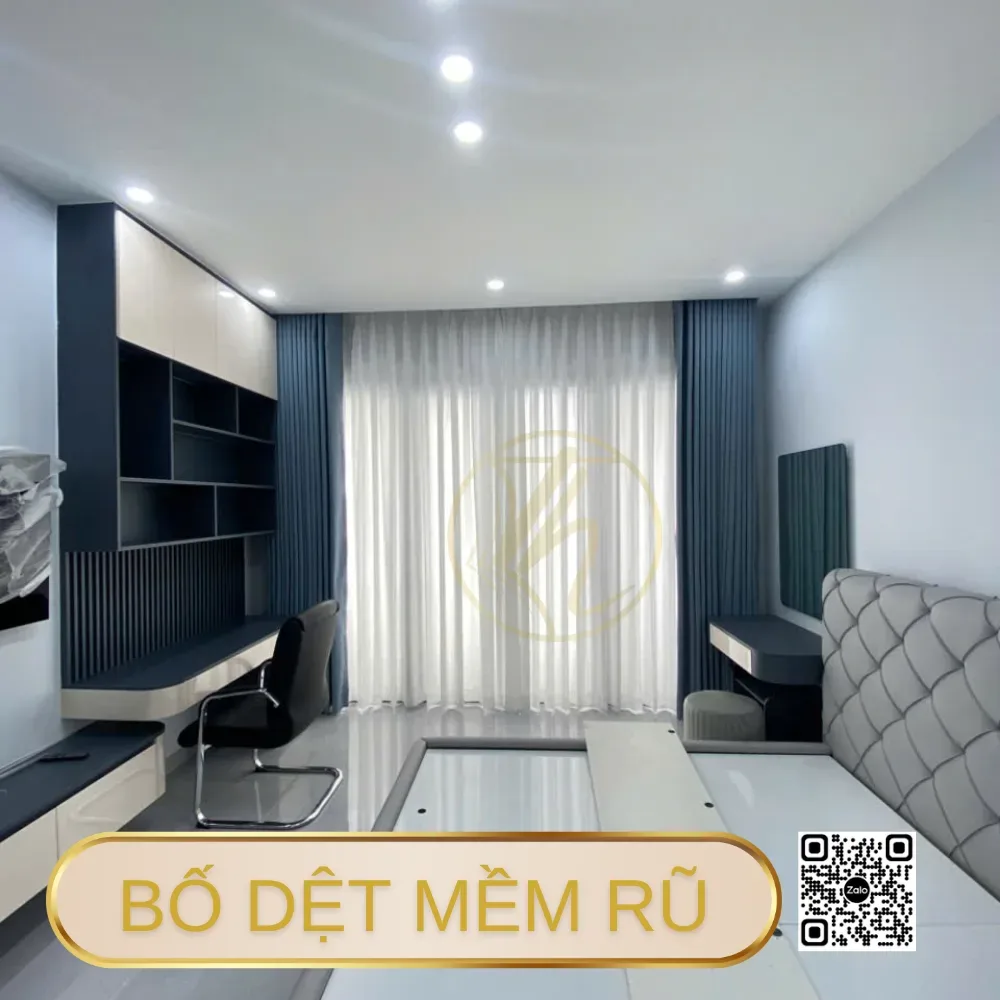
Curtain Warranty and Maintenance: Checks and Service Under the Policy
A guide to distinguishing curtain warranty service, maintenance, and repairs; preparing records, photos, and videos; [...]
Apartment Curtains in Ho Chi Minh City: Consultation, Measuring, Sewing, and Installation
Apartment curtain services in Ho Chi Minh City include consultation based on sun exposure, measuring, [...]
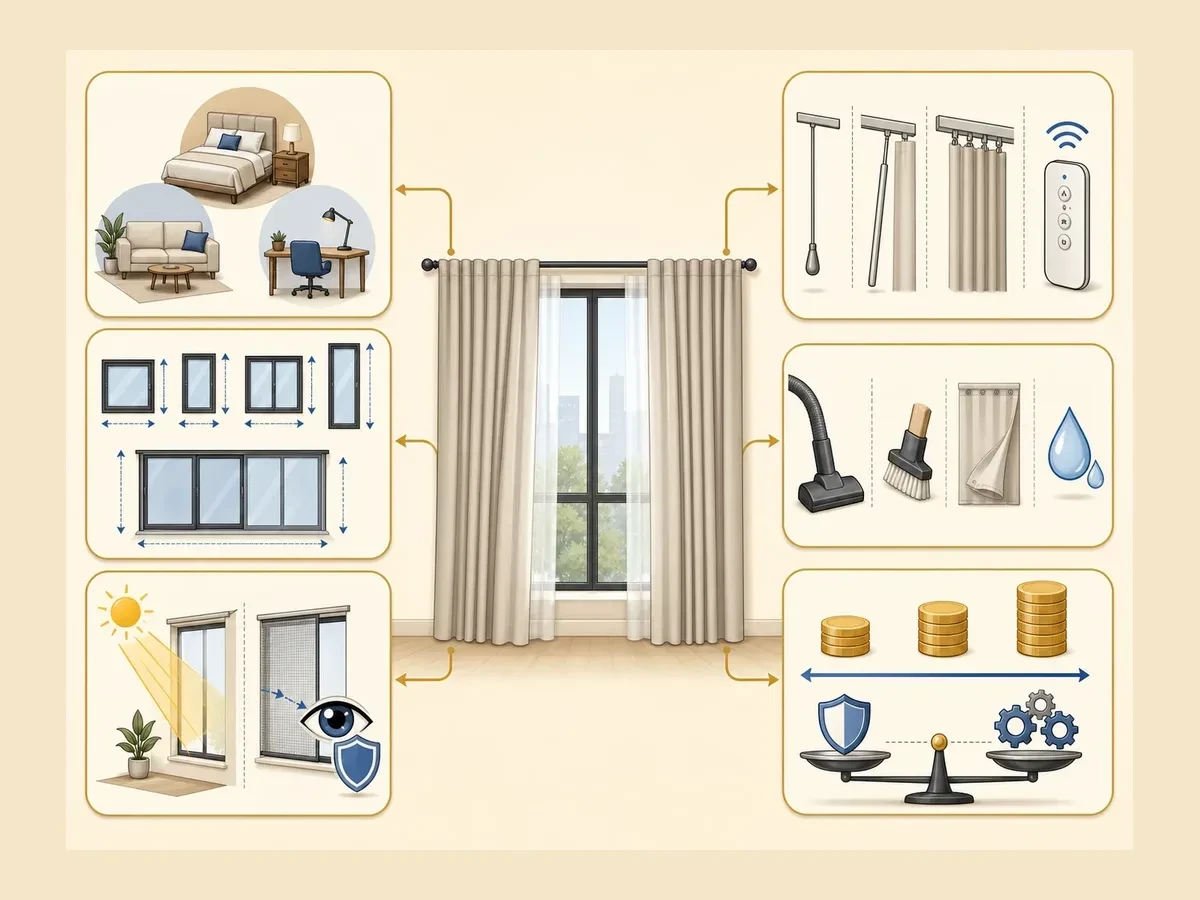
Office Window Treatments: Control Glare, Heat, and Privacy at Work
A guide to choosing office window treatments by light-blocking needs, materials, and usage areas, plus [...]
Related reviews
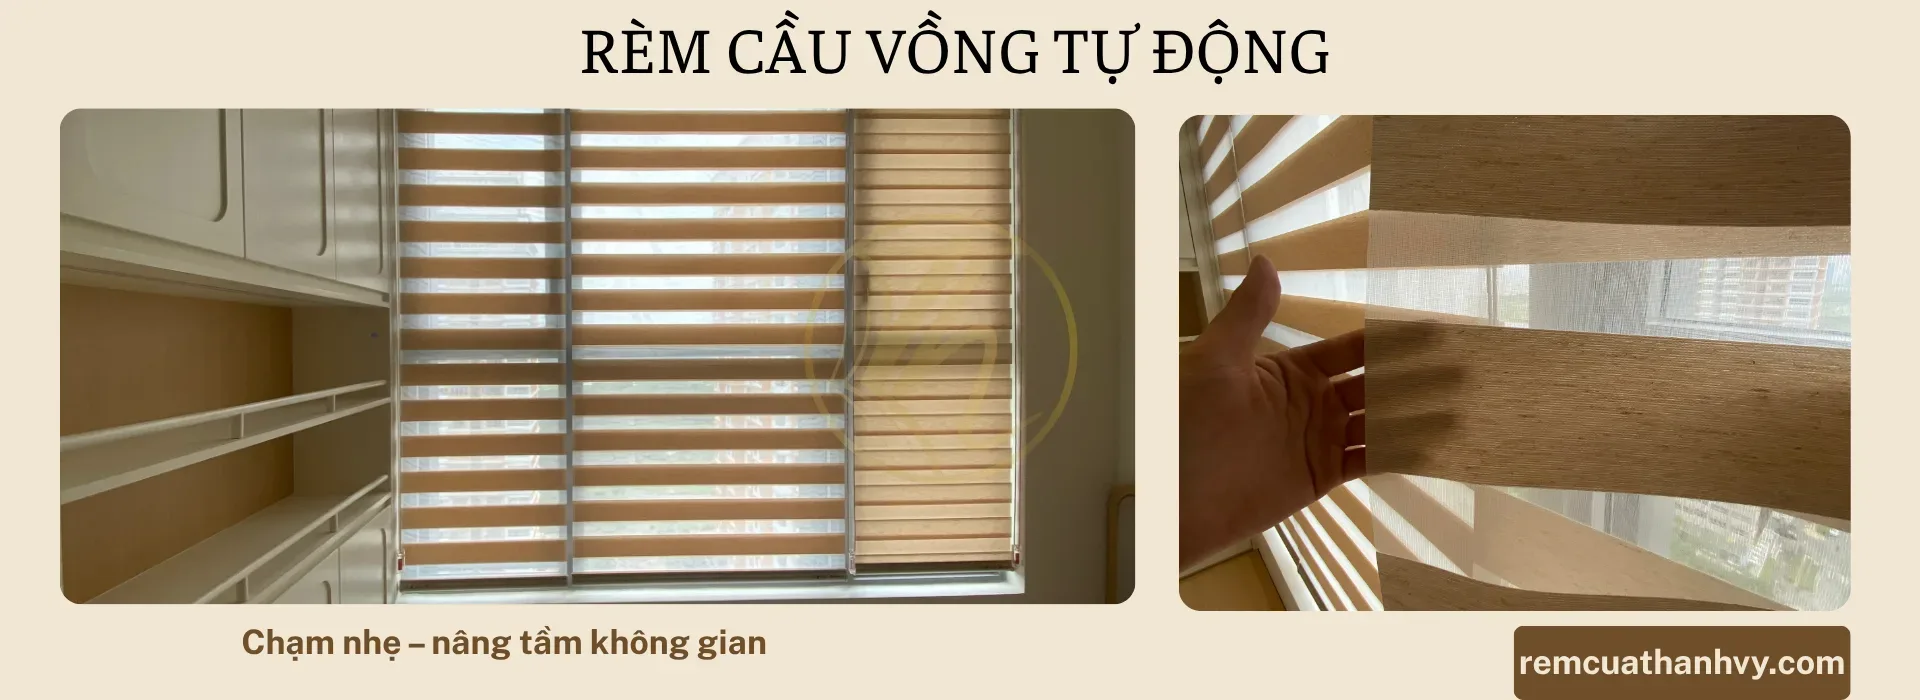
Are Automatic Curtains Any Good? A Detailed A–Z Review
A guide to choosing automatic curtains based on your home’s layout, lighting, privacy needs, materials, [...]
Related posts
Curtain price quotes in Tan Phu: How to read and compare based on your needs
A curtain price quote in Tan Phu should be read as a complete configuration, not [...]
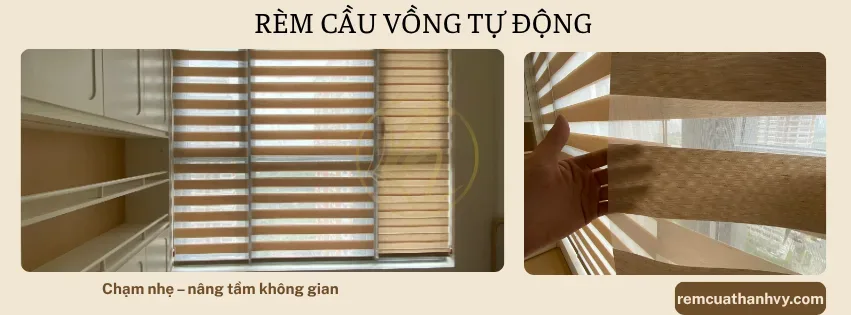
Simple DIY Rainbow Blind Installation Guide
A step-by-step guide to installing rainbow blinds, from identifying your needs and checking the window [...]
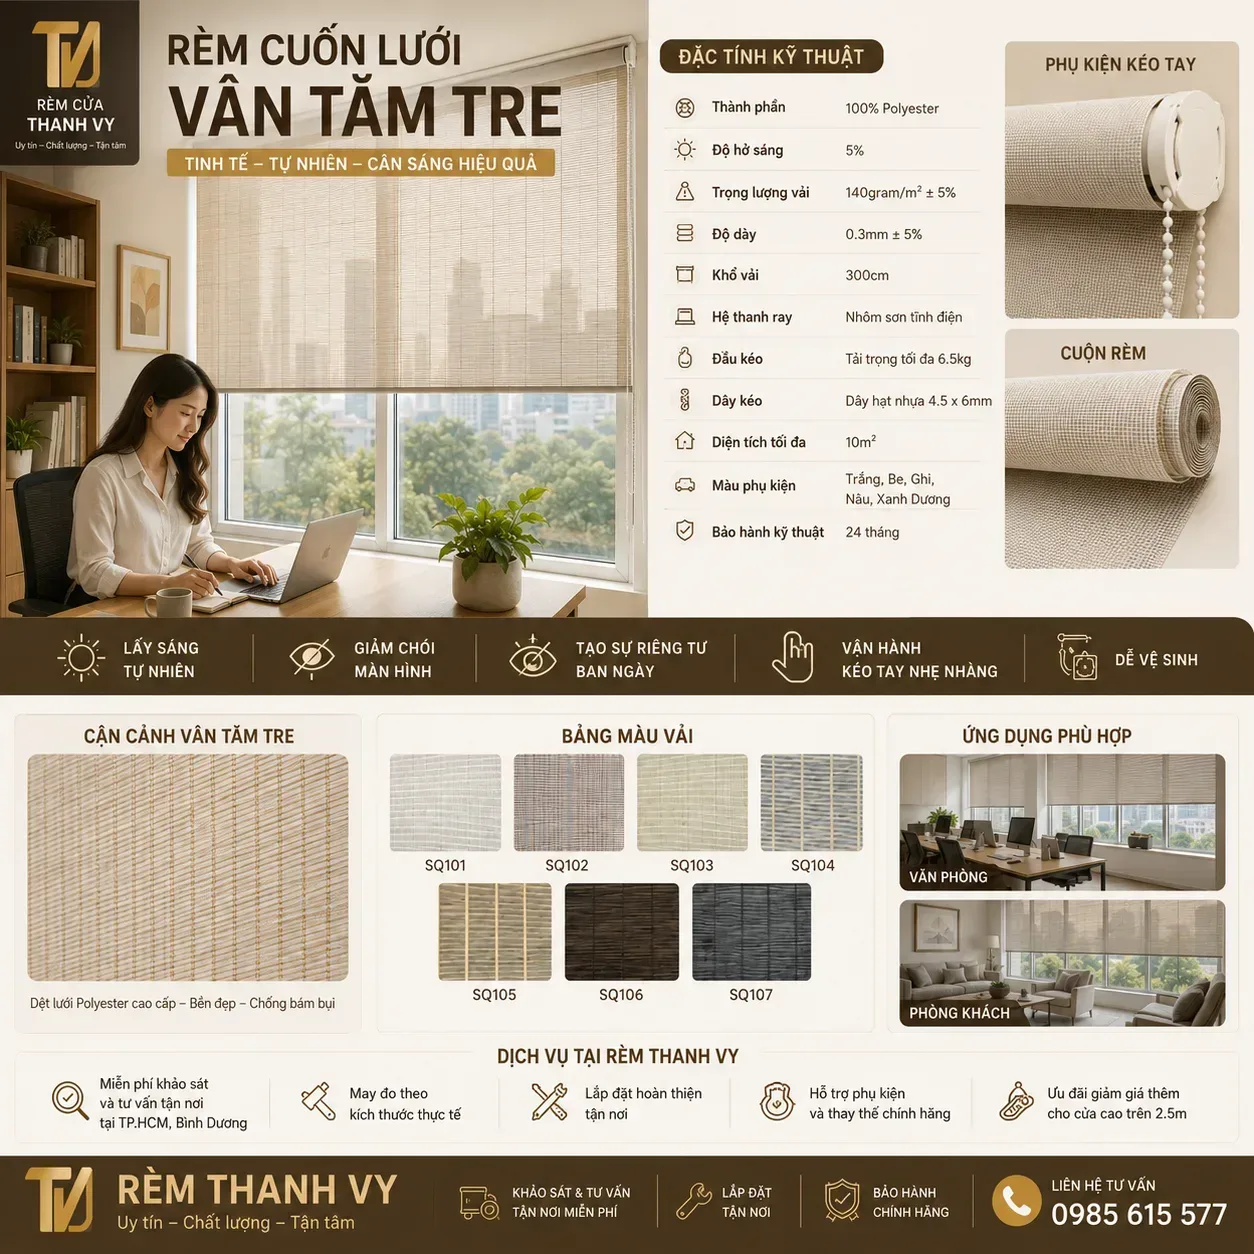
Simple DIY Roller Blind Installation Guide
A step-by-step guide to installing roller blinds, from identifying your needs and checking the window [...]
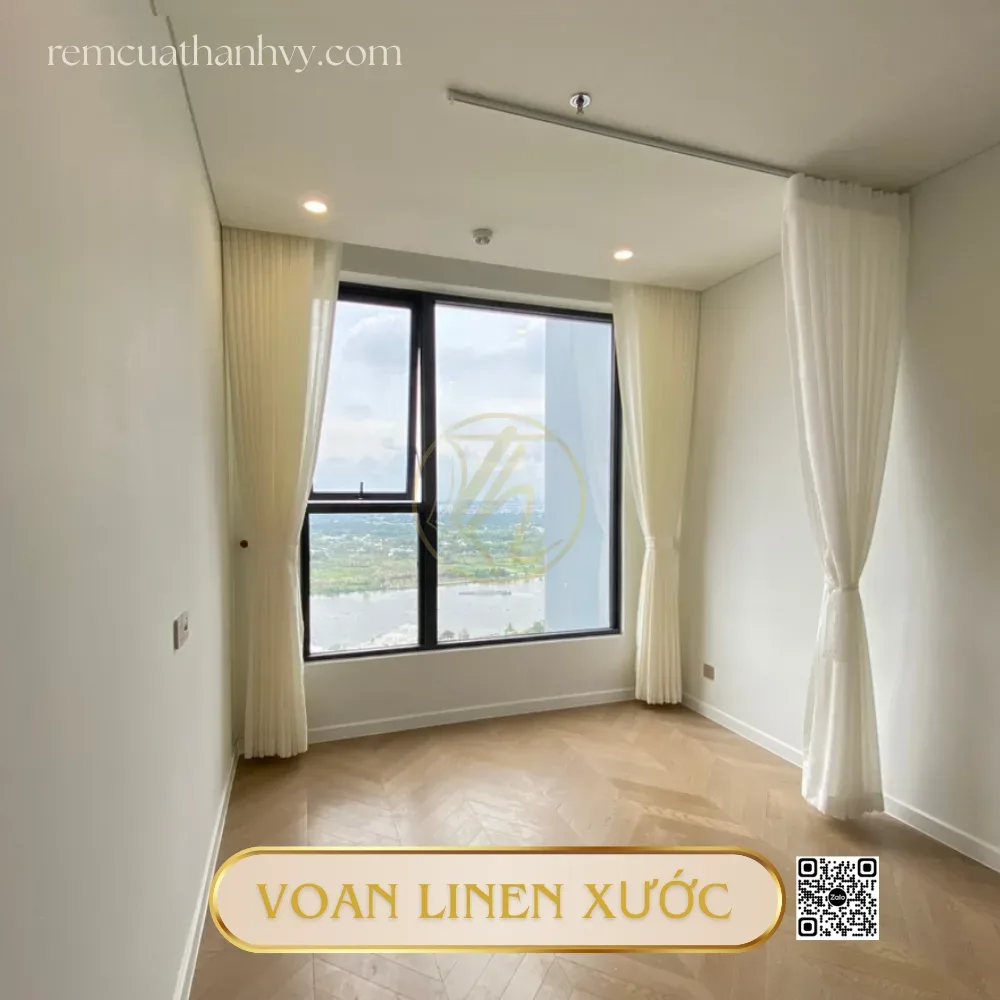
Simple Guide to Installing Linen Curtains at Home
Step-by-step guide to installing linen curtains, from assessing your needs and checking door conditions to [...]
Simple Ways to Install Roman Shades at Home
A step-by-step guide on how to install Roman shades, from identifying your needs and checking [...]
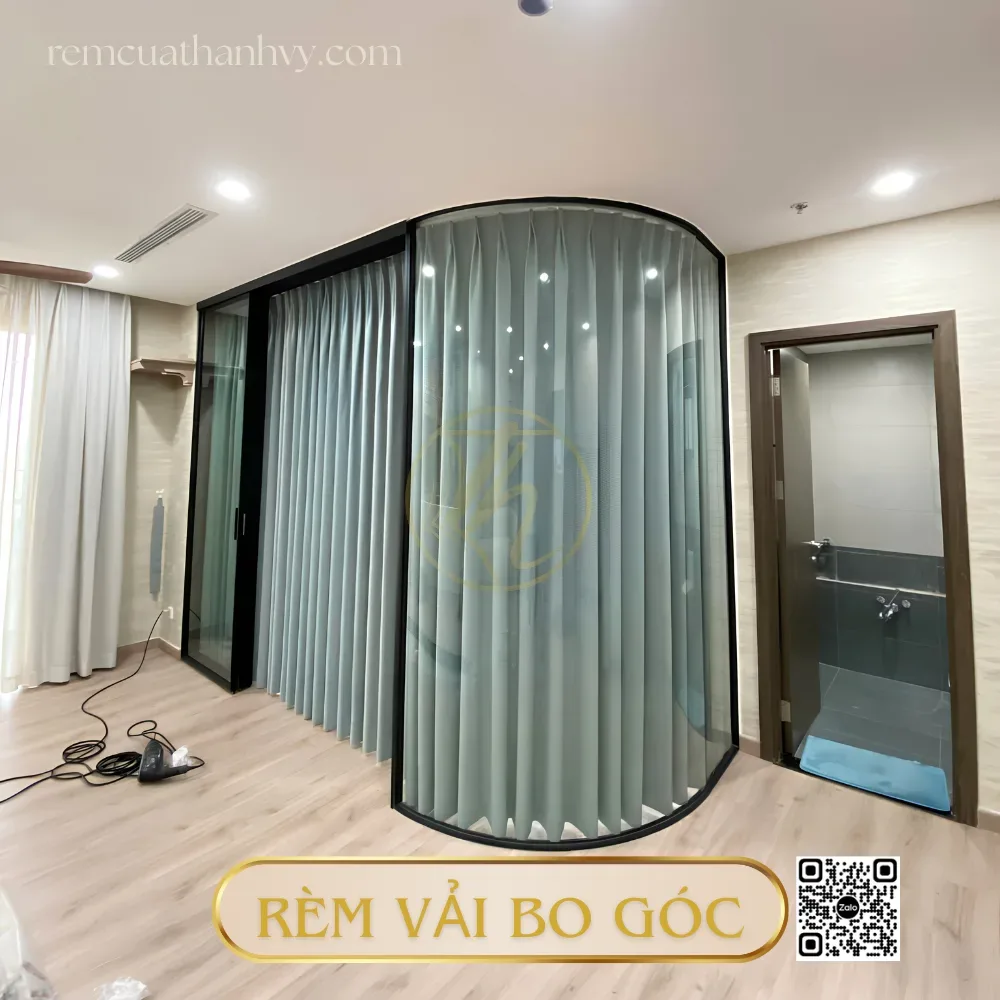
Simple Ways to Install Fabric Curtains at Home
Step-by-step guide on how to install fabric curtains, from identifying needs and checking window conditions [...]
Binh Duong Curtain Installation: A Streamlined Survey and Installation Process
Binh Duong curtain installation is only effective when the survey, configuration, and mounting location are [...]
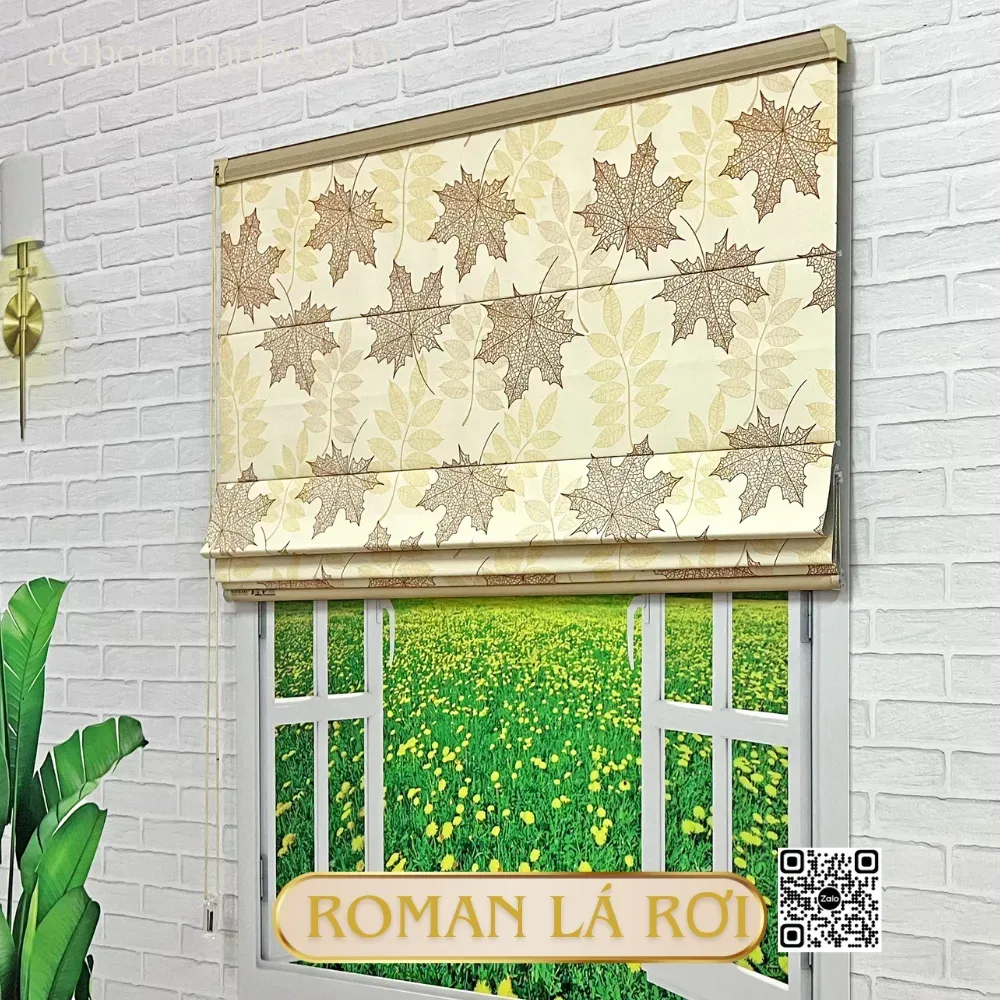
Roman Shades in District 7: How to Choose and Measure Your Windows Correctly
This guide explains how to choose Roman shades in District 7 based on your window’s [...]

No comments yet!